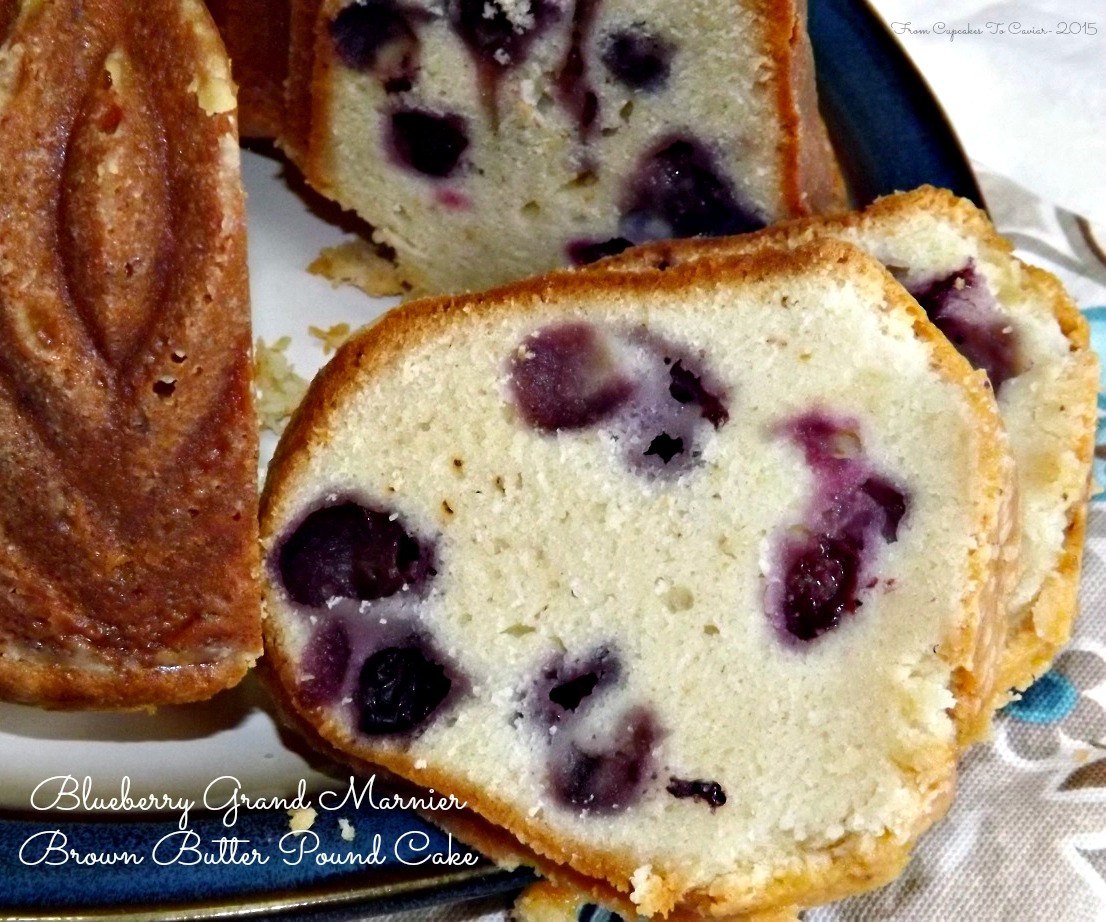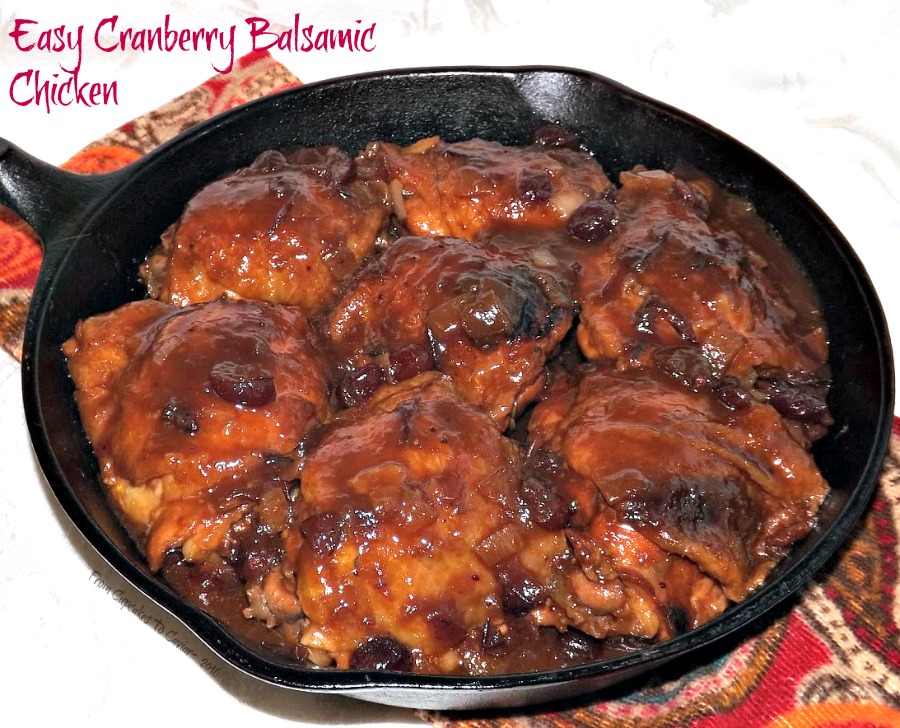
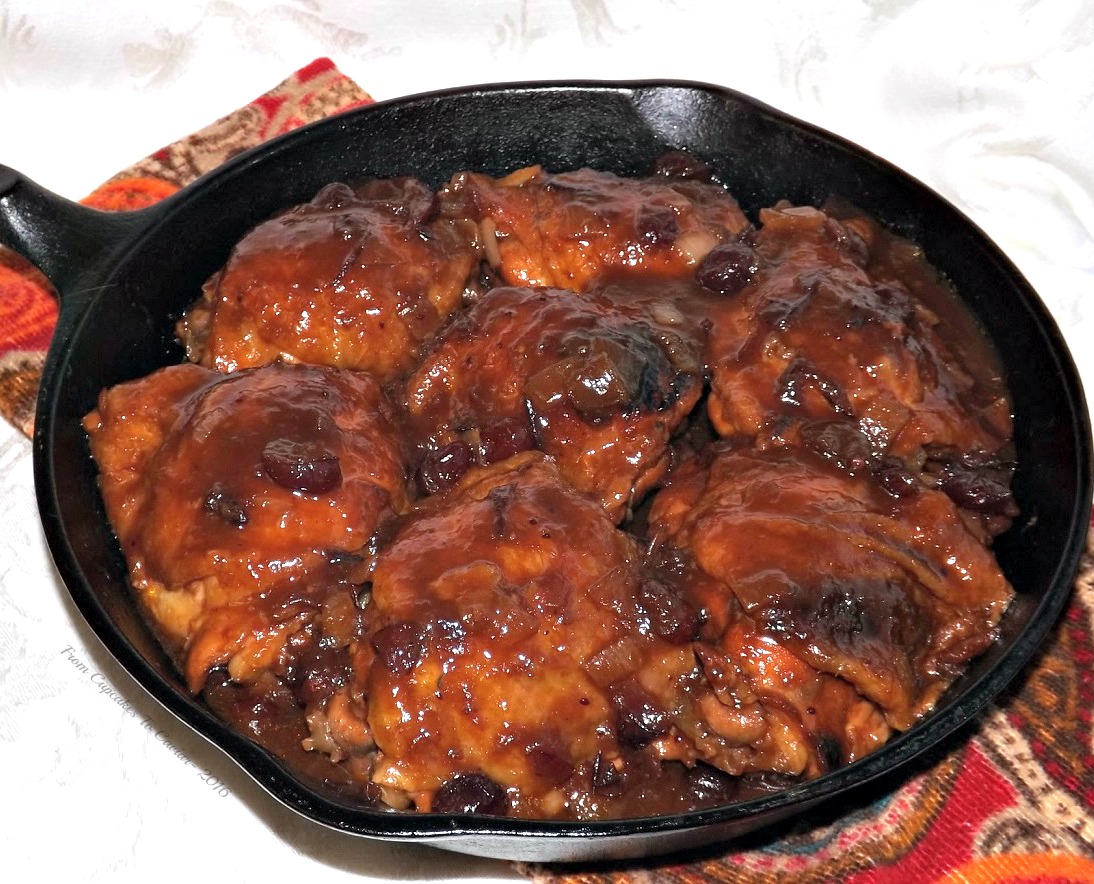
Easy Cranberry Balsamic Chicken
We all have a mental bucket list. There are some who are organized enough to actually have one written down, but not I. I prefer to keep mine buried in my brain with the cobwebs, the monsters with four heads and 8 inch fangs who come out on nights that I’m stupid enough to stay up alone and watch horror movies, the bad memories of my brother pulling the heads off my barbie dolls, the good memory of the taste of my mothers chili and all the mental post it notes that eventually yellow and disintegrate, leaving me constantly feeling as if I forgot to do something.
Weird thing though? While my bucket list has the typical things on it; go sky diving, hike the Camino De Santiago with my husband in Spain, actually fully clean my house…. mine is made up of a butt ton of cooking goals- learn to make Kouign Amman, make my own wine, finally figure out how to cook so that we don’t eat leftovers of each meal for a week. I have about 900,000 recipes (you think I jest? You should see both my cookbook collection with tabbed pages as well as all my printed out recipes) that I want to try someday. I obviously need to live to be 310. And while making many of these recipes can’t really be called difficult goals, many are ones I’ve had for YEARS and just never gotten to. This recipe was one of those. It’s so simple, sounds like it might be too easy to be interesting in fact. But trust me. It you enjoy tangy, fruity main dishes, you’re going to love this one. It was originally in an old Southern Living cookbook and was just called cranberry chicken. I changed it up a fair amount (it had celery and I dislike celery, it used less cranberry sauce, less onion, it was oven cooked and I wanted stovetop so I could cook this any time of year and not heat the house, etc etc) and with the addition of the balsamic vinegar (God, I love balsamic! You?), it made it into practically an entirely new dish. This has become a family favorite and one of those rare dishes that you can see serving once a week without everyone getting sick of it.
I used bone in, skin on thighs in this, but you could sub in any part you prefer, but watch your cooking time. Breasts will cook quicker and you don’t want to dry them out. This is tender, tangy, sweet, juicy; just an all around winner. We serve this over brown rice. You could use noodles also, I’m sure, if that’s your preference, but serve it with something to use the sauce on!
You know the drill…. 🙂
Easy Cranberry Balsamic Chicken
- 4 to 6 nice meaty chicken thighs
- 2 tablespoons vegetable oil
- 1/4 teaspoon salt
- pepper to taste
- one medium onion, chopped (about 2/3 cup)
- 1 can whole berry cranberry sauce (I have to recommend Ocean Spray here. Many of the off brands are far too sweet with fewer actual berries)
- 1/2 cup ketchup
- 3 tablespoons dark brown sugar
- 1 1/2 teaspoons molasses (optional, but it adds some depth to this)
- 2 tablespoons lemon juice (bottled is fine)
- 1 1/2 tablespoons Worcestershire sauce
- 1 tablespoon mustard
- 3 to 4 tablespoons balsamic vinegar
- 1/2 teaspoon red pepper flakes
- Pour the oil in a large skillet. Salt and pepper the chicken, then add it to the pan and cook over medium high heat until it is nicely browned on one side. Flip and brown the other side. Transfer the chicken to a plate to drain and pour off all but about 2 tablespoons or so of the drippings.
- In that same skillet, cook the onion over medium heat until it is limp and just starting to brown. Whisk in the remaining ingredients (other than the chicken) until well combined. Add the chicken, making sure to nestle each piece in there and flipping it once to get sauce on both sides at the start.
- Cover your skillet and turn the heat to low. Let the chicken simmer, turning frequently, for about 45 minutes to an hour, until nice and tender. Serve this with ample sauce on the chicken and the side dish.
- While it cooks, make your rice or noodles or what have you.
- Enjoy! You’re going to love this!
Copyright Notice: From Cupcakes To Caviar images and original content are copyright protected. Please do not publish these materials anywhere without prior permission.


)


)