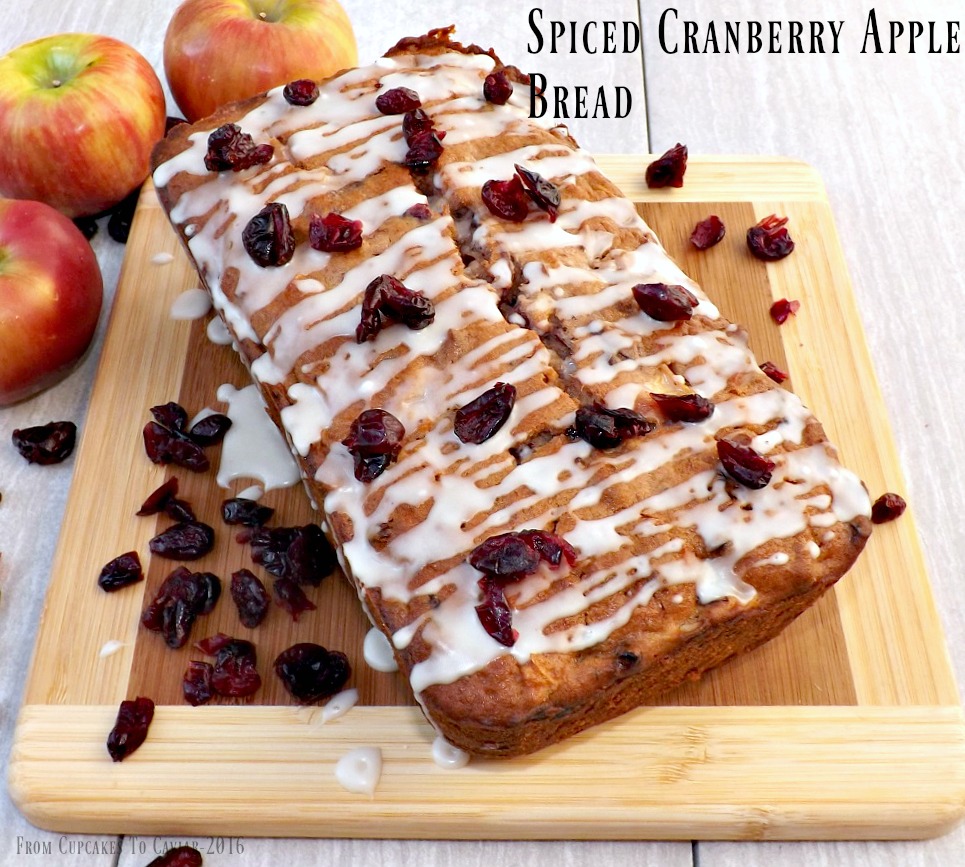
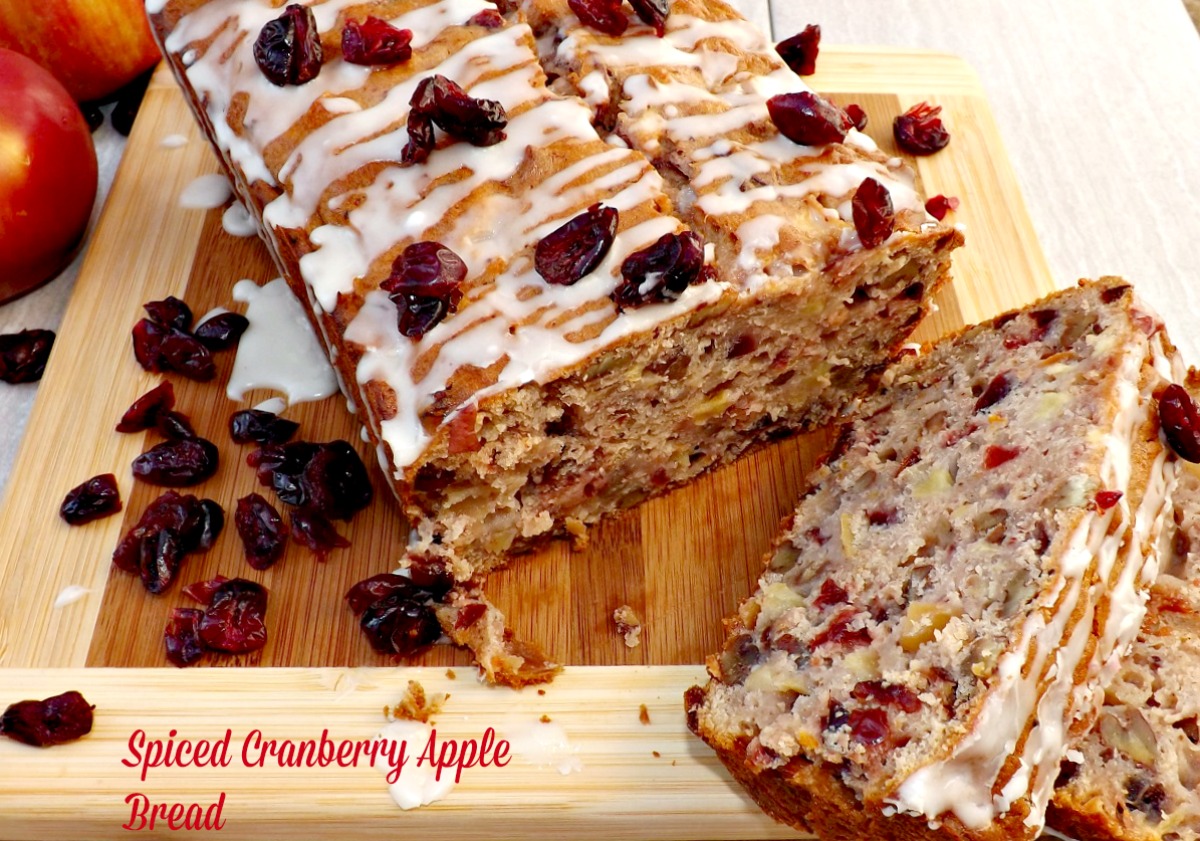
Spiced Cranberry Apple Bread
I can hear it now- “here she goes with another damn apple recipe!”. Yep. Sue Me. Another apple recipe 😛 Actually, please don’t sue me. It would lead to a long drawn out court battle that the media would pick up on and things would come to light that would embarrass us both like my bad habit of eating ice cream in bed and then letting the partially eaten pint melt when I fall asleep and that habit of yours where…well, let’s just leave it as you really need to start closing your window shades at night. Just sayin.
I promise; I’ll move past apple recipes here soon (then I’ll annoy you with cranberry and/or citrus ones 😛 ). But when this one popped into my mind after trying to use up some cranberry sauce, I knew I had to share it. You’ll thank me for this the weekend after Thanksgiving when you have a huge bowl of cranberry sauce in the fridge and you’ve already eaten 12 “day after Thanksgiving” sandwiches covered in that same sauce.
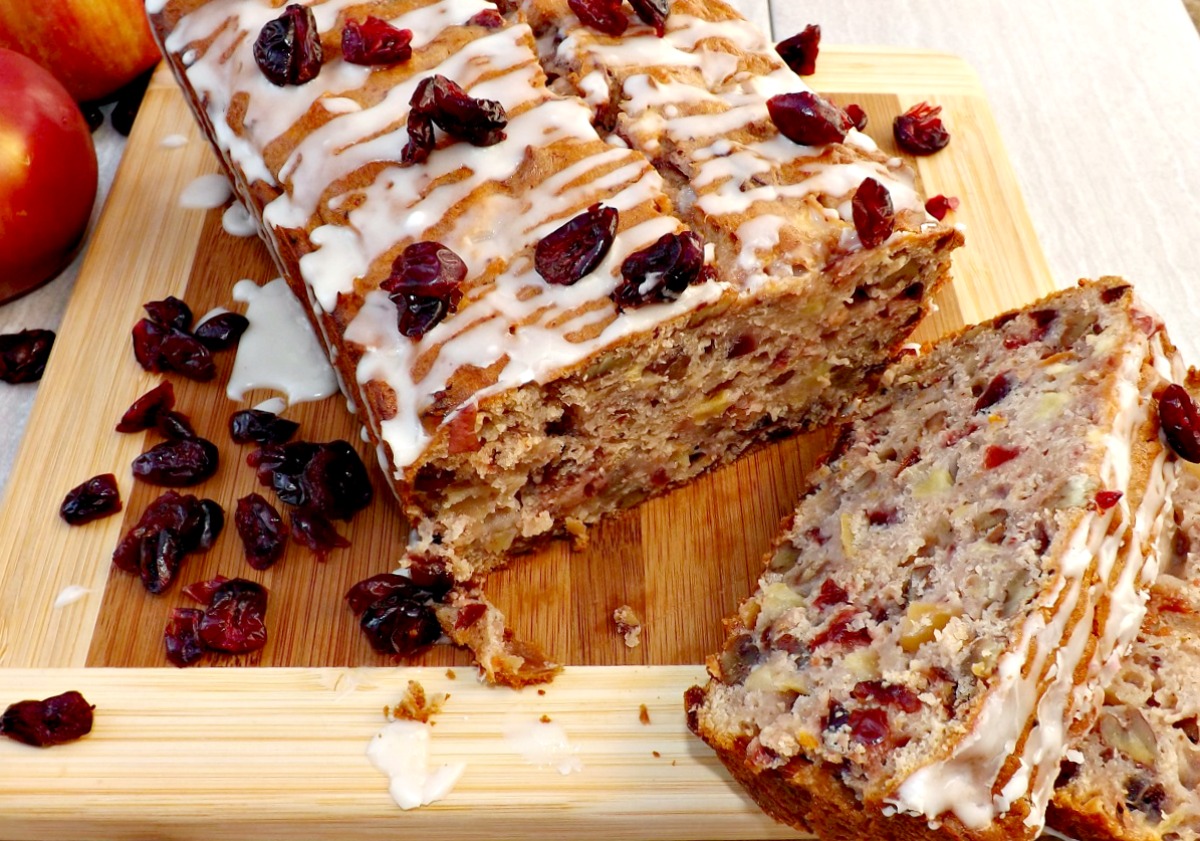
I love the way this turned out. It is rather like fruitcake, in that there is just enough batter to hold the fruits together and man, is it ever full of fruit, but without the dried and candied fruit peel. Not that I personally have any issue with those. I’m a fruitcake fan from way back. I can eat my weight in fruitcake, be it homemade or store bought.
This is wonderfully moist, full of both cranberry sauce and dried cranberries as well as a ton of diced apples. Add in some orange zest and warm spices and this is such a quintessential Fall and Winter style quick bread. It’s easy to throw together, with the most “difficult” part being dicing the apples (I’ll add a tip for how I do that quickly in the recipe instructions). And it makes your house smell SO good while it’s baking. This is the typical quick bread, in that it is even better the second and third days than it was when freshly baked.
You know the drill! <3
Spiced Cranberry Apple Bread
- 2 cups flour
- 1/2 teaspoon salt
- 2 teaspoons baking powder
- 1 1/4 teaspoons ground cinnamon
- 1/2 teaspoon ground nutmeg (preferably freshly grated)
- 1/2 teaspoon ground cloves
- 1 tablespoon orange zest
- 1/2 cup (one stick) unsalted butter, room temp
- 1/2 cup sugar
- 1 1/2 teaspoons vanilla extract
- 1/2 teaspoon orange oil or orange extract
- 2 eggs
- 1 14 ounce can cranberry sauce (or 1 3/4 cup homemade)
- 1 1/2 cups finely diced, cored apple (about 2 mediumish apples; don’t worry about peeling) *note at bottom
- 1 1/3 cups chopped, toasted pecans
- Glaze-
- 1/4 cup powdered sugar
- 1 1/2 to 2 tablespoons lemon juice
- 1/4 teaspoon vanilla extract
Spiced Cranberry Apple Bread
- Preheat oven to 350 degrees and grease a 10 inch loaf pan. If you don’t have a ten inch, use a 9 inch and a mini loaf pan or a couple of spots in a muffin tin. Just don’t try to load all of the batter into a 9 inch pan or it will overflow.
- Whisk together the flour, salt, baking powder, spices and orange zest in a small bowl.
- In a large bowl, using a hand mixer on low speed, beat together the butter, sugar and extracts until light and creamy. Add in the eggs and beat until just mixed. Add in the cranberry sauce and beat just until mixed.
- Using a large spoon or rubber spatula, add in the flour mixture all at once. Without stirring, dump the apples and pecans on top, then mix the batter (use a wooden spoon or spatula, not the mixer) together just until mixed and there are no flourly streaks in it. I say again, as I have before, do NOT overmix quick breads of muffins of you end up with tough bread with tunnels in it.
- Bake at 350 until golden brown and a skewer inserted in the middle comes out clean, with no moist batter, just a few crumbs, about 45 to 55 minutes, depending on what pan(s) you used. If you put some in a muffin tin or mini loaf pan, make sure to check those sooner, at about the 30 minute mark.
- Let cool in the pan for five minutes or so, then use a butter knife to loosen from the sides and invert onto a rack to finish cooling. When cool, whisk together the glaze ingredients in a small bowl and drizzle over the top of the loaf.
Copyright Notice: From Cupcakes To Caviar images and original content are copyright protected. Please do not publish these materials anywhere without prior permission.
Spiced Cranberry Apple Bread
*Note- I’ve found that the easiest way to get a nice dice on fruit is to simply not try so hard. I used to stand over them and painstakingly finely dice each piece of apple. Now, I core them, give them a rough chop, then lay a large knife horizontally over the fruit and rock it back and forth, using the knife to scoot the pieces back into the pile as needed. It gets them diced in a minute or so and no backache from bending over a counter trying to make each piece perfect.