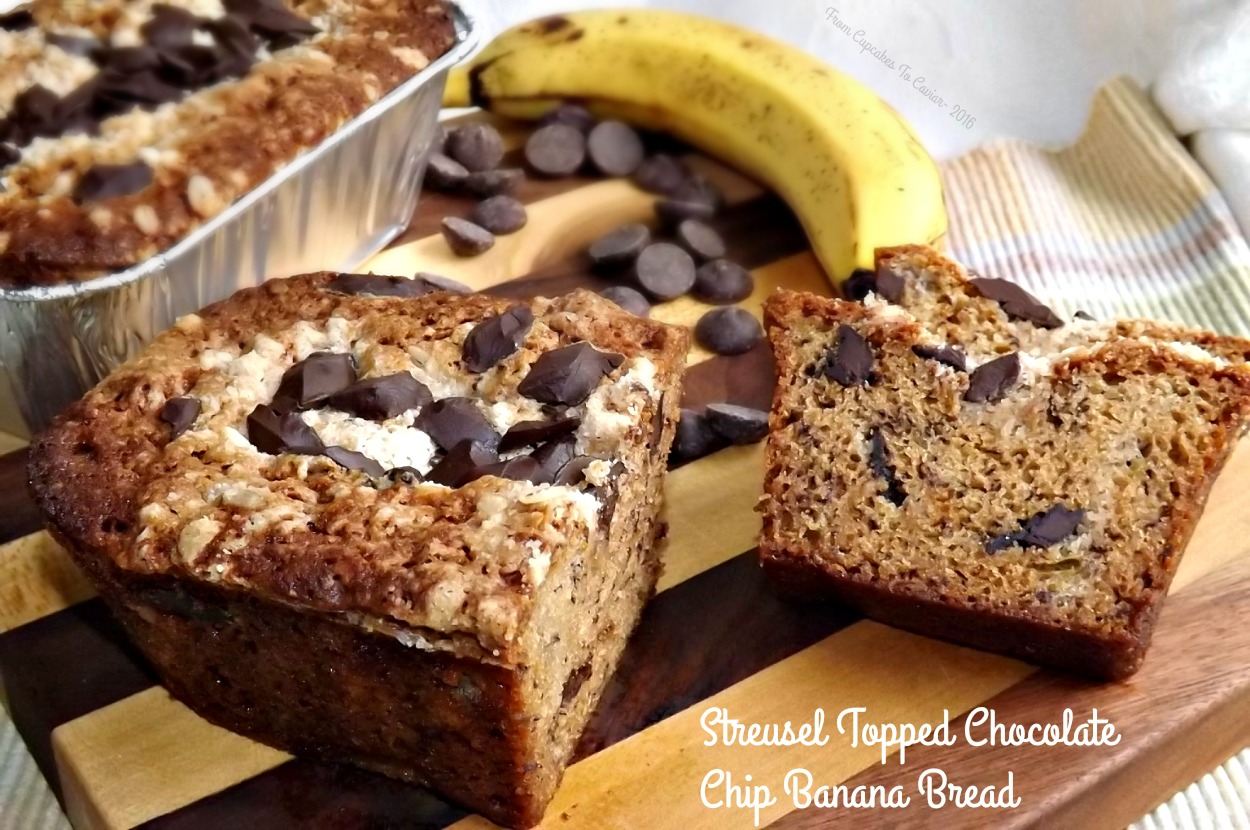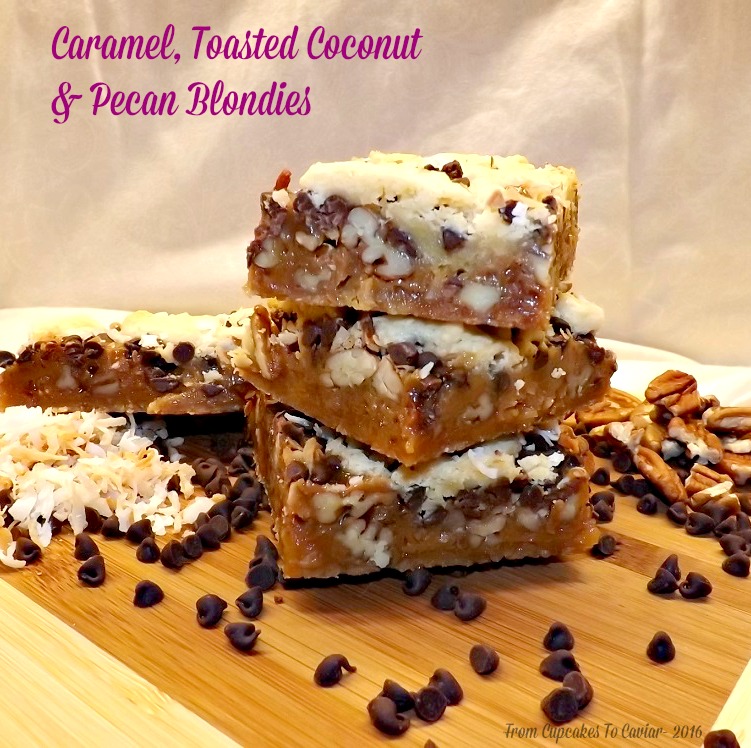
Browned Butter Chocolate Chip & Toffee Cookies
It’s time for me to get to enjoy being a Hamilton Beach Ambassador one more time! I always love when I get the chance to share my thoughts on one of their products with you, and I especially love getting to give away whatever that product is to one of you! So, what do we have to talk about today? The most recent thing the lovely people at Hamilton Beach sent to me is their Easy Reach 4 Slice Toaster Oven .
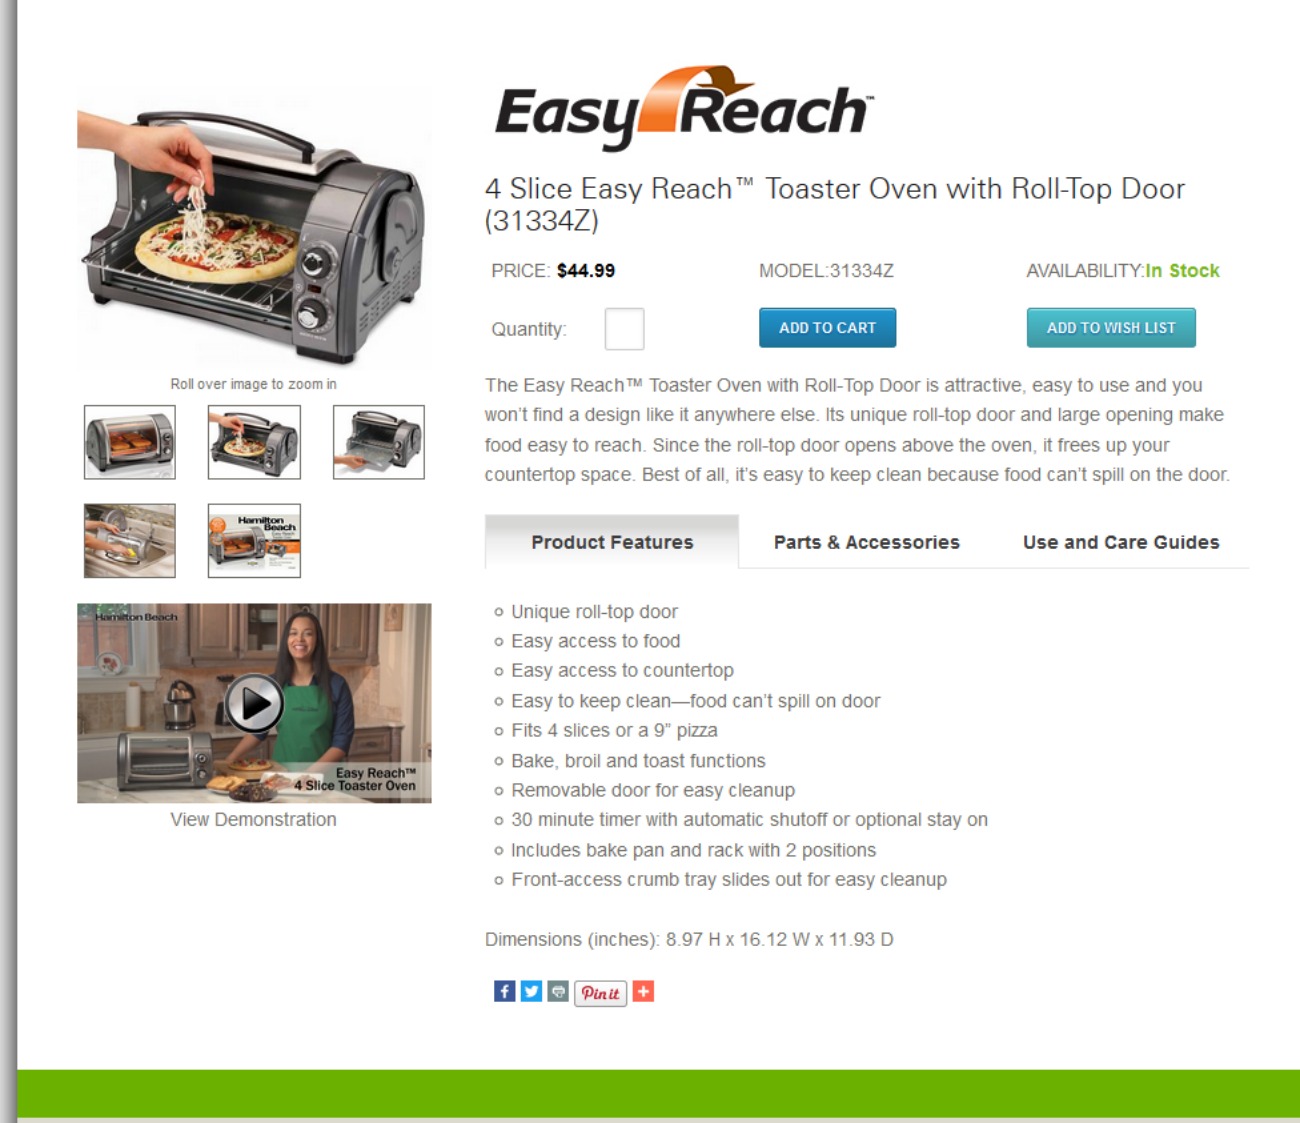
4 Slice Easy Reachâ„¢ Toaster Oven with Roll-Top Door
This toaster oven is so darn cute! Yes, I just called a toaster oven cute. But really, it is. Other women will understand it, while men will just shake their heads and assume I’m insane; rather like my husband does when I say that those teeny tiny mini sized bottles of ketchup are cute. Inside, this oven is only a wee bit smaller seeming than the typical toaster oven. What makes it seems tinier is it’s lack of bulk. You have a glass door on the front that rolls up rather than opens downward. This has a pro and a con. It makes it easier to get into the oven without worrying about the door getting in your way as you pull things out. BUT… and this is again something most women will “get”; it also means that you can’t set any sort of knick knacks or decorations on top of this oven. On my old one, I kept the cup that held all the keys, my ceramic cow named Herman (don’t ask) and a knick knack that once belonged to my mother in law. With this one, I can’t do that due to the roll top door.
But it makes up for it in other ways. The Hamilton Beach 4 Slice goes from 200 degrees all the way up to 450 degrees. Beyond toasting, you have the already mentioned bake function, plus a broil one. I can see THAT one working great for melting the cheese on top of something or crisping up a food; making burgers.
Did I mention that the door was removable? Can we say “easy cleanup”?! Unlike ones where you end up with a door so splattered and icky that you can’t see through it, with this one, after each use, just take the door off, wash it up, dry it and put it back on. No mess! 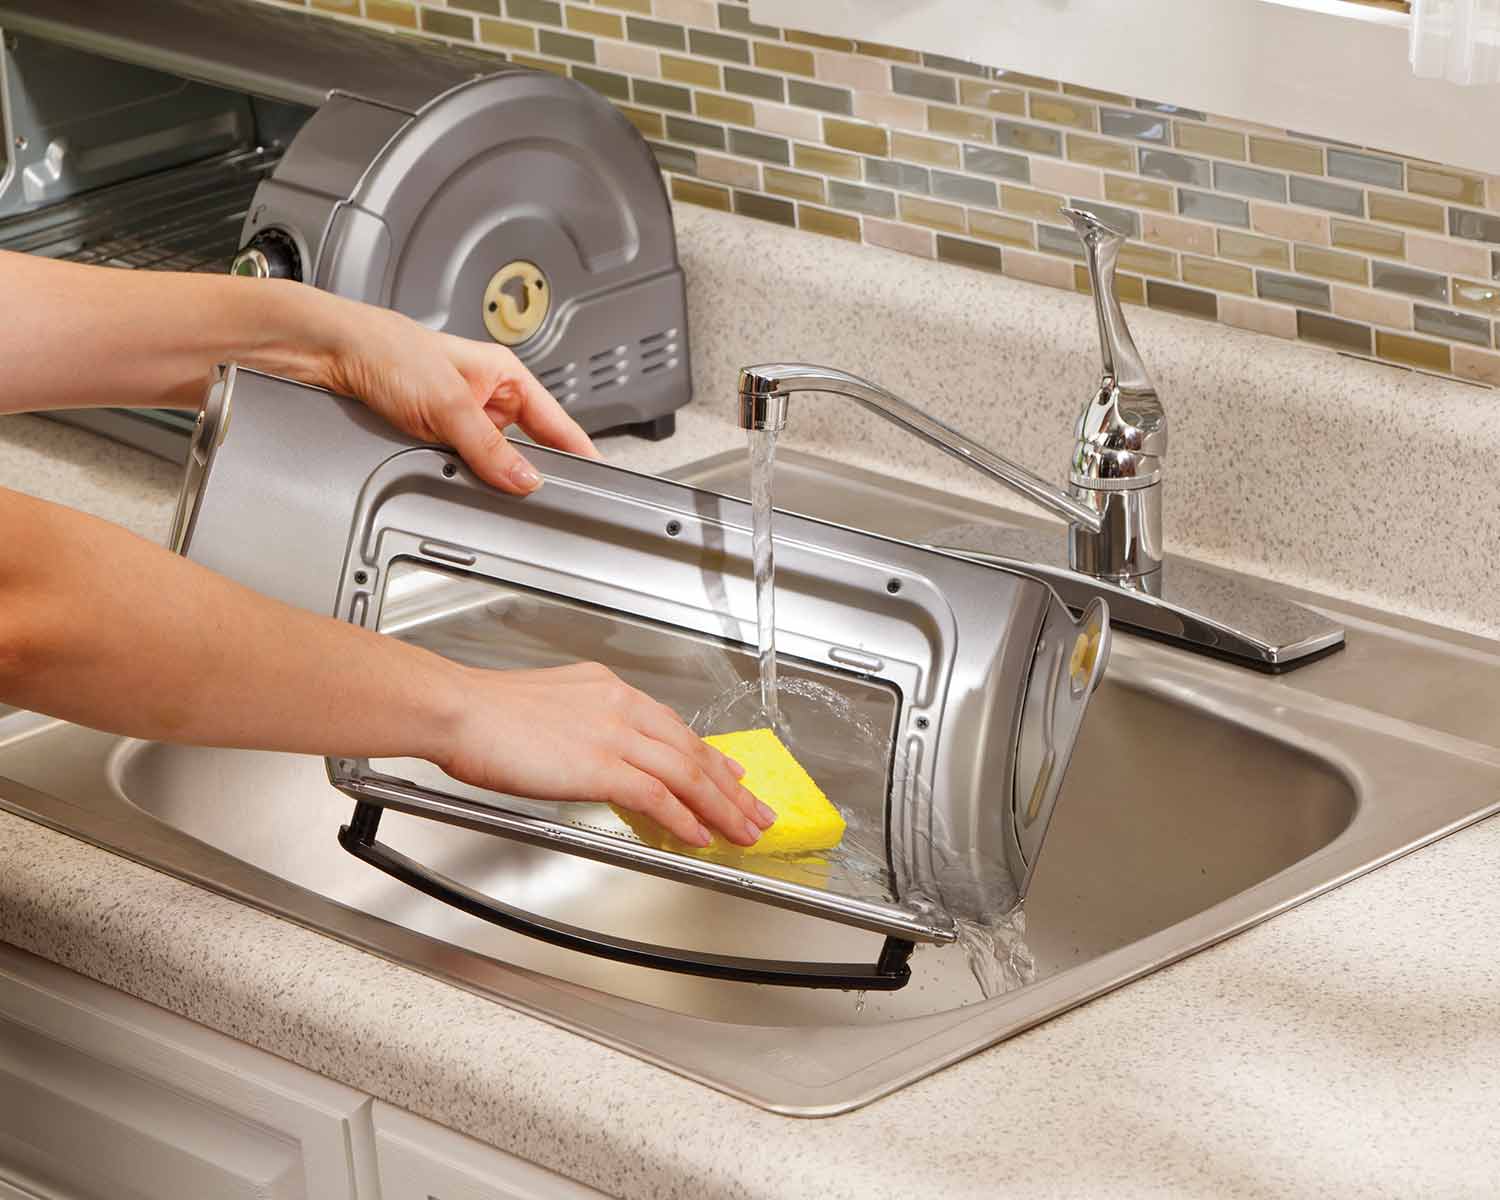 This comes with a removable rack that can be used in two different positions and a crumb tray that isn’t attached inside, so you can pull it out easily and clean it off.
My old toaster oven? I was afraid to actually COOK anything in it. I used it for toast and frozen pizzas and that was about it. But I knew if I was going to be able to accurately review this for you, I needed to branch out a little. I thought about homemade pizza, then realized that was still hedging my bets; pizza is pizza when it comes to baking. So I finally decided to make one of my family’s favorite cookies; my Brown Butter Chocolate Chip & Toffee Cookies. This cookie isn’t cheap to make generally, so I was counting on this oven to do it correctly and not end up burning the tops or the bottoms like other ones have done. So I took a deep breath and dived in.
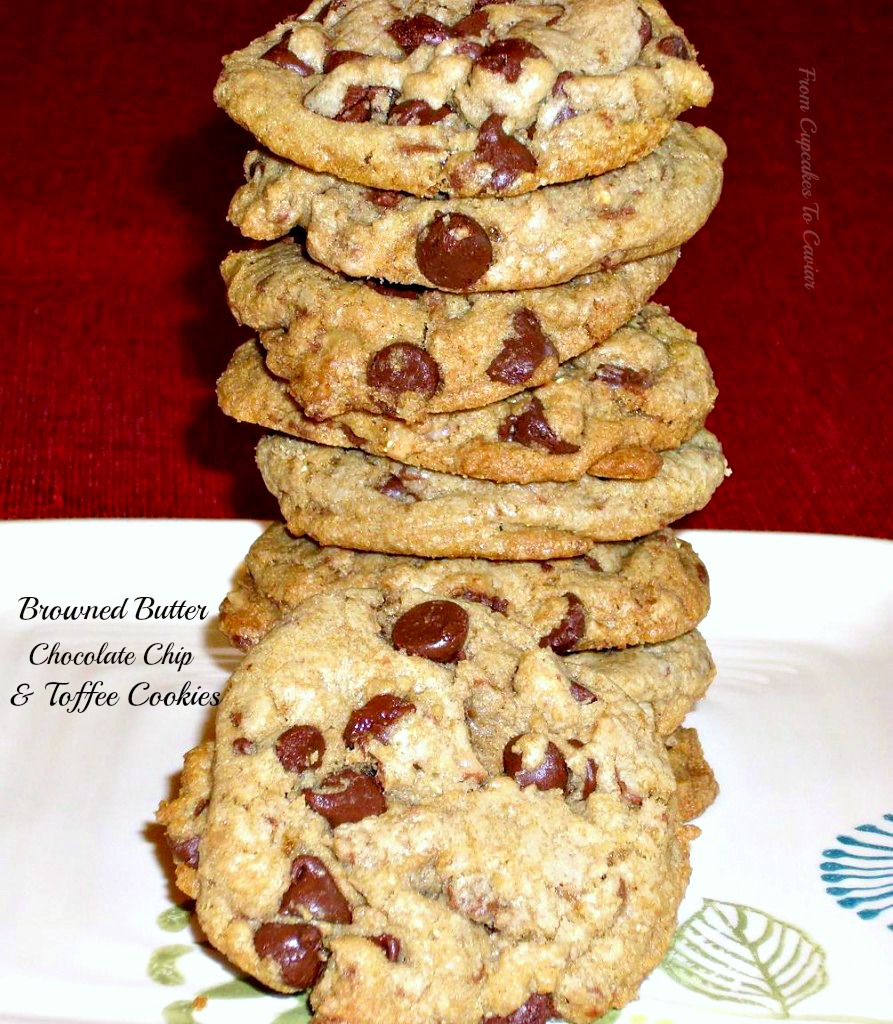
IT WORKED!! The cookies came out looking just like they should, though they seemed to finish baking about a minute and a half quicker. Obviously, you can’t fit a full sized tray of cookies in there, but the oven comes with a tray and that tray fits four cookies just fine. If made smaller, you could fit six, but I like generously sized cookies 😀 My sons got a hold of the cookies (I only got ONE cookie! Darn kids!) before I got a photo (I had only made a half batch) so the photo I am using here is my old one, but trust me, there was no difference in the cookies.
As for the cookies themselves, if you haven’t tried these before, now’s your chance! These cookies are awesome, if I do say so myself, hehe. They are ooey gooey, with a slight nutty flavor from the browned butter, but no actual pesky nuts. They have that wonderful soft middle with the crispy edge. You could make a half batch like I did and have enough for the here and now, or make the full batch of dough, freeze half in cookie sized balls, then bake in the toaster oven anytime you get a craving. You can bake straight from frozen; just add a couple of minutes time on.
                        Browned Butter Chocolate Chip & Toffee Cookies
- 1 cup (2 sticks) unsalted butter, browned to a golden brown color & cooled
- 1 cup packed dark brown sugar
- 1/3 cup sugar
- 1 egg
- 1 egg yolk
- 2 tablespoons cream
- 1 tablespoon vanilla extract
- 2 1/4 cups all purpose flour
- 1 teaspoon baking soda
- 1/2 teaspoon salt
- 1 12 ounce bag semi sweet chocolate chips
- 1 bag Heath Bar toffee chips (or 4 Heath bars, crushed)
- To brown the butter, in a medium saucepan, over medium heat, melt the butter. Let cook,stirring frequently, until it turns a golden brown color. This can take anywhere from five to ten minutes. It will sputter, spit and foam a lot at first then that will stop. Do NOT walk away from this as it can go from yellowish butter to burnt garbage very quickly.
- Pour the browned butter into a large bowl, leaving behind all the solid bits at the bottom of the pot (though if you get some in there it’s no big deal. Don’t worry about it.). Let cool.
- When cool, pour both kinds of sugar into the bowl with the butter. Beat until well mixed.
- Add in the egg and egg yolk, then pour in the vanilla and the cream. Beat on low speed until well mixed.
- In a small bowl, combine the flour, baking soda and salt.
- Pour the dry ingredients into the wet and at slow speed (unless you want to be covered in flying flour), mix until you have a cohesive cookie dough.
- Fold in the chocolate chips and the toffee bits.
- Now you can chill for about an hour if you want. The original recipe says to but I didn’t bother and they were fine.
- Heat oven to 350 degrees. Line a cookie sheet with parchment paper or a silicone mat. If you don’t have a silicone mat, please go buy one. They aren’t cheap but oh my, they’re worth it. Trust me on this. The first time you use it, you’ll totally understand. Spray the cookie sheet with baking spray.
- Scoop the cookies up and place about 2 inches apart on the lined cookie sheet.
- Bake at 350 until golden brown on the edges, about 10 to 12 minutes. Do NOT over bake or they will lose that delicious softness and gooeyness (yes, that is now a word). They should be firm on top if you press one lightly but not hard.
- Let cool for a minute on the sheet then transfer over to a wire rack to finish cooling.
Copyright Notice: From Cupcakes To Caviar images and original content are copyright protected. Please do not publish these materials anywhere without prior permission.
Now for the fun part; the giveaway! Enter below for your chance (chances) to win one of these Hamilton Beach 4 Slice Toaster Ovens for yourself!
[promosimple id=”95f8″]
Disclosure-The lovely people at Hamilton Beach provided me with a 4 Slice Easy Reach Toaster Oven With Roll Top Door to review, but all opinions are 100% my own and completely honest.


%20Cajun%20Chicken)