It’s that time again; time for the annual Thanksgiving post. After almost 6 years of blogging, I have accumulated quite a few recipes that work in this category, so I have to cull some out so as to not end up with a post with 50 different additions. 😛
Let’s start with entrees. Because…turkey…ham. Yummy. 😀
This Orange Marmalade Brown Sugar Glazed Ham is my absolute favorite way to make a ham. The ham turns out so moist and tender with such a delicious sweet/salty flavor you’ll keep coming back for. This Sesame Soy Turkey Breast is fantastic if you’re a cook who’s willing to leave the traditional box a bit on Thanksgiving. This glaze can also be used on a whole turkey, a chicken, game hen, you name it.
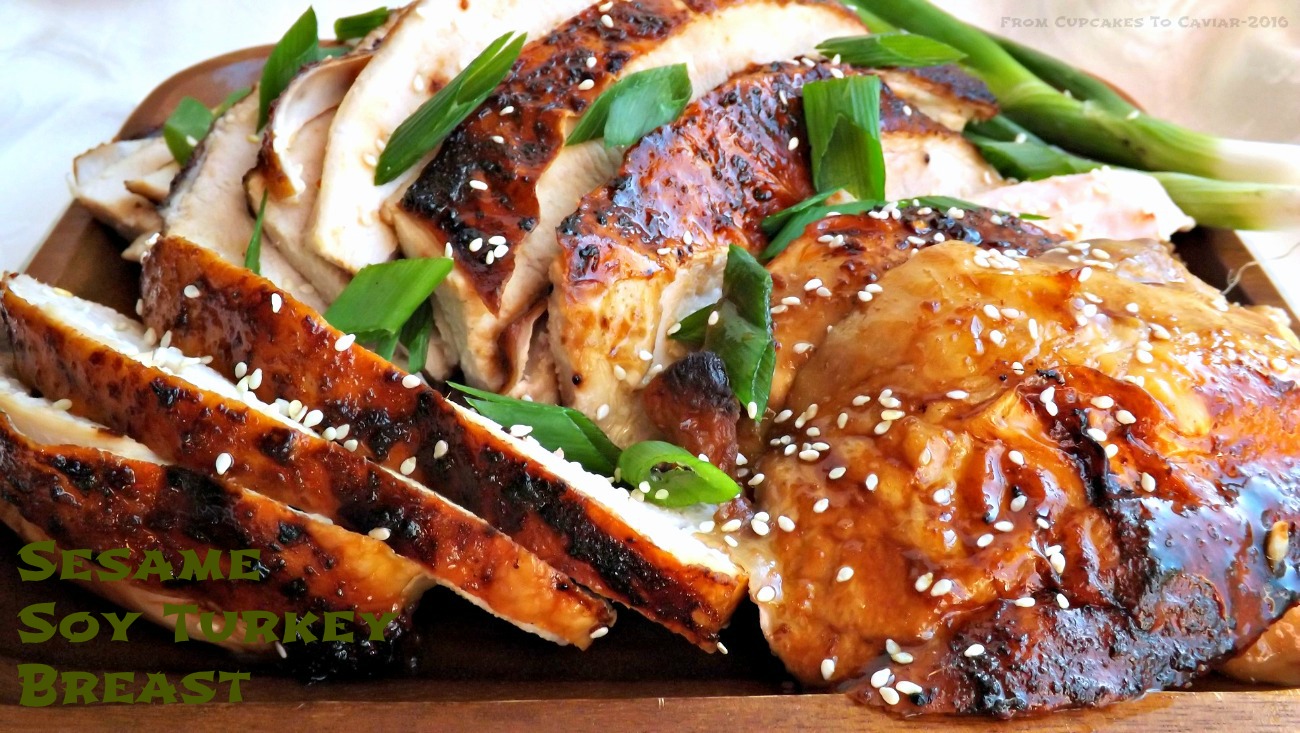
Sesame Soy Turkey Breast
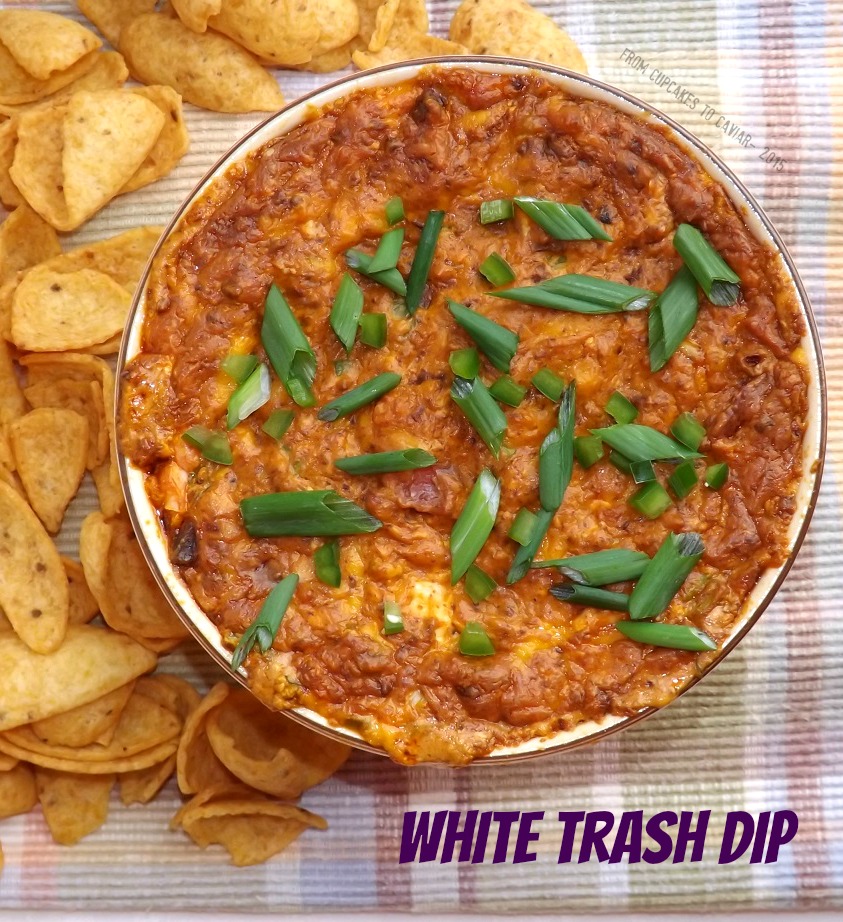
I know that a lot of families like to serve a pasta dish as one of the main dishes so I’m including our favorite, this Cheesy Sausage And Meatball Pasta Bake. This makes a LOT, so it’s perfect for Thanksgiving, when a lot of people are there, with everyone getting as little bit of each dish.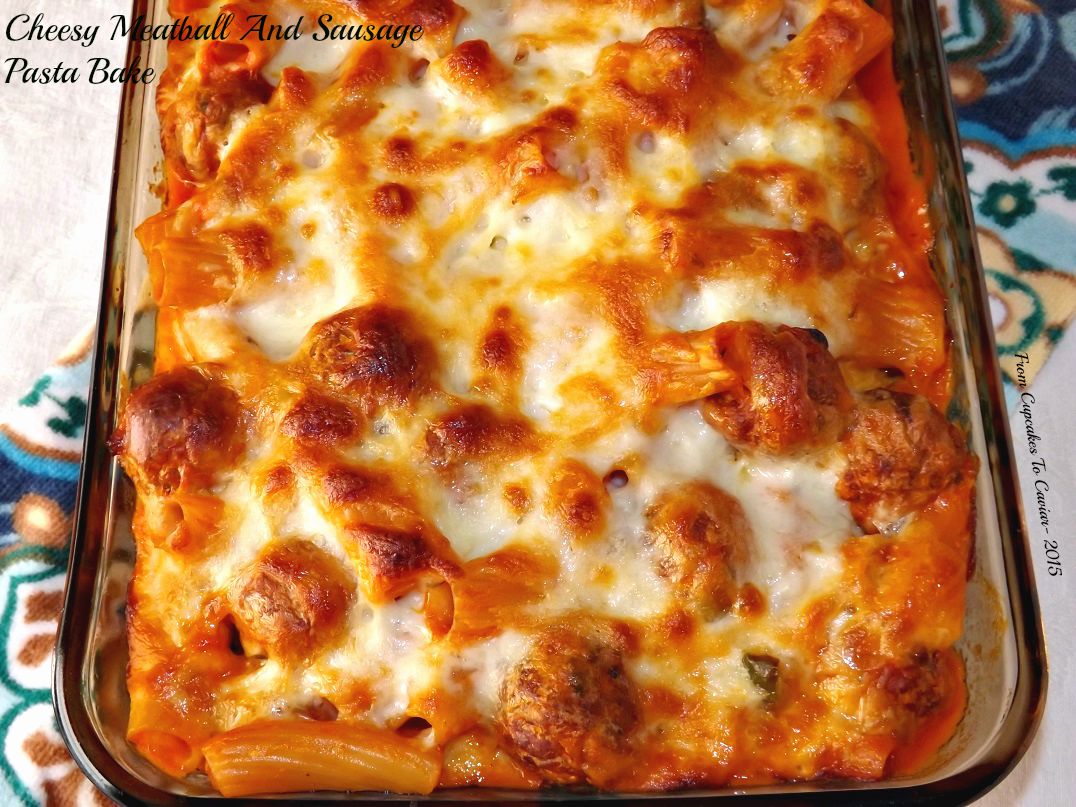 Let’s move on to appetizers; those little bits you put out to keep everyone from storming the kitchen begging for food. :-PÂ One of my favorite easy dips (and when I say easy, I mean it) is my White Trash Dip. I know; such a classy name, lol. But it is great for appeasing the hungry mongrel hordes and quick to throw together, which is always a plus on Thanksgiving.
I have adored Boursin Cheese for years, but man, that stuff is expensive for the small amount you get. So I started making my own years ago. This is soooo good and always a hit. It’s creamy, great with veggies like celery sticks as well as crackers. If you have any left over, it also makes a great stuffing for chicken breasts.
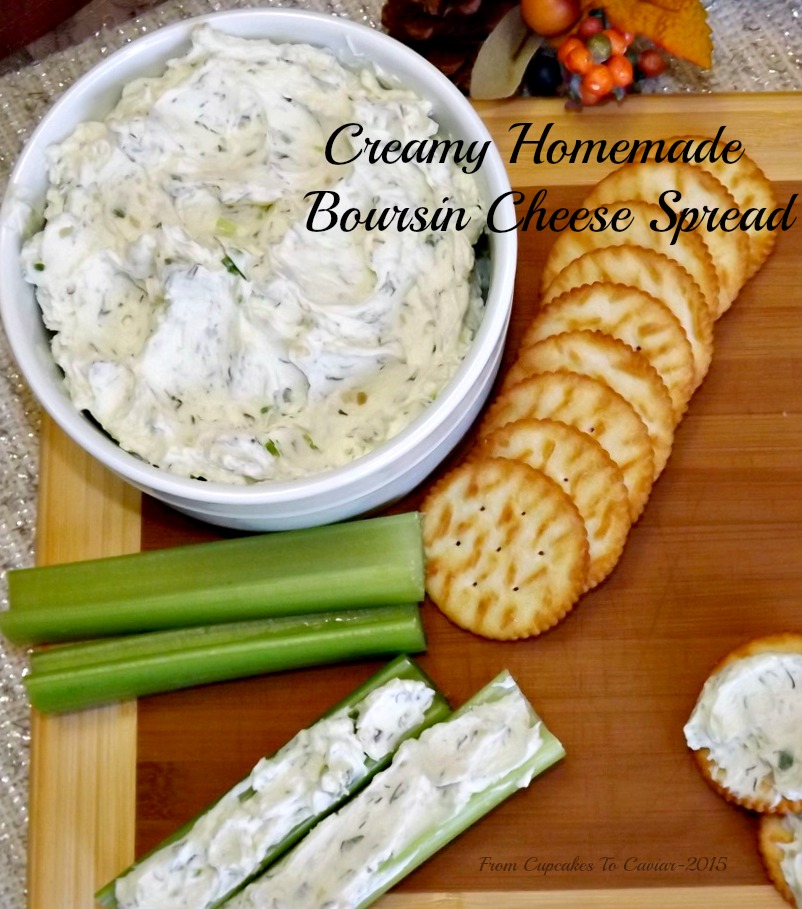
Creamy Homemade Boursin Cheese Spread
Ahhhh, side dishes. What would Thanksgiving be without 50 side dishes to serve with the turkey and ham? One of my all time most popular posts here at From Cupcakes To Caviar is my Insanely Cheesy And Creamy Mac And Cheese. This makes a HUGE pan of mac and cheese, so it’s perfect for the holidays.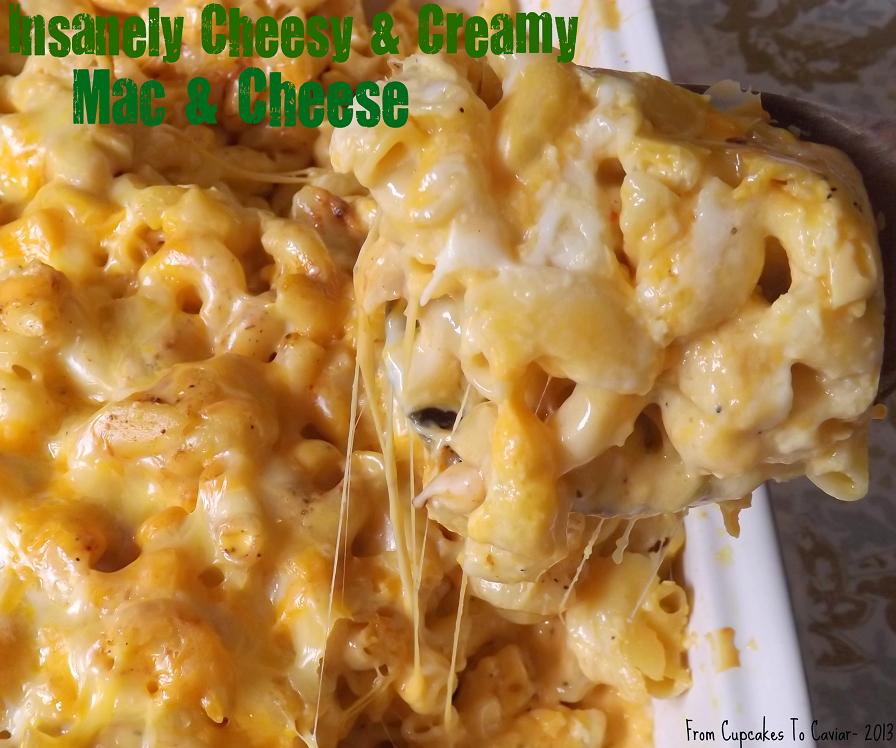 You can’t have turkey without mashed potatoes, right?
I was never a mashed potato fan until I made up these Ultimate Buttery Sour Cream And Onion Mashed Potatoes. I totally love these. They are creamy, buttery (boy, are they buttery) and with a subtle tang from the cream cheese.
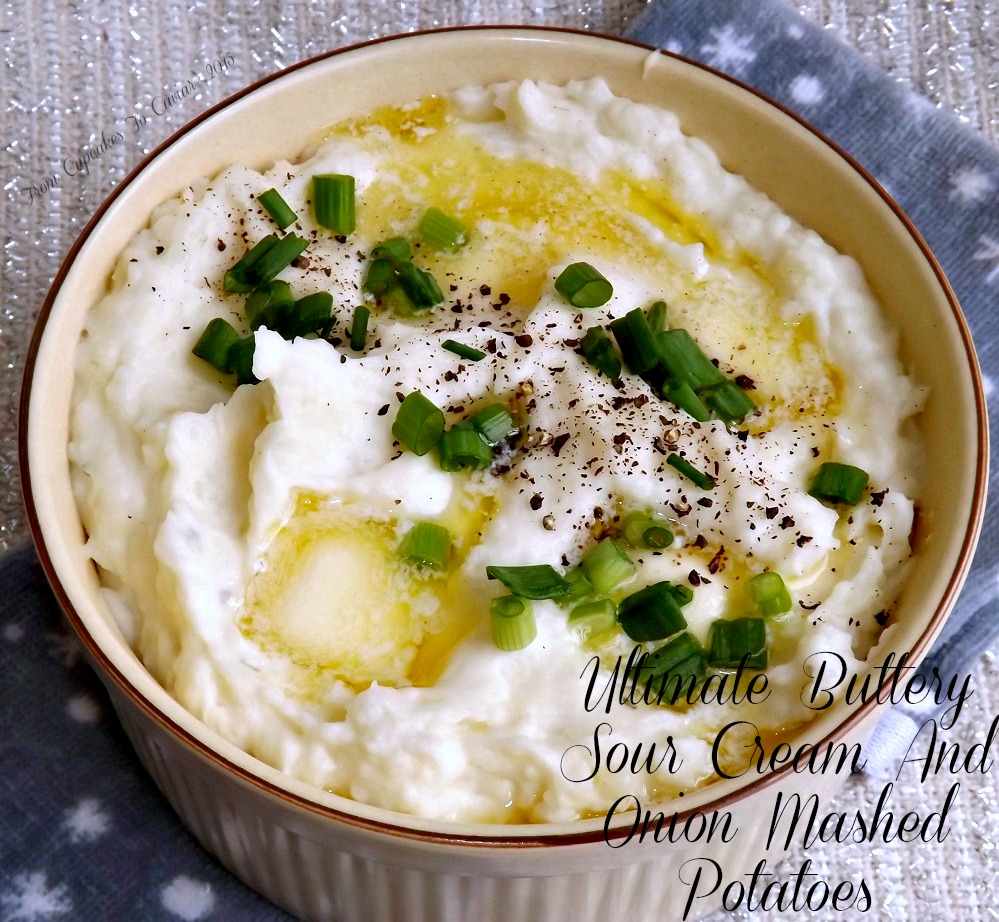
Ultimate Buttery Sour Cream And Onion Mashed Potatoes
If you want to go a little different, you can’t beat these Herb Roasted Potatoes And Root Vegetables. The potatoes and veggies get all crispy on the outside and all soft and tender inside. So, so good.
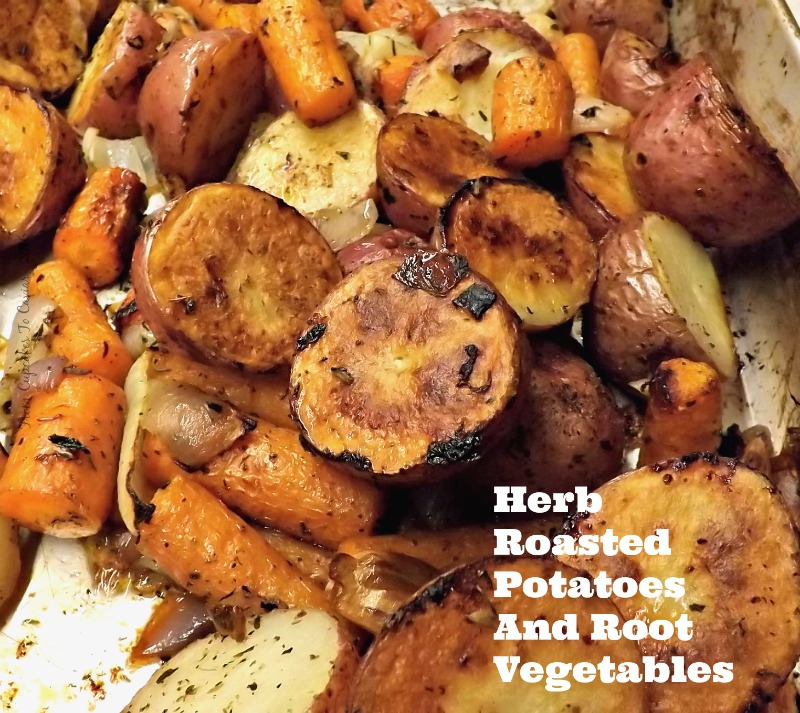
Herb Roasted Potatoes And Root Vegetables
I was never a cold pasta salad sort of a person until I made up this Chilled Caprese Tortellini Salad a few years ago. It’s great during the holidays for people who may want something a little lighter (and with no meat in it, lol) but still full of flavor.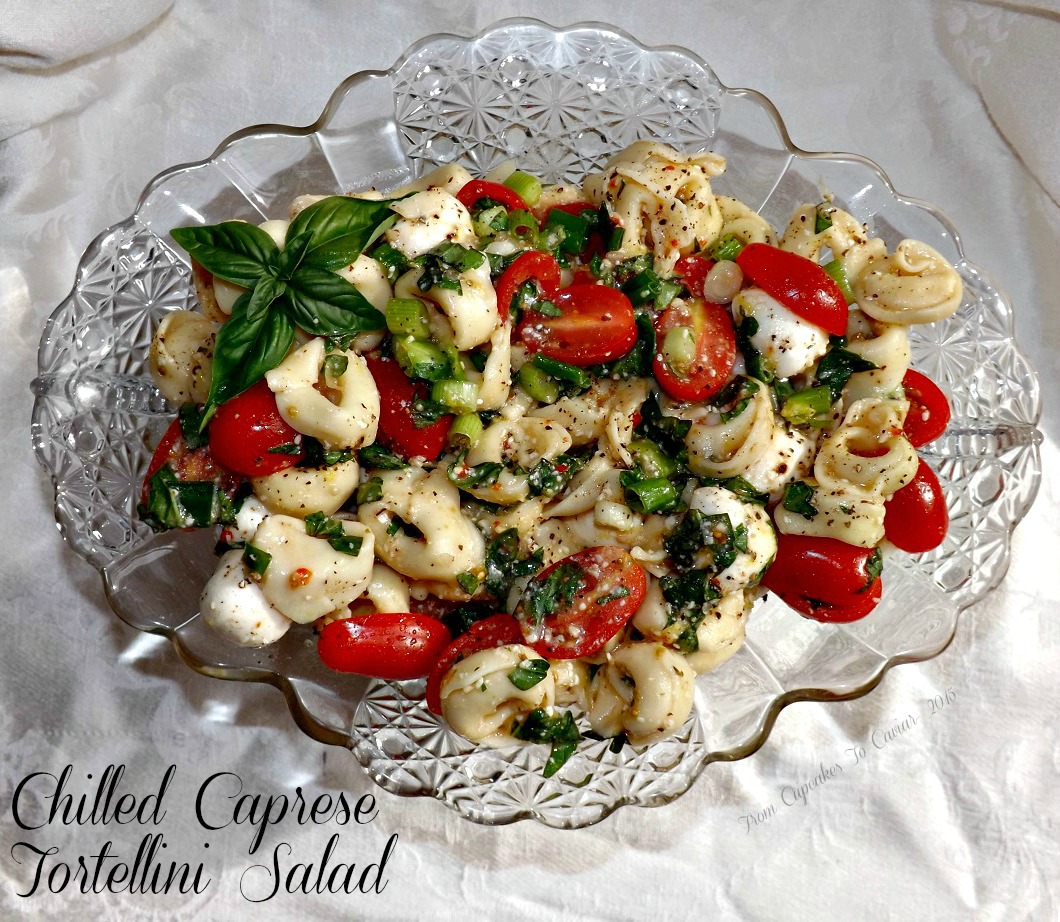
I have a major thing for Winter squashes. To me, they stand so far above the ubiquitous Summer squashes. I took one of my favorites here and stuffed it to come up with Squash Stuffed With Sausage, Pears And Cranberries. This is a fantastic addition to the holiday meal or a great light entree on it’s own.
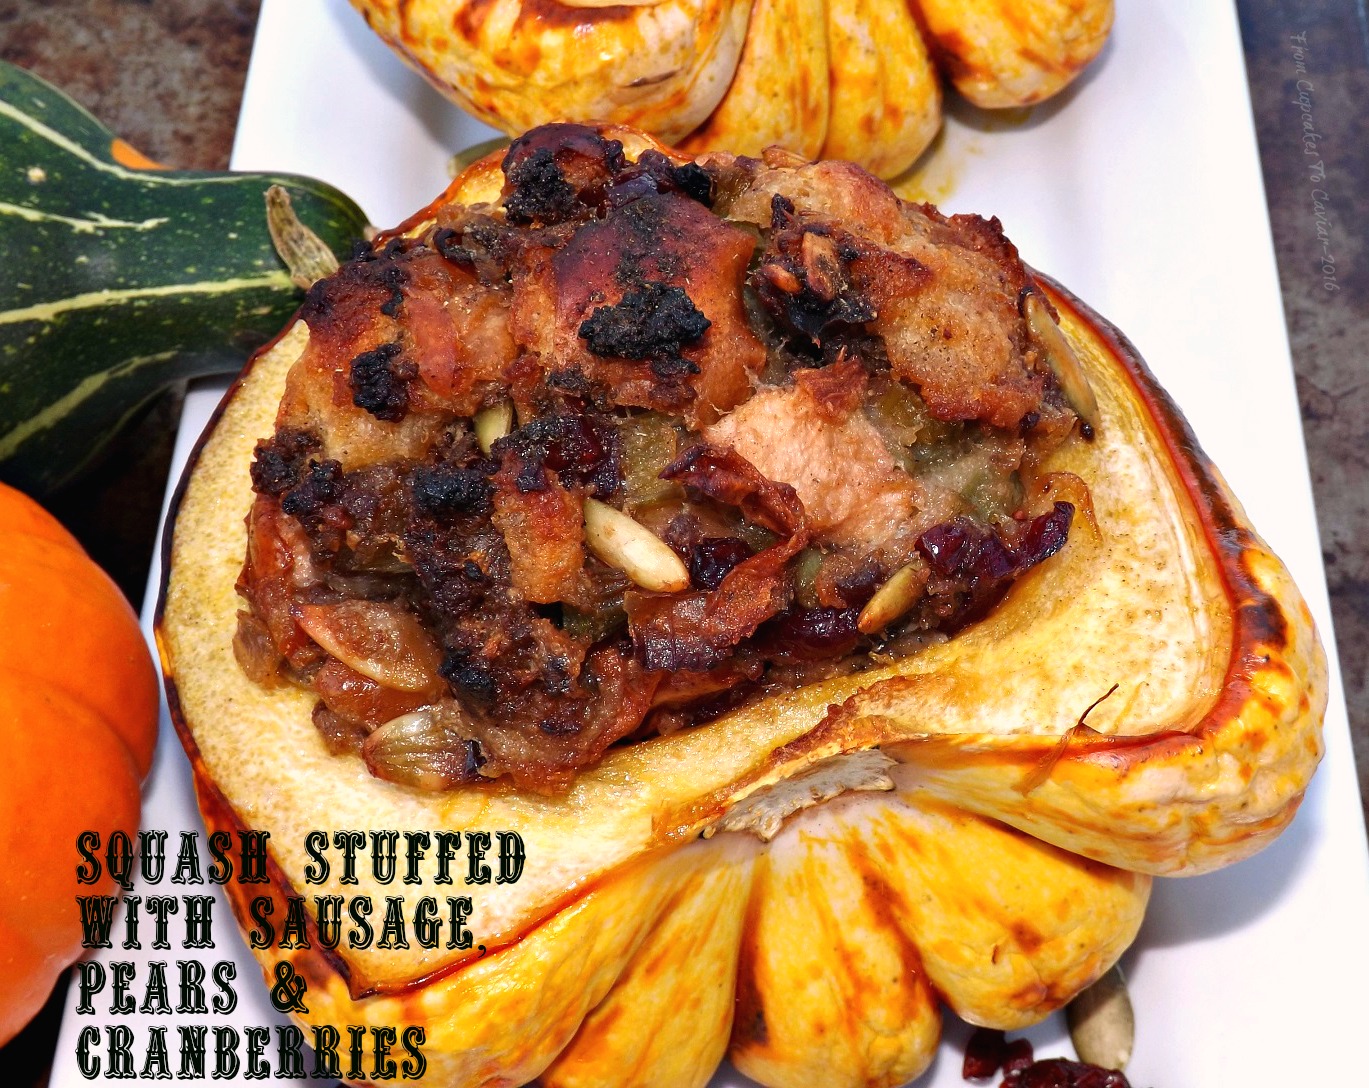
Squash Stuffed With Sausage, Pears And Cranberries
You can’t have Thanksgiving dinner without cranberry sauce, right? While I admit to a secret love for the kind that slithers out of the can with a loud plop, I also love homemade cranberry sauce and make a large batch every year. My Spiced Spiked Cranberry Sauce is a perfect foil for all the rich dishes you’ll be serving. The brandy is completely optional so don’t let that turn you away from it. 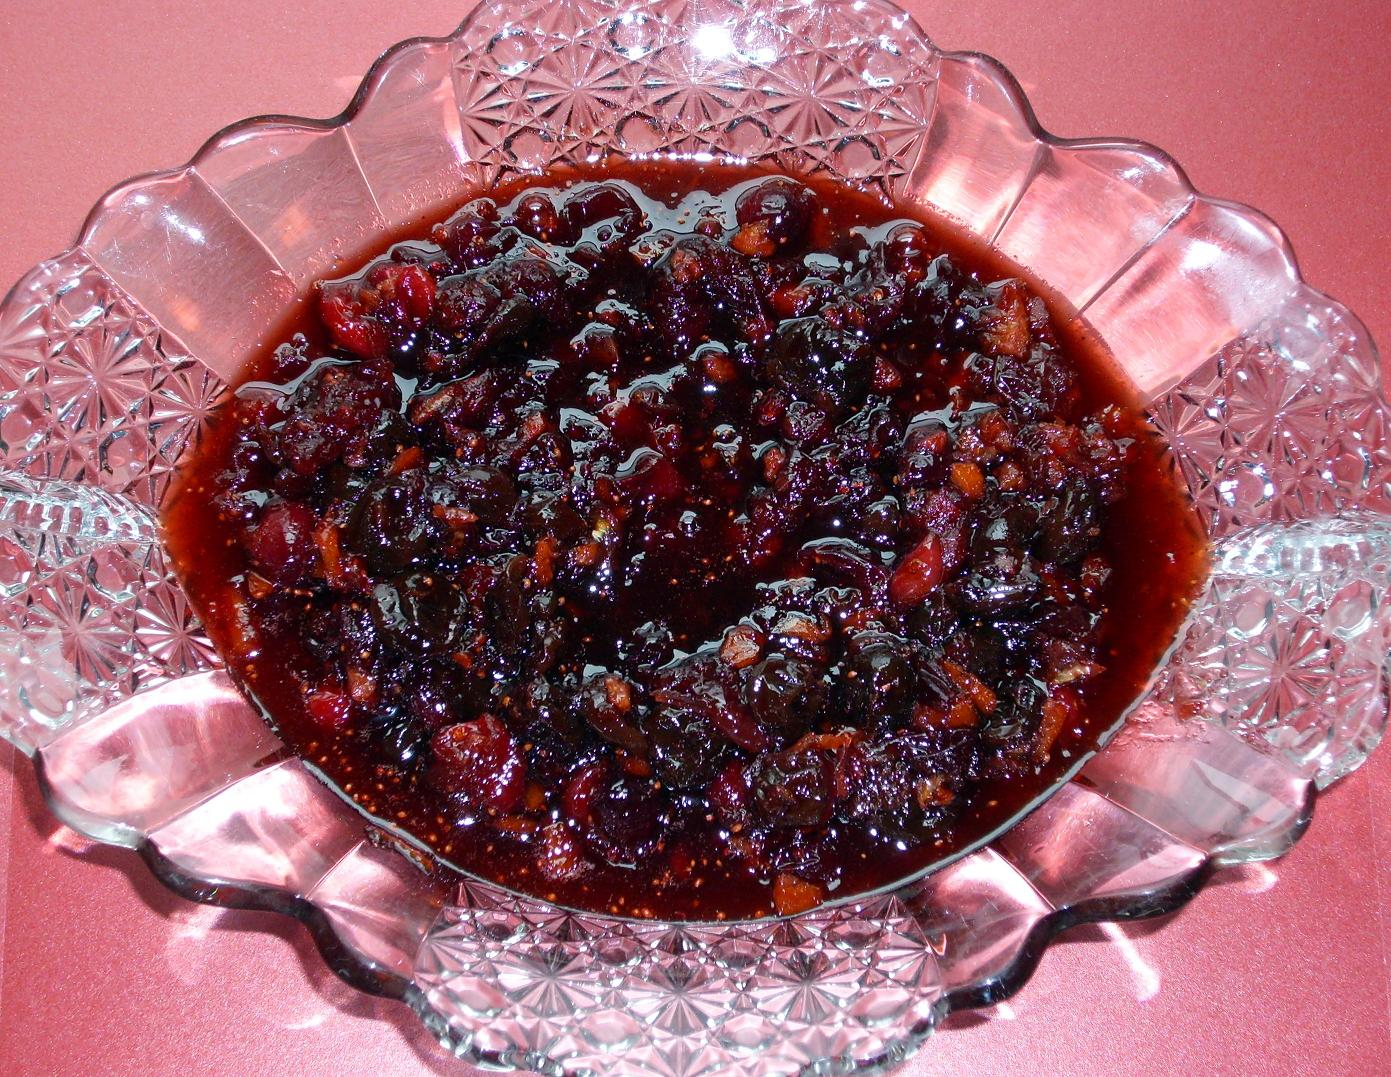
Now we come to the breads. I’m not normally a big one for breads, but hot and fresh on the holidays? I tend to go for them more at that time. And these Angel Biscuits have become a family favorite. Since they have baking powder in them as well as yeast, they are fairly foolproof, which is great for the less experienced cooks out there.

Angel Biscuits
The rolls I have been making for years are these Oatmeal Yeast Rolls. They are so fluffy and soft; perfect hot spread with butter or later as a mini turkey sandwich (Yes, I know this is a bad photo. The post is an old one, when my photography skills were sub-par, to say the least. The rolls however, are amazingly good)
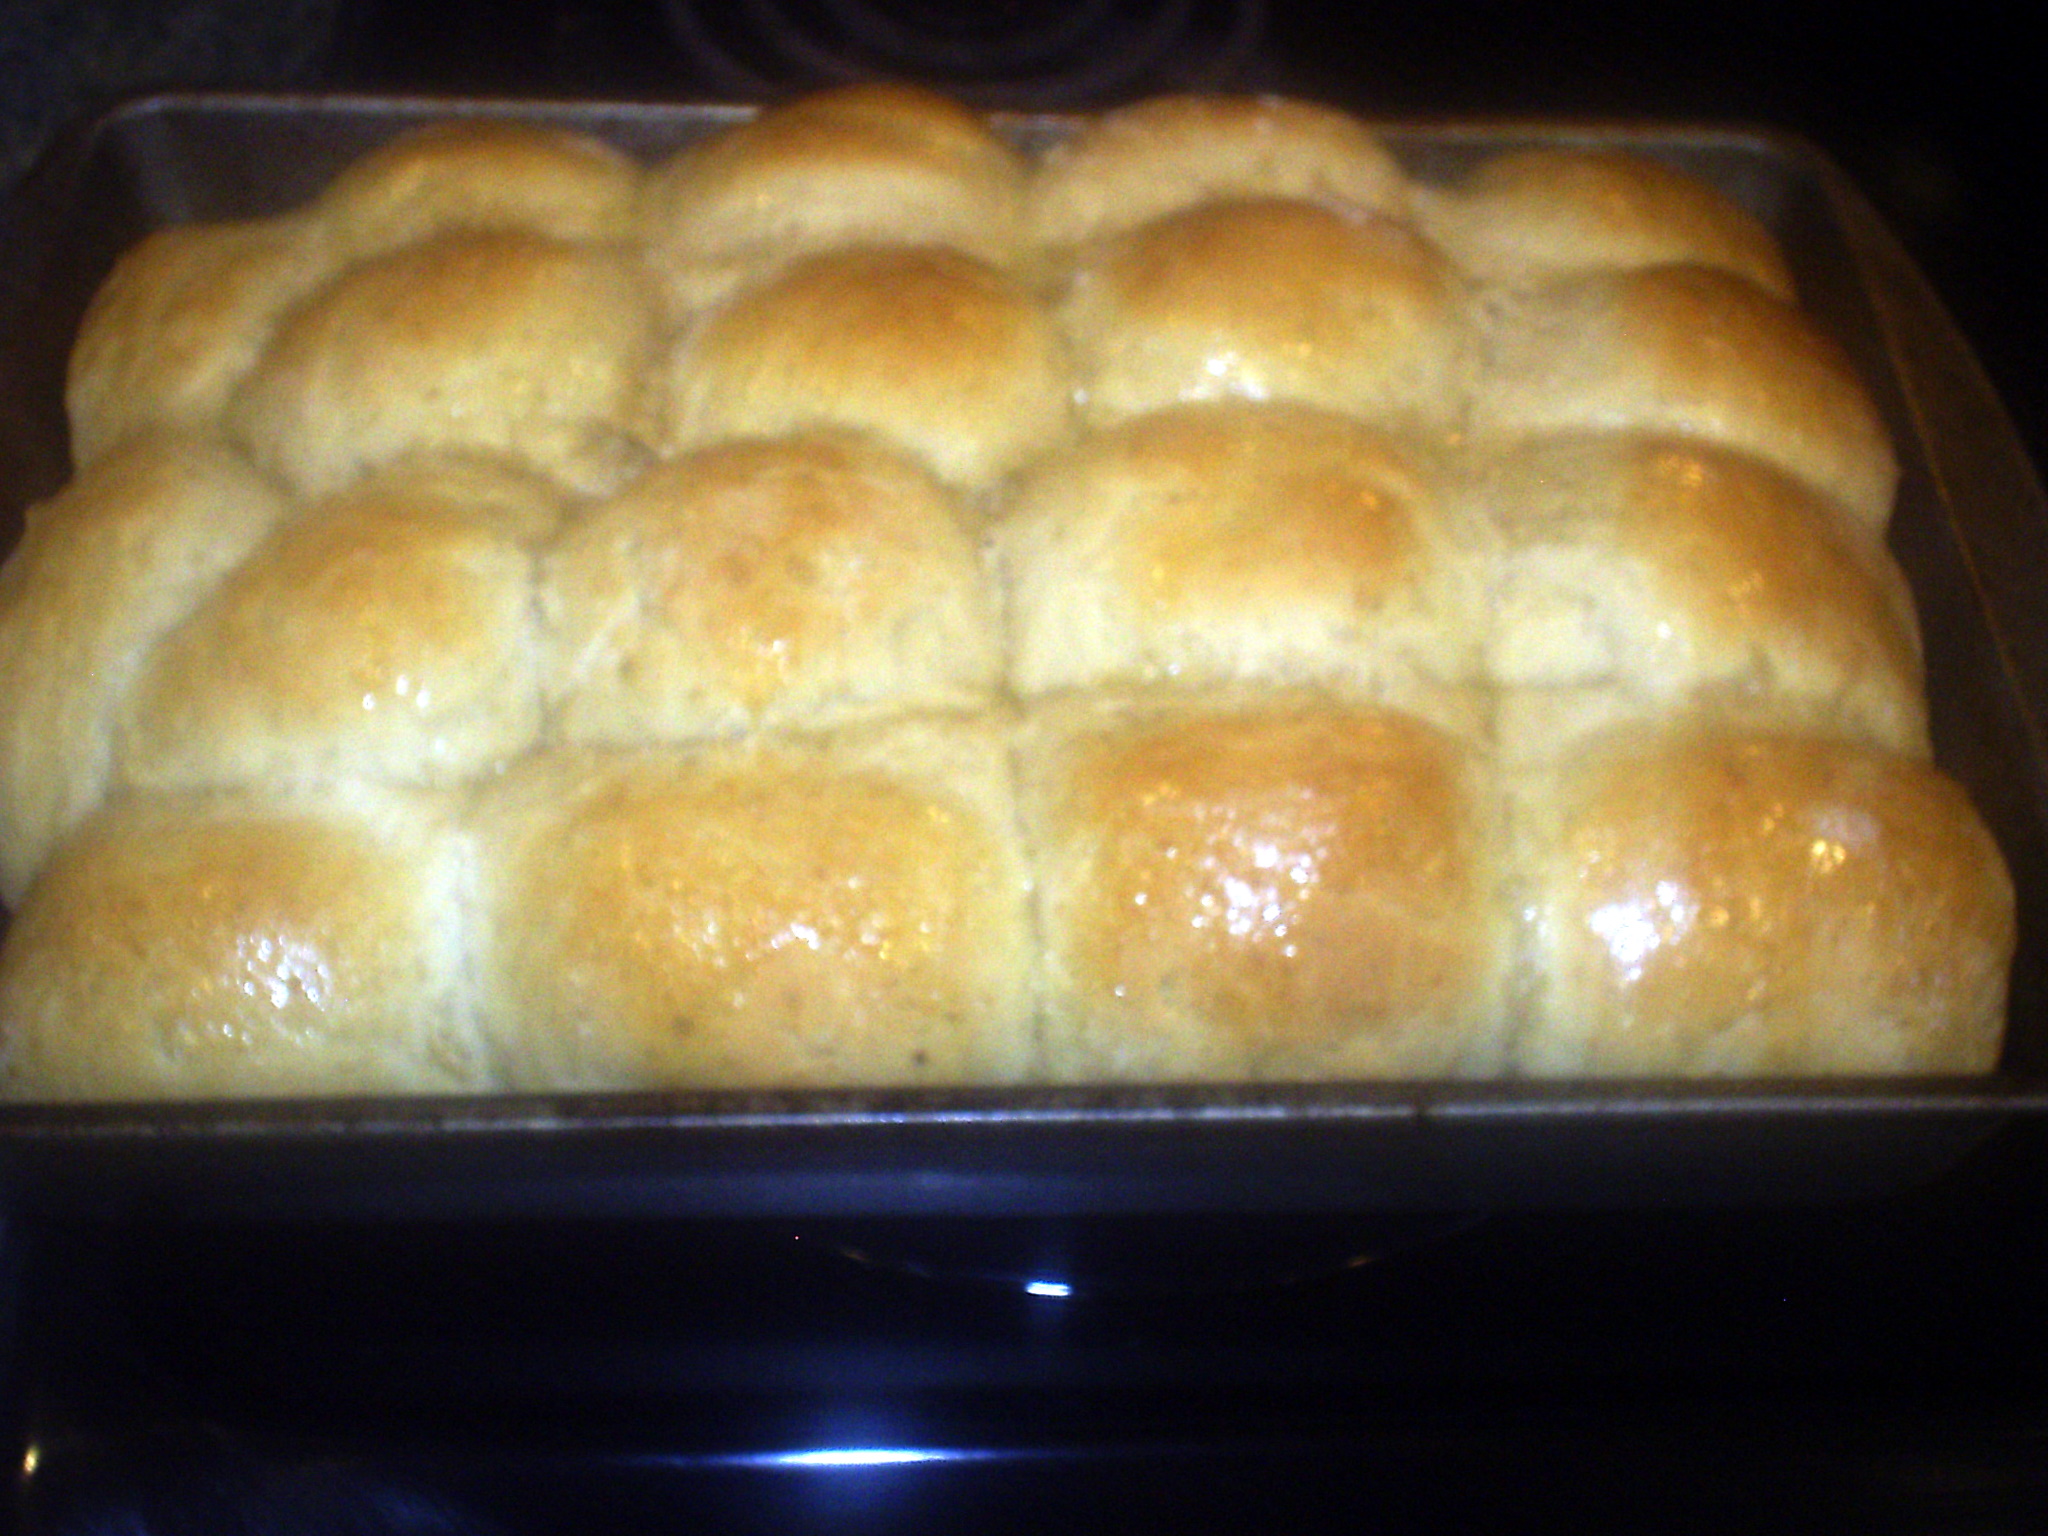
Oatmeal Rolls
I love to make a few loaves of bread for Thanksgiving as well as rolls. They are so good with dinner and make fantastic sandwiches the next day. I particularly love to make my Loaded Baked Potato Bread, The flavors in it go wonderfully with a turkey sandwich!
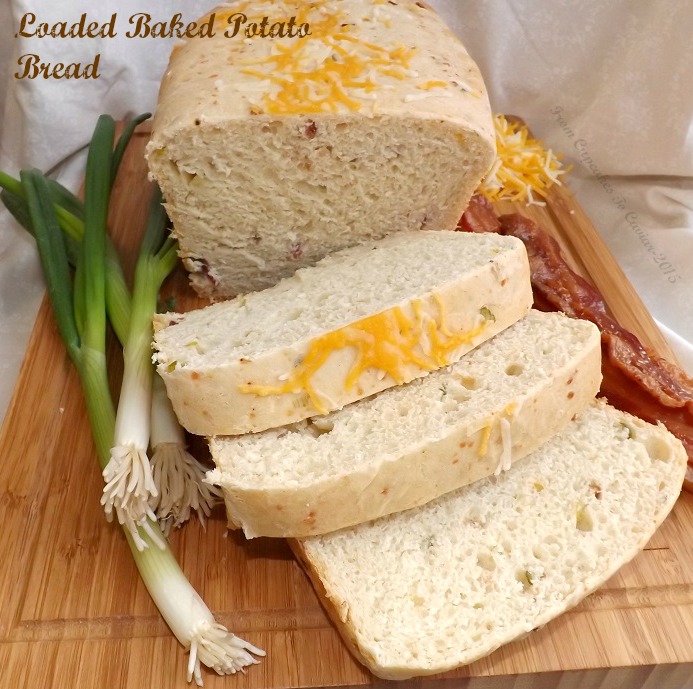
Loaded Baked Potato Bread
Here in the south, a lot of people like to make cornbread to go with dinner, even on the holidays. My Sweet Cream And Honey Cornbread is a favorite. It’s fluffy, not at all dry like so many cornbreads can be, with just a touch of sweetness.
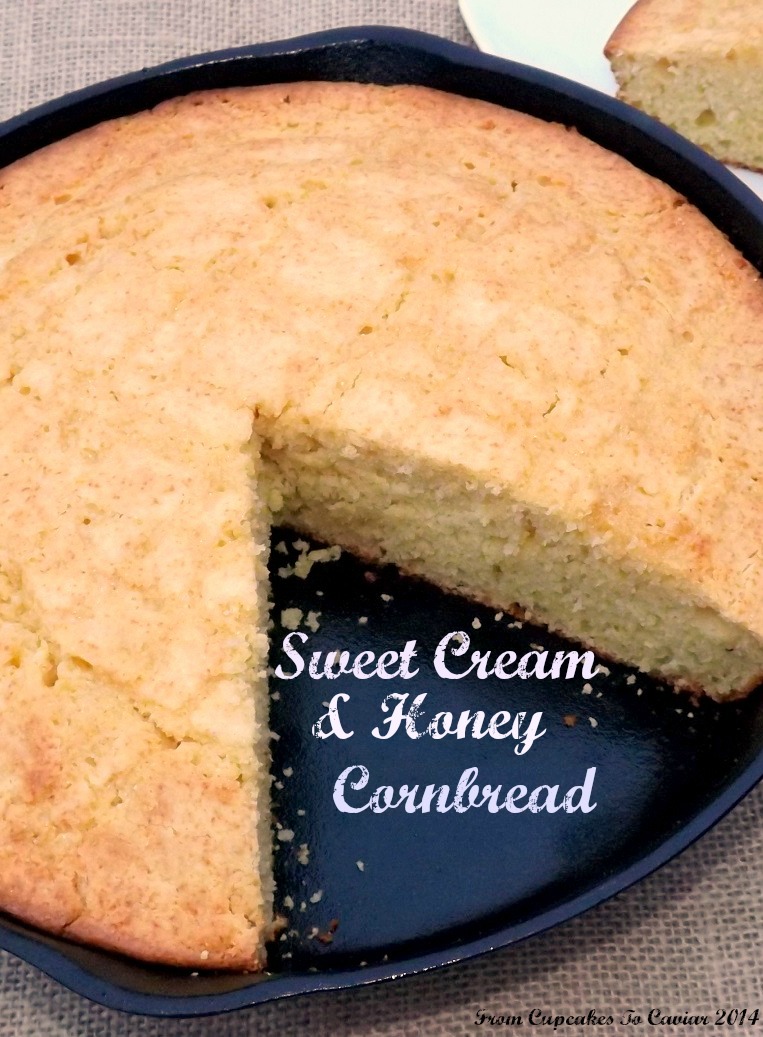
Sweet Cream And Honey Cornbread
Then, of course, we have the part of dinner that everyone looks forward to; dessert! And man, you know I have some desserts to share with you! I have to start with the classics, of course, so here is my favorite- my Decadent Extra Creamy Pumpkin Pie. This one is posted with a really good cornmeal crust, but you can use your favorite crust. Just make sure it’s a deep dish one. 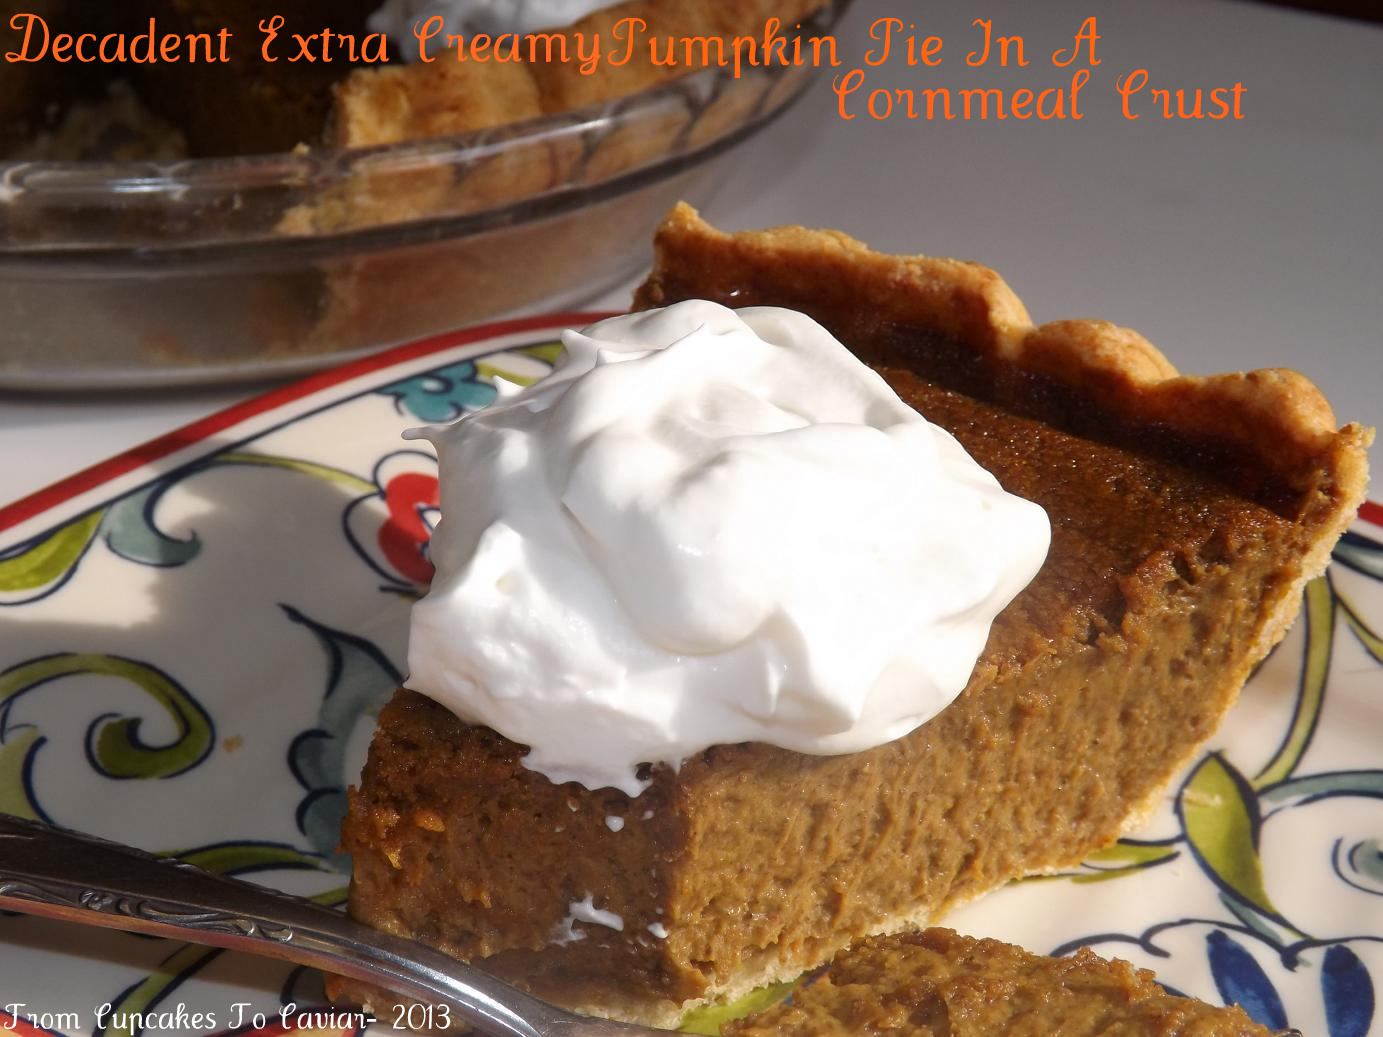
That pumpkin pie tends to be my husbands favorite. Mine however will always be Pecan Pie. I love it slightly warmed with heavy cream poured over it. So bad for me, but so delicious!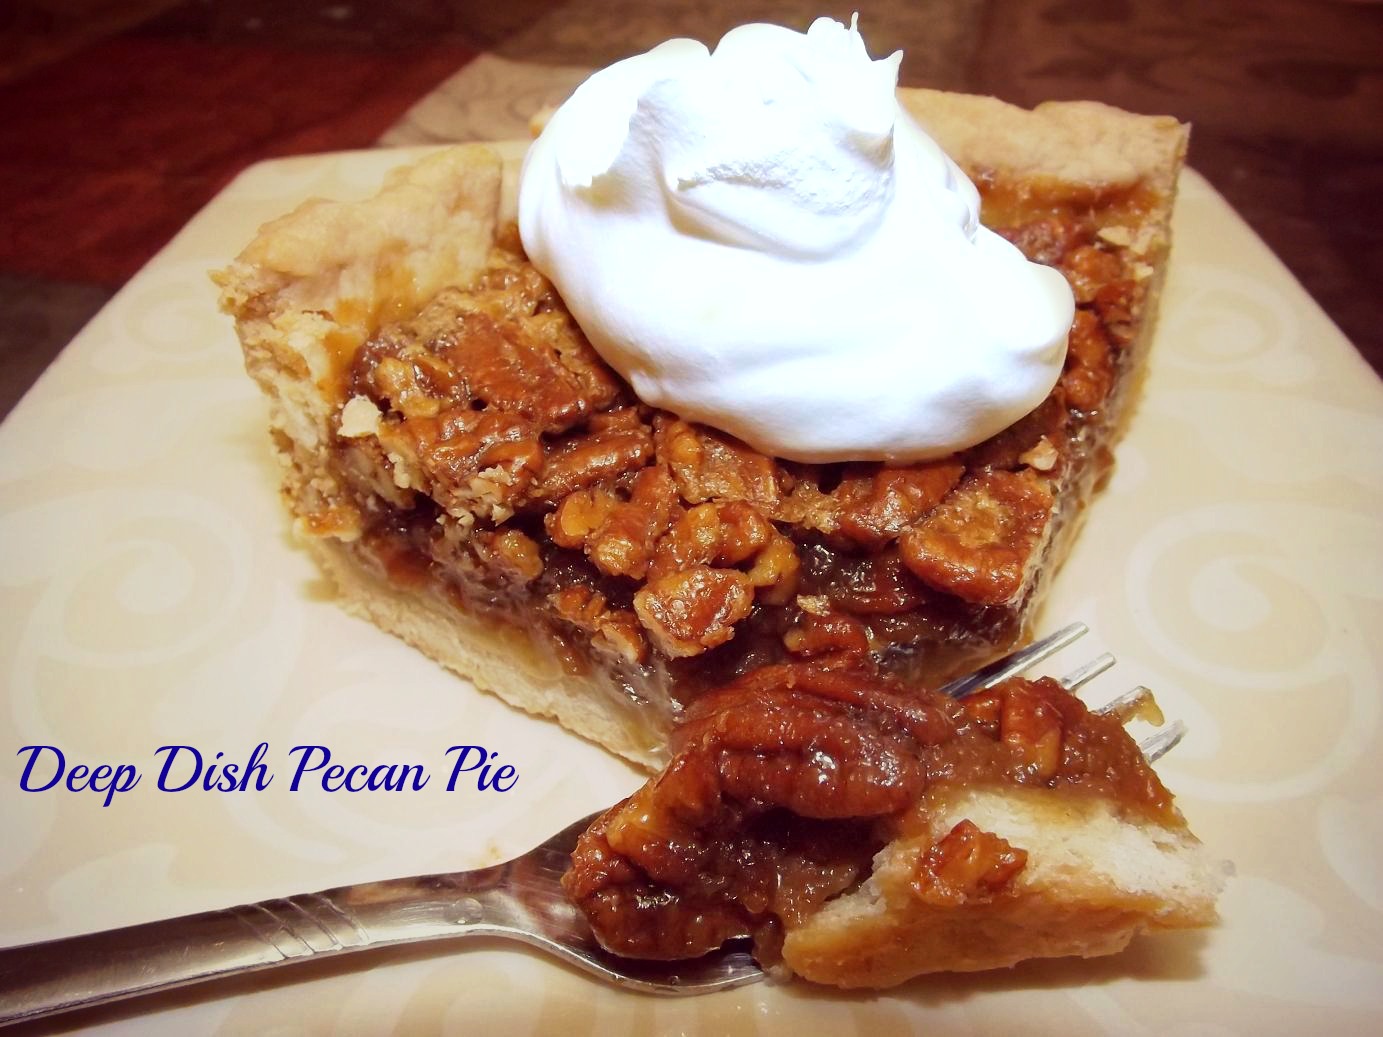
The last few years, my favorite pecan pie has had to vie with this Cranberry Apple Cake. I can’t say enough good things about this cake. It’s absolutely delicious and I can’t imagine the Thanksgiving meal without it now. It’s sweet, tangy, crispy, just a wonderful dessert that I look forward to all year.
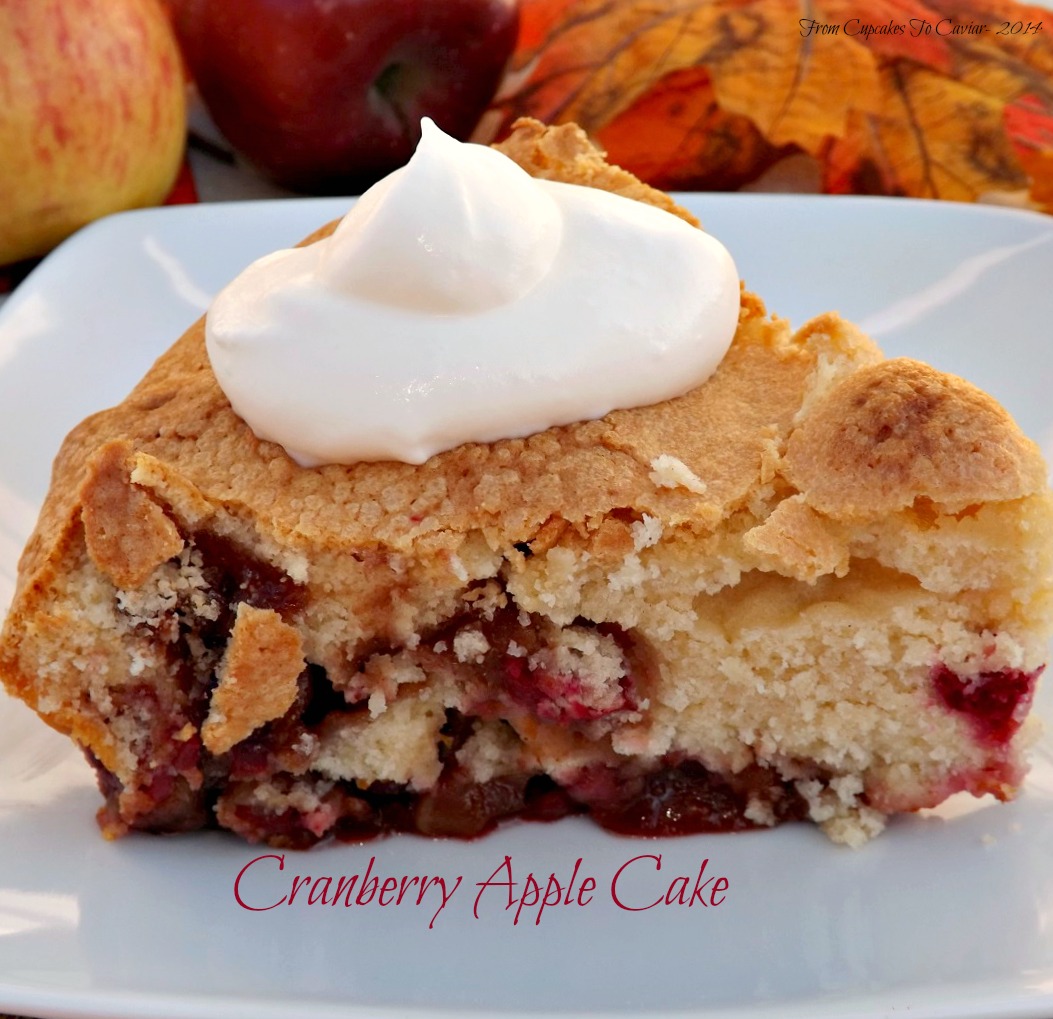
Cranberry Apple Cake
If you want a classic (not to mention, heavenly chocolate goodness 😀 ) you’ll want to make this wonderful Old Fashioned Chocolate Cake With Chocolate Icing This is a favorite with pretty much all age groups, and even those people who say Thanksgiving should be all about the pies. I’m not even normally a cake person and I love it!
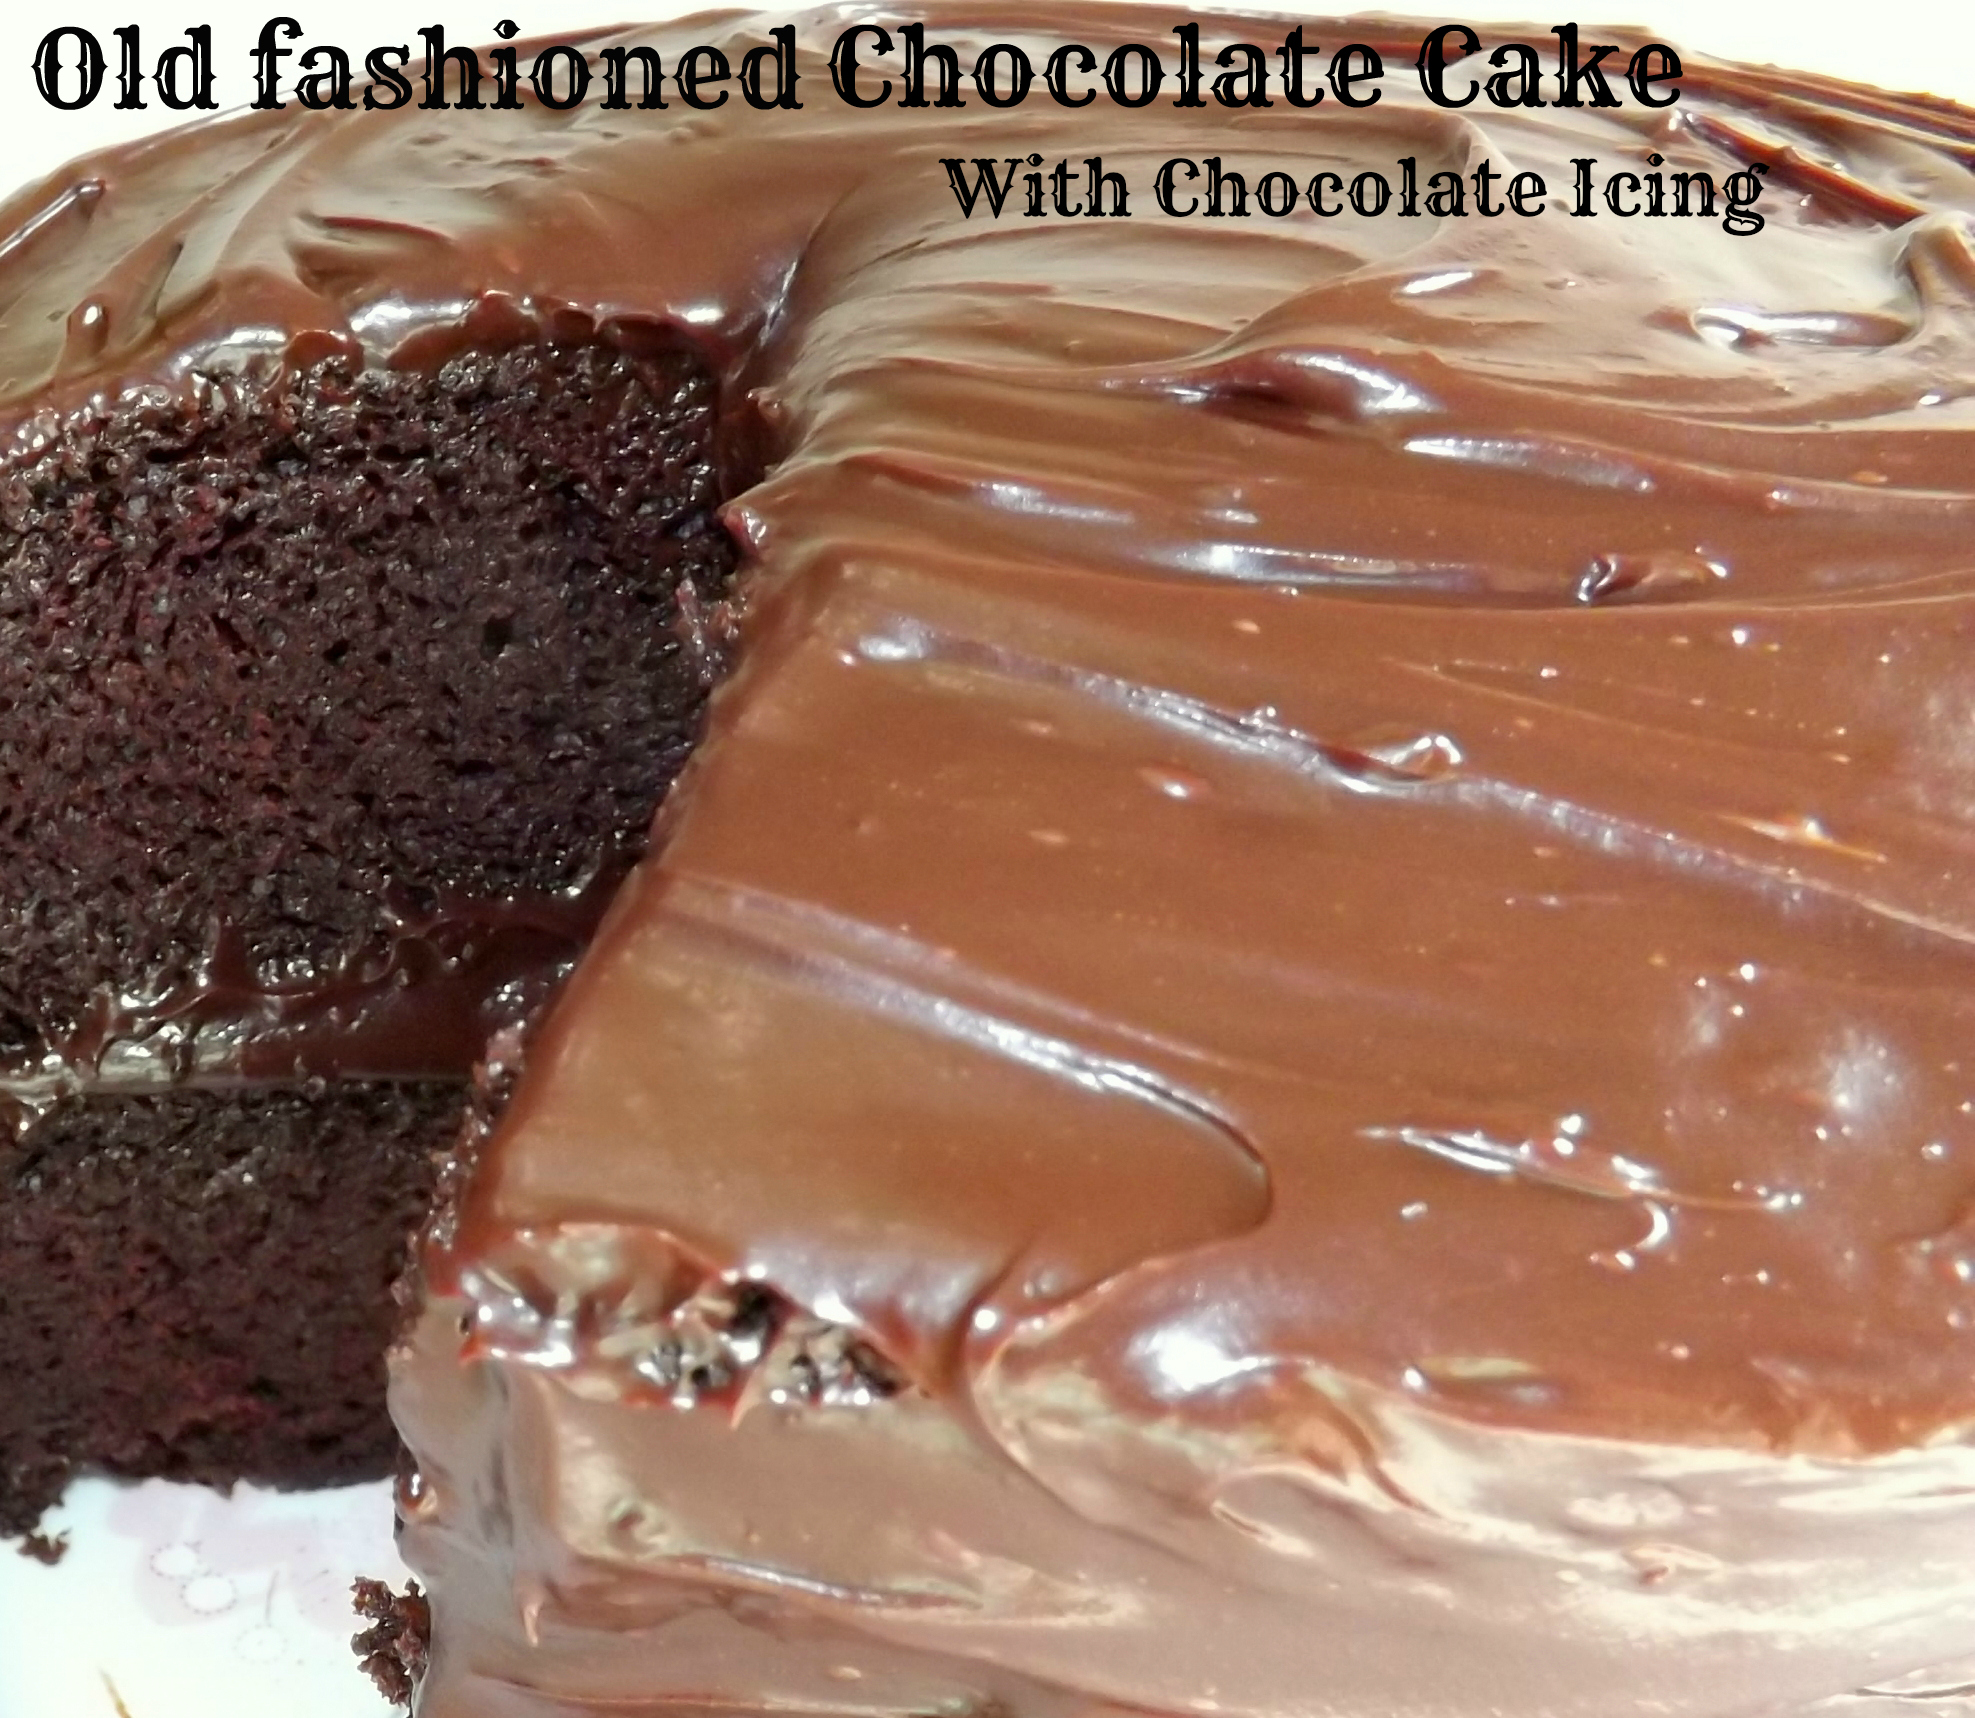
Old Fashioned Chocolate Cake With Chocolate Icing
If you want to do a different apple dessert, my Worlds Best Apple Spice Cake With Creamy Vanilla Butter Sauce would be a great choice. It’s easy to throw together the day before you need it and then just warm up the sauce when ready to cut and serve. Again, I’m not huge on cakes, which is why if you see me posting one, you know it MUST be good.
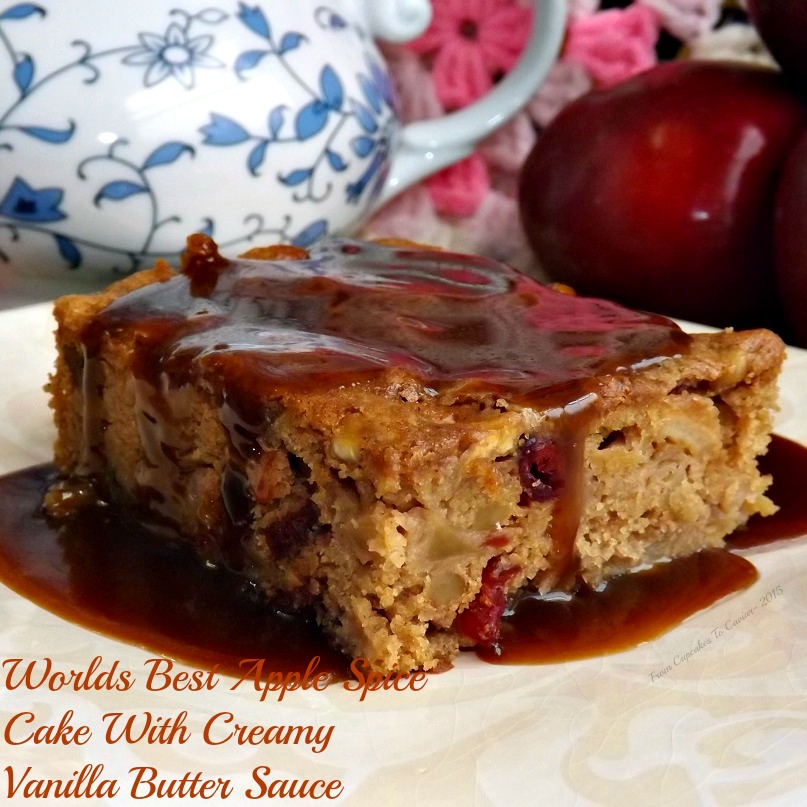
Worlds Best Apple Spice Cake With Creamy Vanilla Butter Sauce
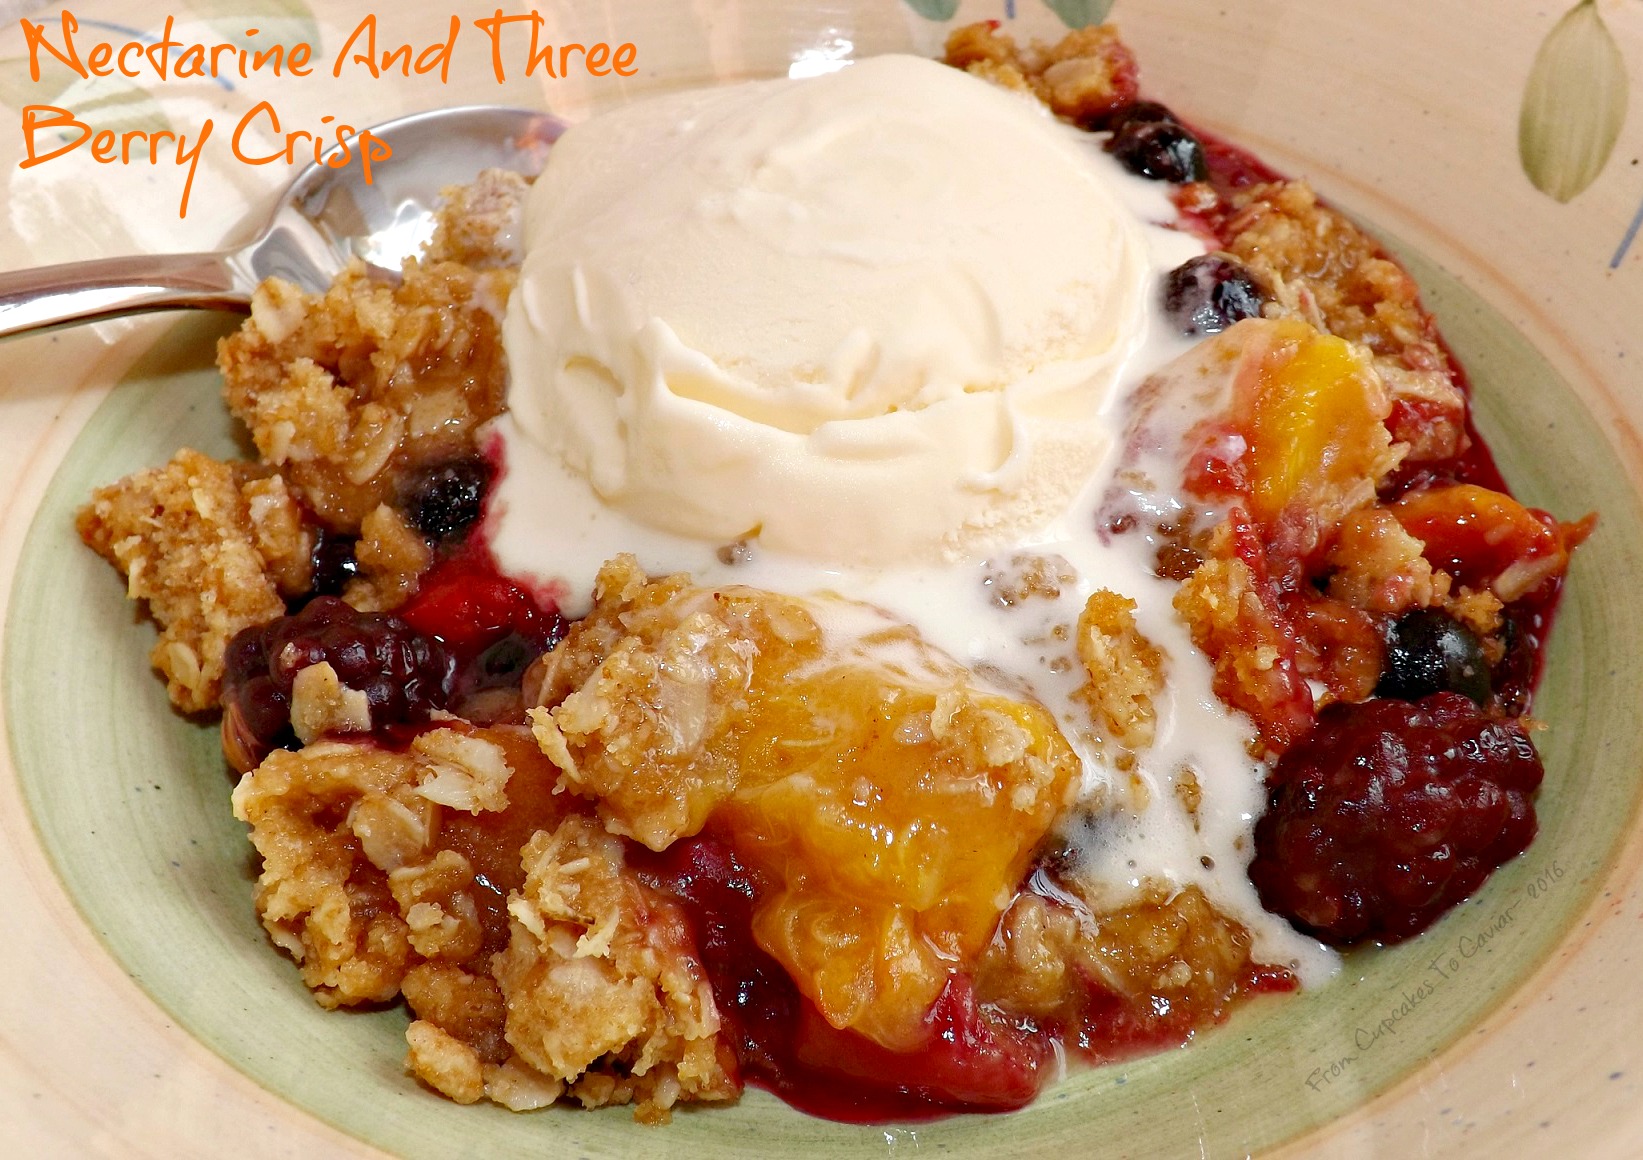
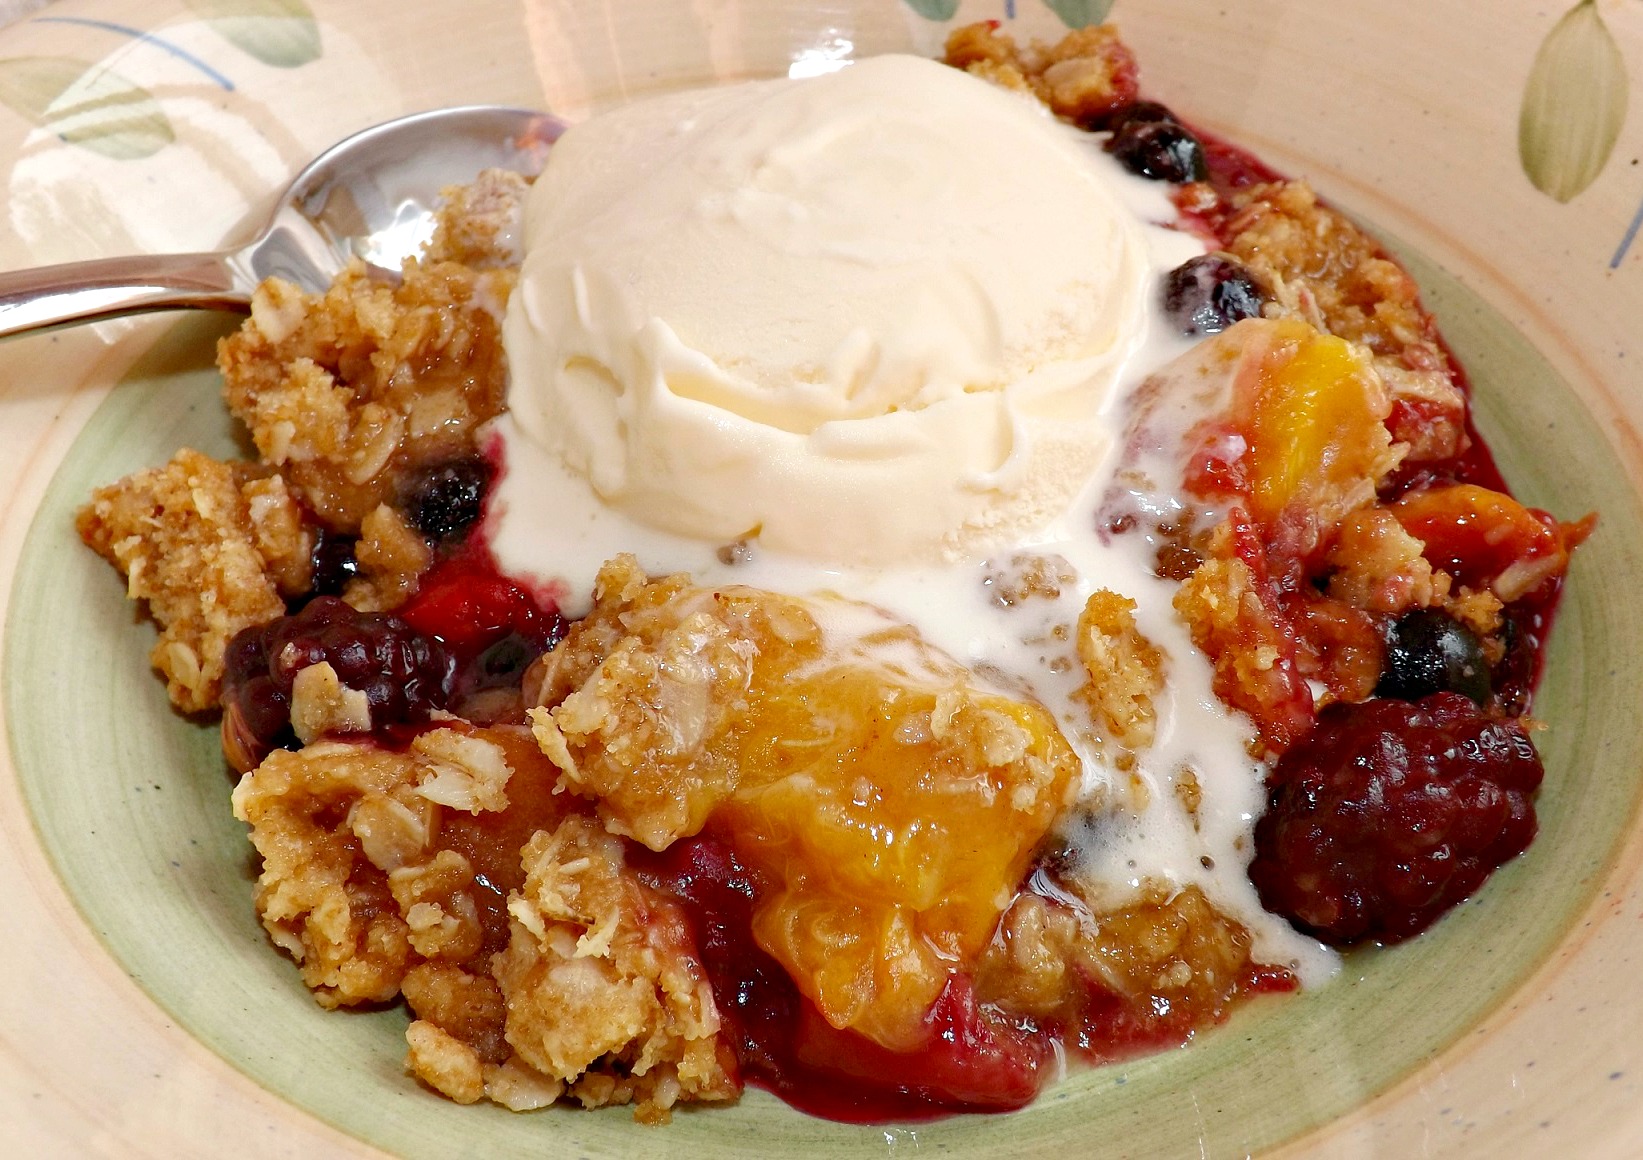
Or maybe you prefer a classic apple dessert? I find myself going for this Old Fashioned Apple Crisp all year round, but it’s a delicious choice on Thanksgiving!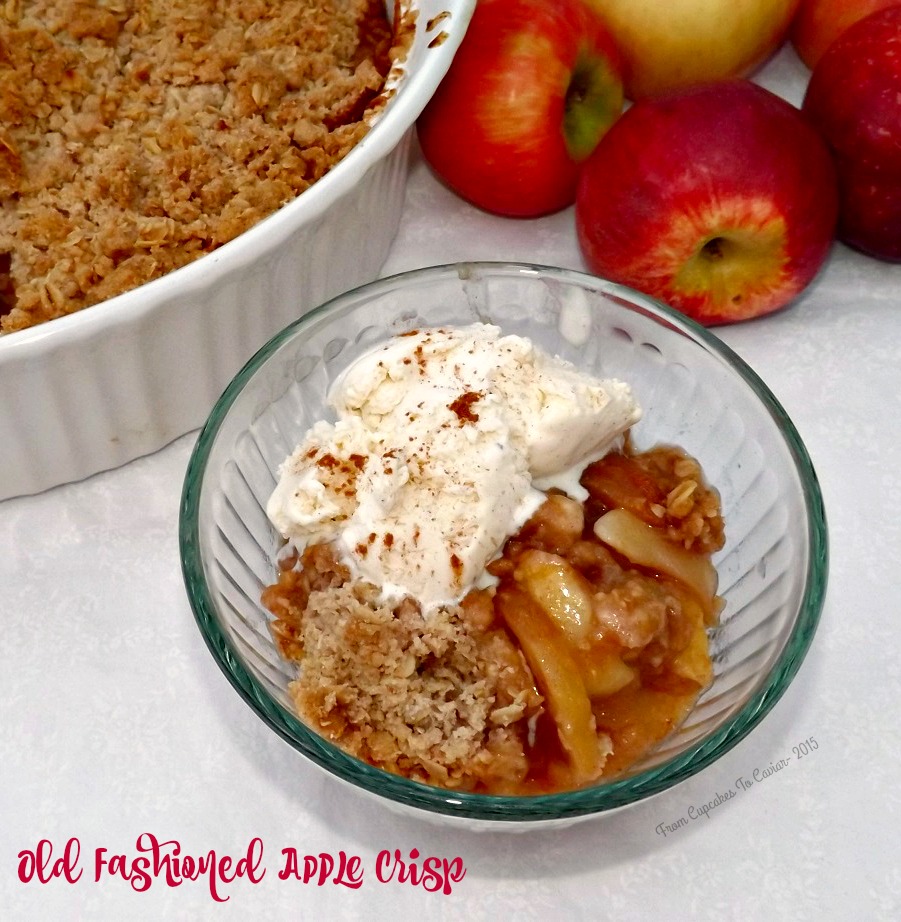
I have a couple of desserts for you that are a bit more elegant, plus not as heavy. The first is one I love; my Elegant And Easy Lemon Almond Cake. This cake is light and filled with the flavor of almond and lemon; perfect for the family members who want a little something for dessert, but don’t want the heavier sweets.
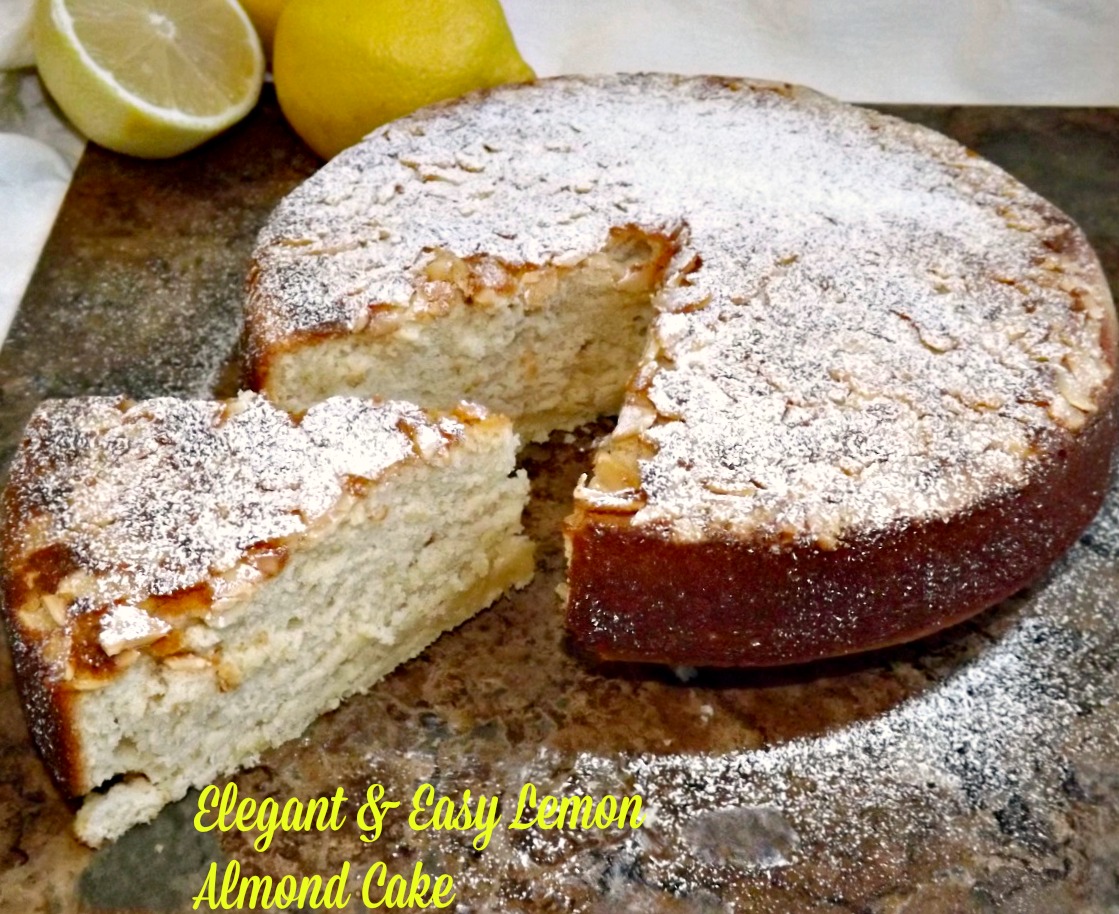
Elegant & Easy Lemon Almond Cake
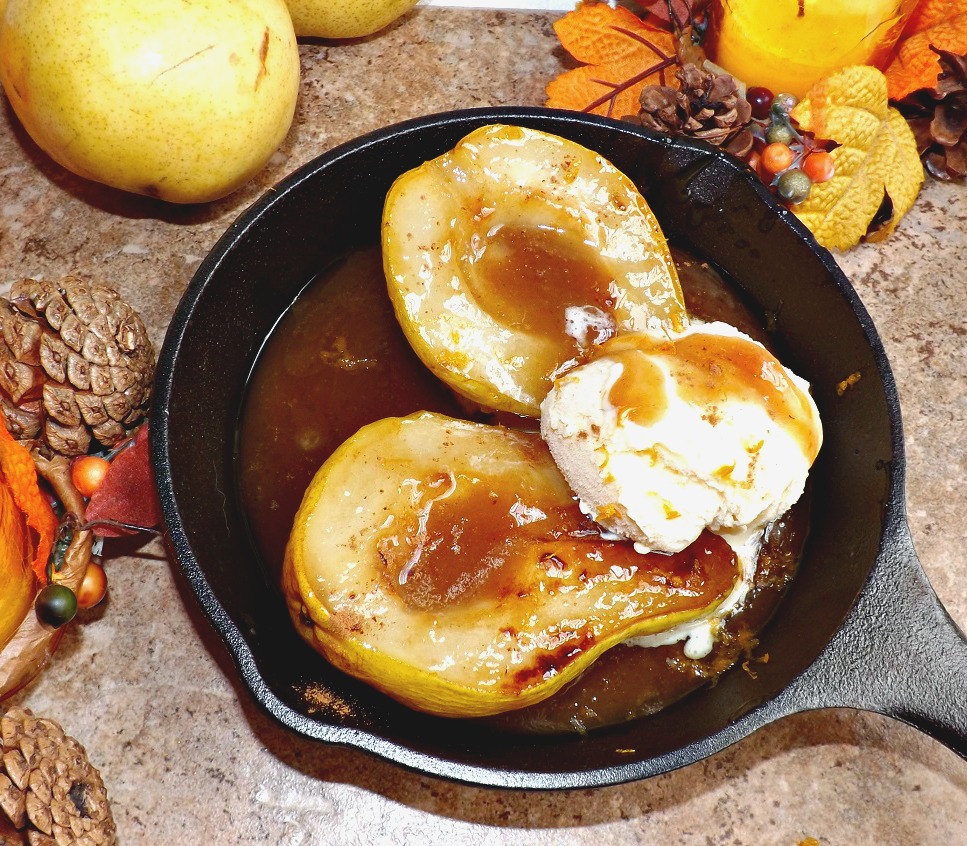
The other one is one of my more recent creations- these Skillet Pears With Autumn Spiced Caramel Sauce. These are wonderful if you have a smaller gathering. The pears end up tender and juicy and the caramel sauce is fantastic.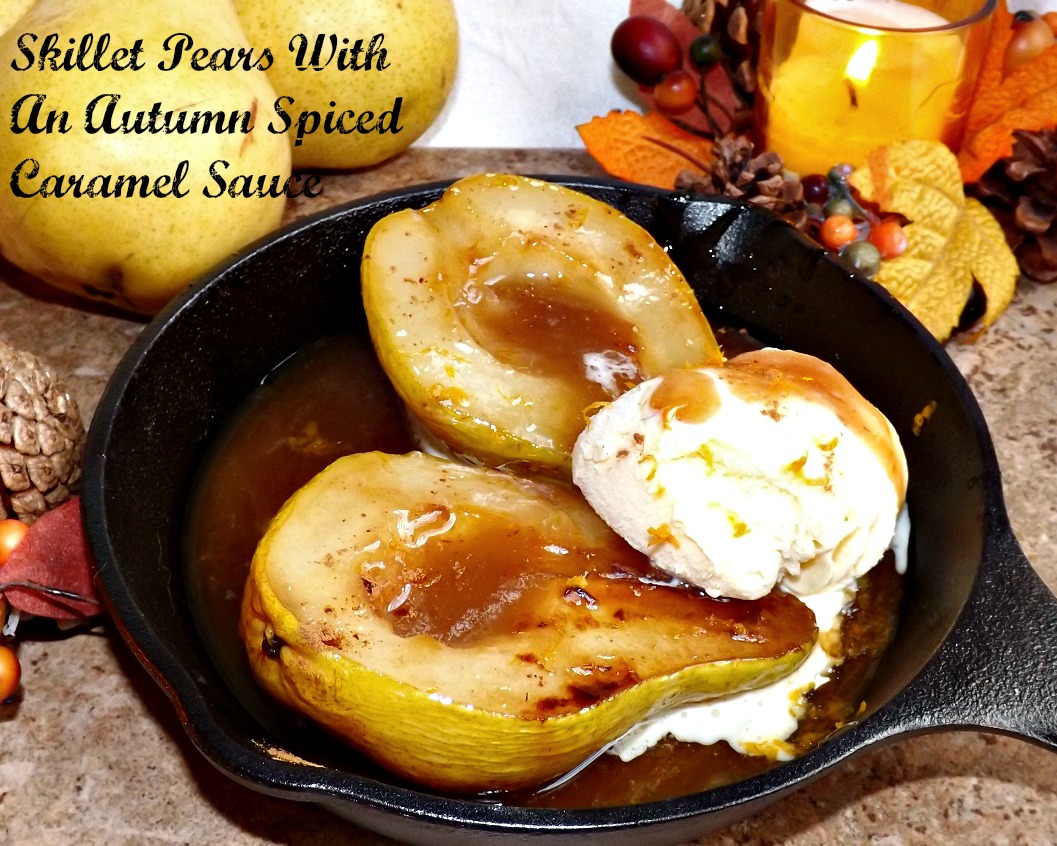
So, what to do with leftovers once Thanksgiving is over? When you tire of just making a plate of leftovers, I have some things you can do with some of them. If the title says chicken, obviously you can sub in that leftover turkey staring you in the face.
We love Mexican food in my house. Yes, I know that much of what we all call Mexican food has been totally Americanized, but it’s still delicious, so who cares? One of my family’s favorites are these Cheesy Chicken (Turkey) And Chorizo Enchiladas. They have the perfect mix of creamy, spicy and cheesy. I make them all year round, but they are a perfect way to use up leftovers.
Everyone makes soup after Thanksgiving. But I have one here that doesn’t need to have you simmering stock for hours on end. I can eat a boatload of my Quick And Easy Turkey, Bacon And Cheese Chowder. This is comfort food at its best and it doesn’t have to cook for hours.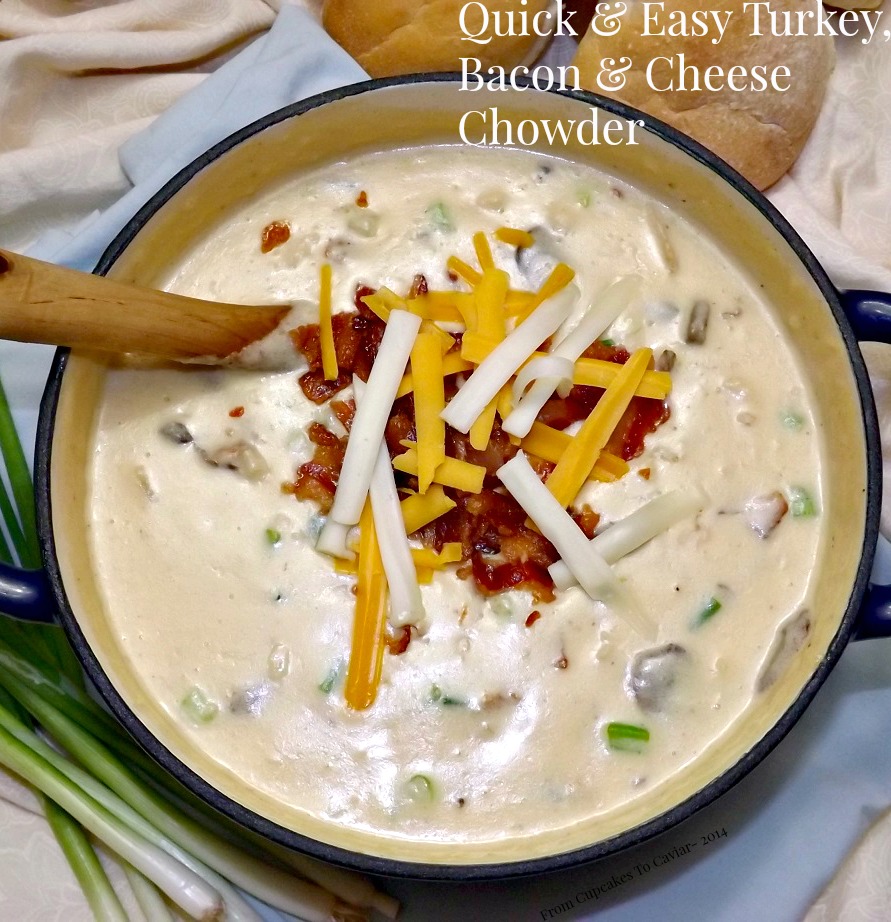
Along the Mexican lines again, I almost always make a pan of White Chicken (Turkey) Enchiladas in the week after Thanksgiving. These are soooo darn good and everyone scarfs them down.
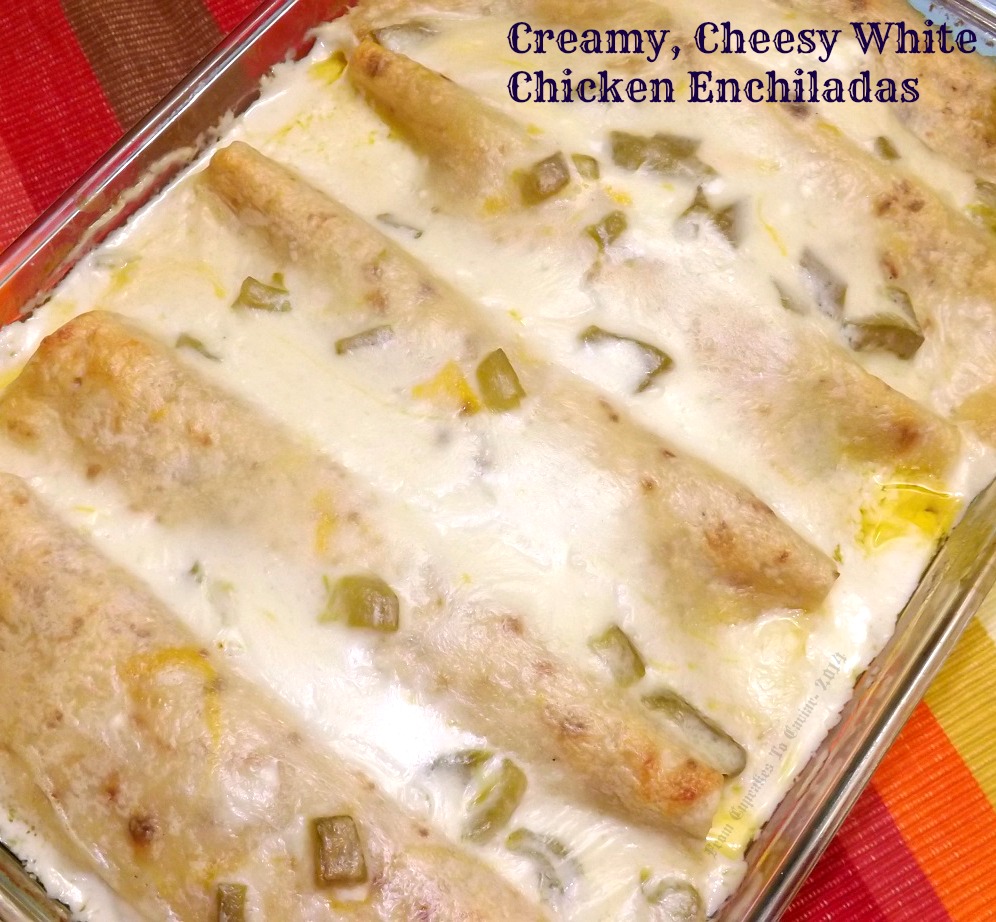
Creamy, Cheesy White Chicken Enchiladas
You may still have some turkey left even after those (I know I will; I always buy too much!) so my Cheaters Easy Chicken (Turkey) And Dumplings never fails me. It’s warming, comforting and filling and tastes great!
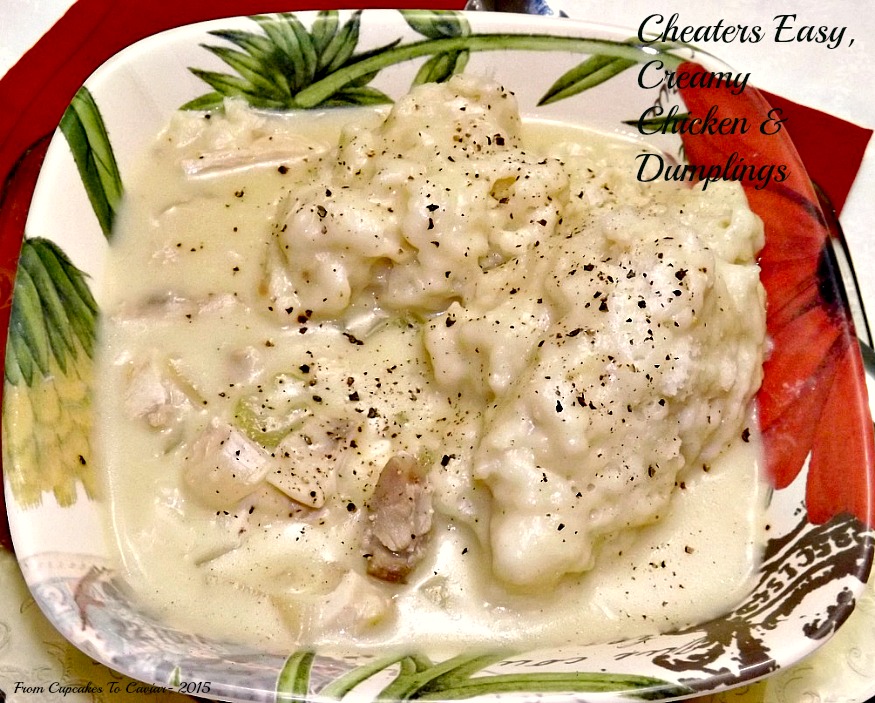
Cheaters Easy, Creamy Chicken & Dumplings
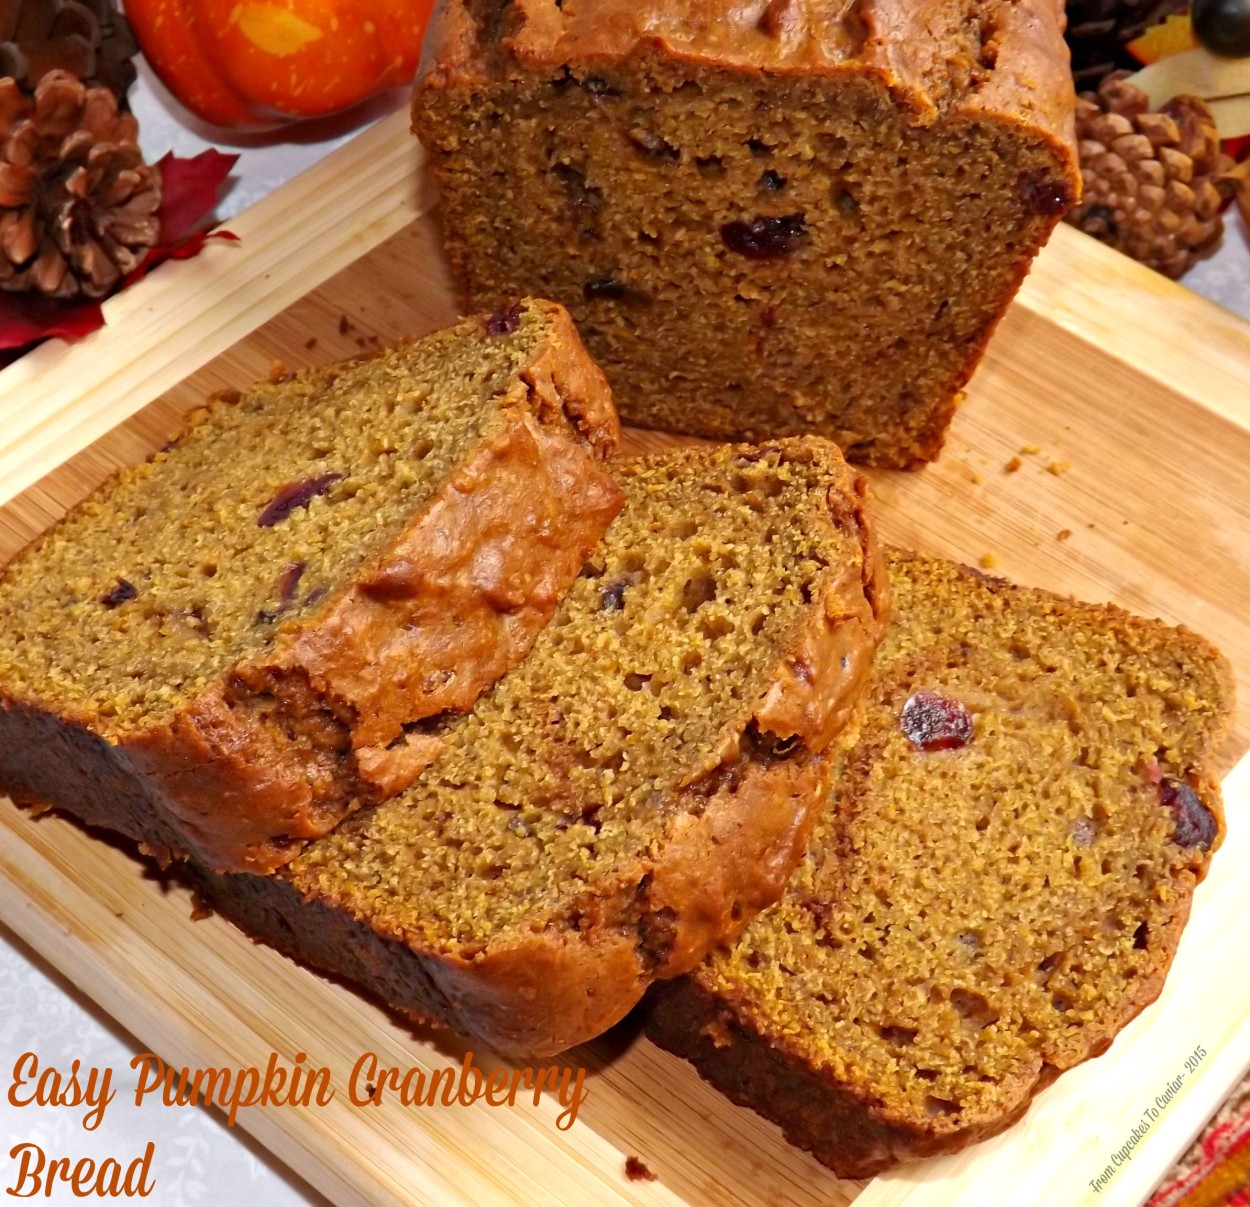
If you have leftover cranberry sauce (and you know you will), make a loaf of my Pumpkin Cranberry Bread. It’s an easy way to use up some of those leftovers and it makes a yummy breakfast or light snack.