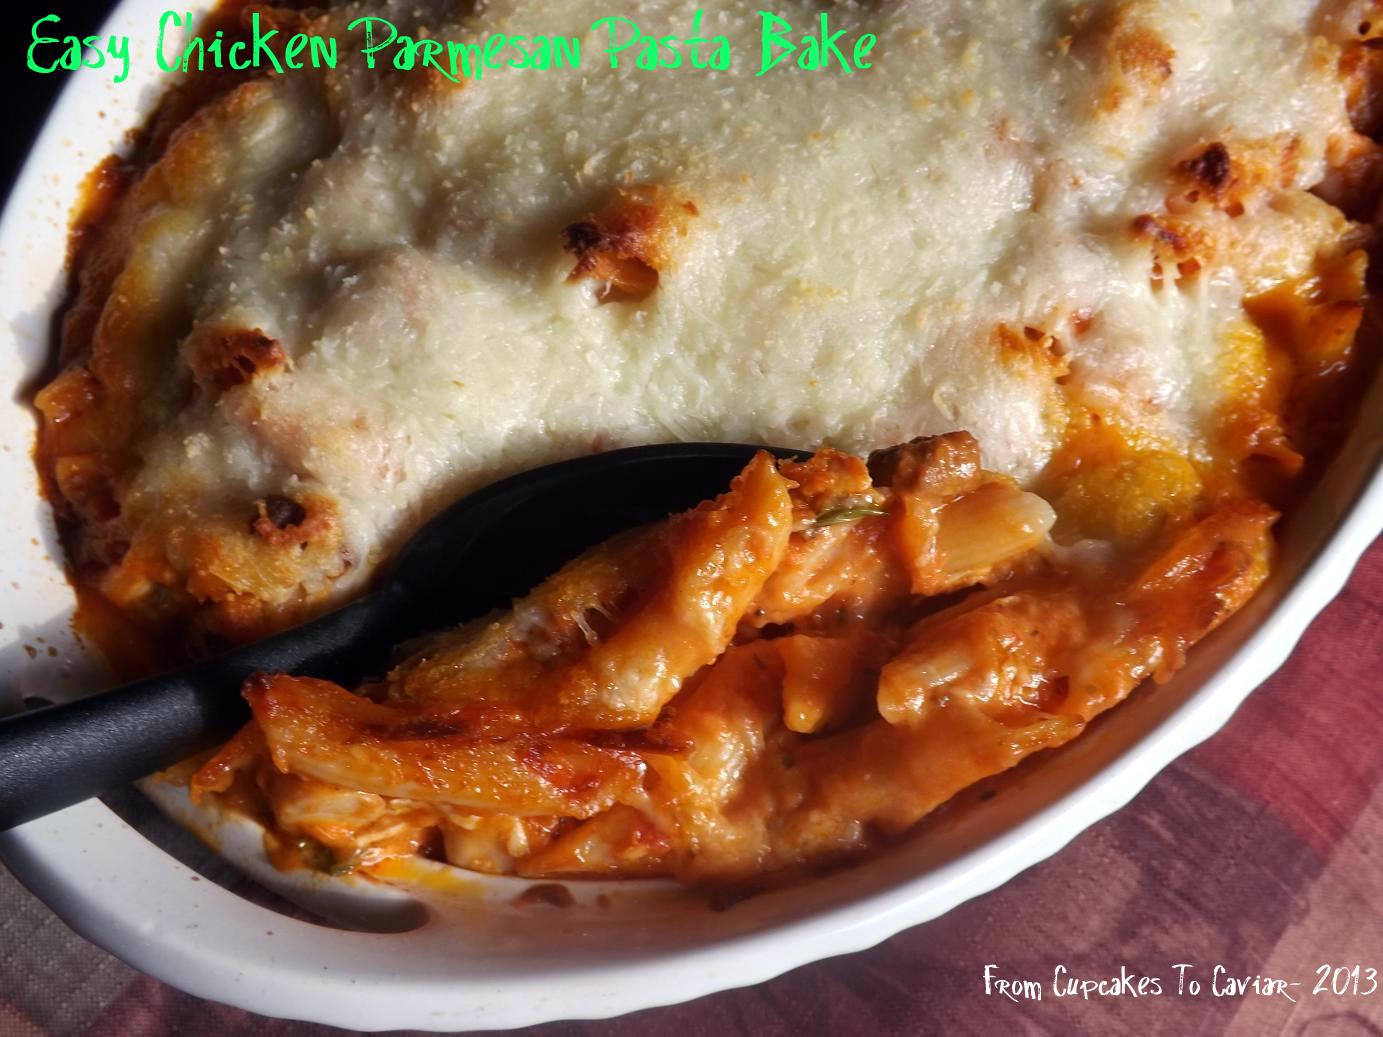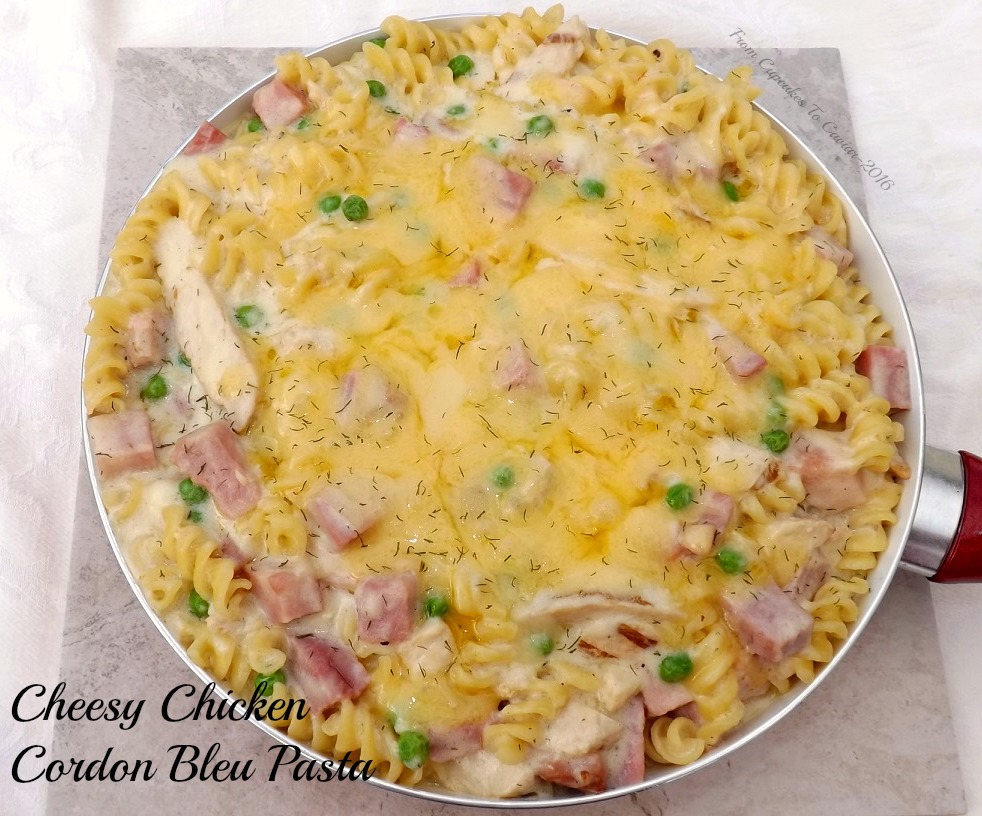
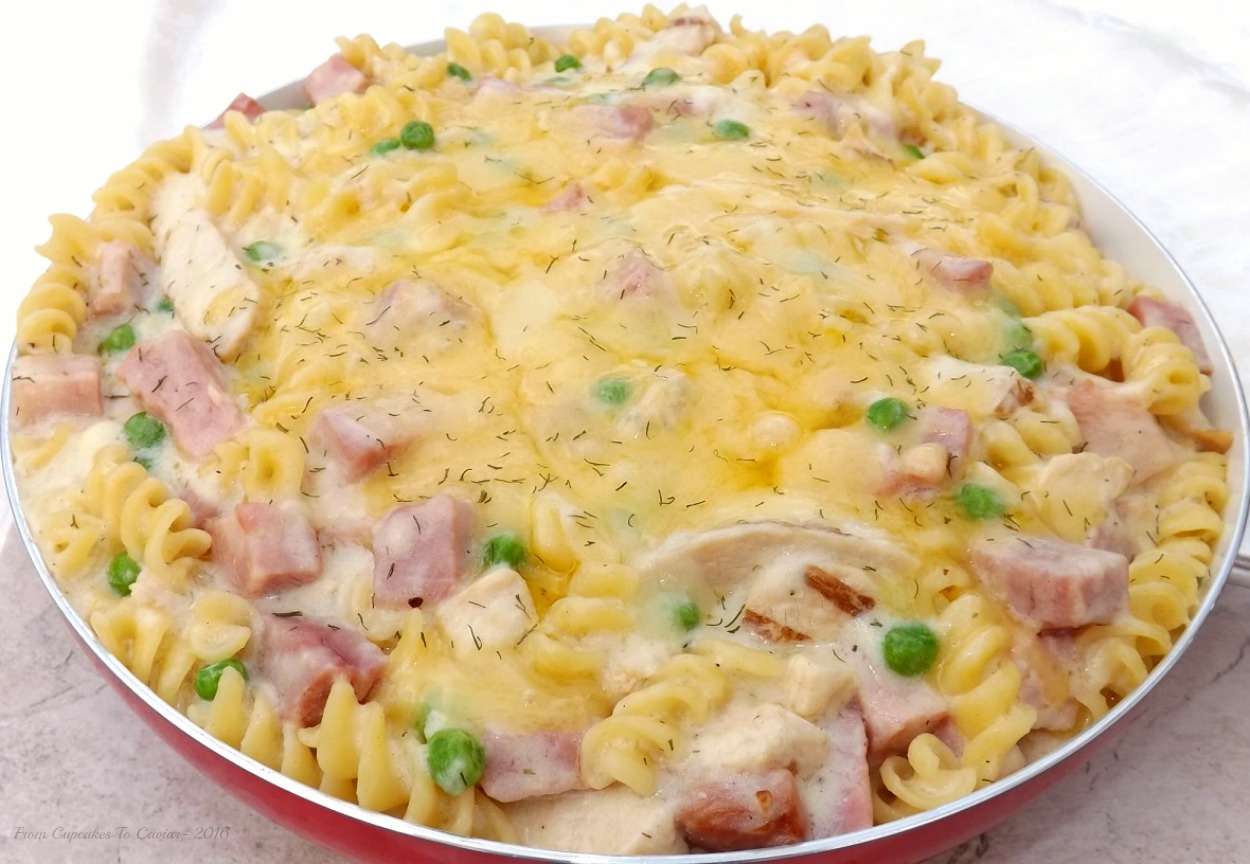
Cheesy Chicken Cordon Bleu Pasta
I have a writing pad that I write recipe ideas in. It’s totally not pretty; just a typical notepad. Half the things in it are so scribbled that I’m the only one that can read them. My writing is atrocious at the best of times (leftie here!), but when I get an idea for something at 3am (yes, this is a curse of food blogging), it is even worse. When I finally try to create what my mind thought up in the throes of sleep, it gets crossed off of the list. The list, however, is NEVER going to get finished, because I keep adding to it. One of the things that was in there for ages was to try to recreate one of my favorite dishes, which is chicken cordon bleu, as a pasta dish. I love it the regular way, but it’s such a pain in the tush to make; pound the chicken down, roll it up with the ham and cheese, get it breaded, fry it, and then do the clean up. Ugh.
So, while I realize it’s not new; you can find 50,000 versions of this online, this is MY version of a chicken cordon bleu pasta. My family really enjoyed this one. It made a pretty full pan of pasta, but other than a little bit my husband took to lunch the next day, it ALL got eaten. Of course, I live with all males, two of whom are 19 and 21, but still…
This turned out quite well, if I do say so myself. Tender pasta filled with chunks of ham, slices of chicken (I cheated and use the packaged slices; SO much easier!), all in an ultra creamy Swiss and Gruyere cheese sauce with a little bit of peas mixed in for color and to convince myself that this is chock full of nutrition instead of fat and calories. :-DÂ So, so delicious!
You know the drill… 🙂
Cheesy Chicken Cordon Bleu Pasta
- 10 ounces of your favorite pasta (I used fusilli just cause they are a fun shape), cooked and drained (reserve 1/2 cup of the cooking water just in case you need to thin the sauce) and poured into a large bowl or pot
- 16 ounces cooked, cubed ham
- 12 ounces cooked, sliced chicken breast (I cheated and used the prepackaged slices in the lunch meat/deli area of the grocery store)
- 1 cup frozen peas, thawed (leave them sit out for ten minutes… they’ll be thawed enough)
- 4 tablespoons unsalted butter
- 4 tablespoons flour
- 2 3/4 cup milk (I used whole. I don’t suggest trying this with skim or 1%)
- 2 eggs, lightly beaten
- 6 ounces Swiss cheese, shredded and combined with
- 8 ounces Gruyere cheese, shredded, and
- 2 ounces grated Parmesan cheese (the REAL stuff, not the cheap canned type)
- 1 1/2 teaspoons dried dill weed
- 1 1/2 teaspoons Dijon mustard
- 1/2 teaspoon salt (taste the sauce before adding salt. Some Parmesan can be pretty salty and you may not need as much or even any at all)
- 1 teaspoon coarsely ground black pepper
- Preheat oven to 350 degrees. Lightly butter an oven safe pan or medium sized dutch oven. In a medium heavy bottomed saucepot, melt the butter. Stir in the flour and cook over low heat for 1 to 2 minutes, stirring constantly.
- Slowly whisk in the milk, whisking constantly to prevent lumps. When you have all the milk in, switch over to a spoon or rubber spatula and cook over medium heat, stirring constantly, JUST until the mixture comes to a light boil.
- Slowly whisk about 1 cup of the milk mixture into the beaten eggs. You’re trying to temper the eggs (heat them up slowly) so that they don’t scramble when added back into the rest of the milk. Once the full cup of milk has been whisked into the eggs, slowly pour the eggs back into the milk mixture, stirring constantly. Cook over low heat for about a minute.
- Pull out 1/2 cup of the mixed cheeses and reserve to top the pasta with. Dump the rest of the combined cheese into the milk and stir constantly, until melted. Take the pot off of the heat and stir in the dill weed, Dijon mustard and black pepper. Taste for saltiness and then add the salt if needed.
- Dump the ham, chicken and peas over the reserved pasta and stir. Pour the cheese sauce over the pasta mixture and stir to combine. If the sauce seems too thick, use some of the reserved pasta water to thin it down.
- Spoon the pasta into the prepared pan or dutch oven and smooth the top. Sprinkle the remaining cheese over the top. Sprinkle with a little extra dill weed, if desired.
- Bake at 350 just until heated through and slightly bubbly around the edges, about 15 to 20 minutes. Serve hot.
Copyright Notice: From Cupcakes To Caviar images and original content are copyright protected. Please do not publish these materials anywhere without prior permission.
Cheesy Chicken Cordon Bleu Pasta