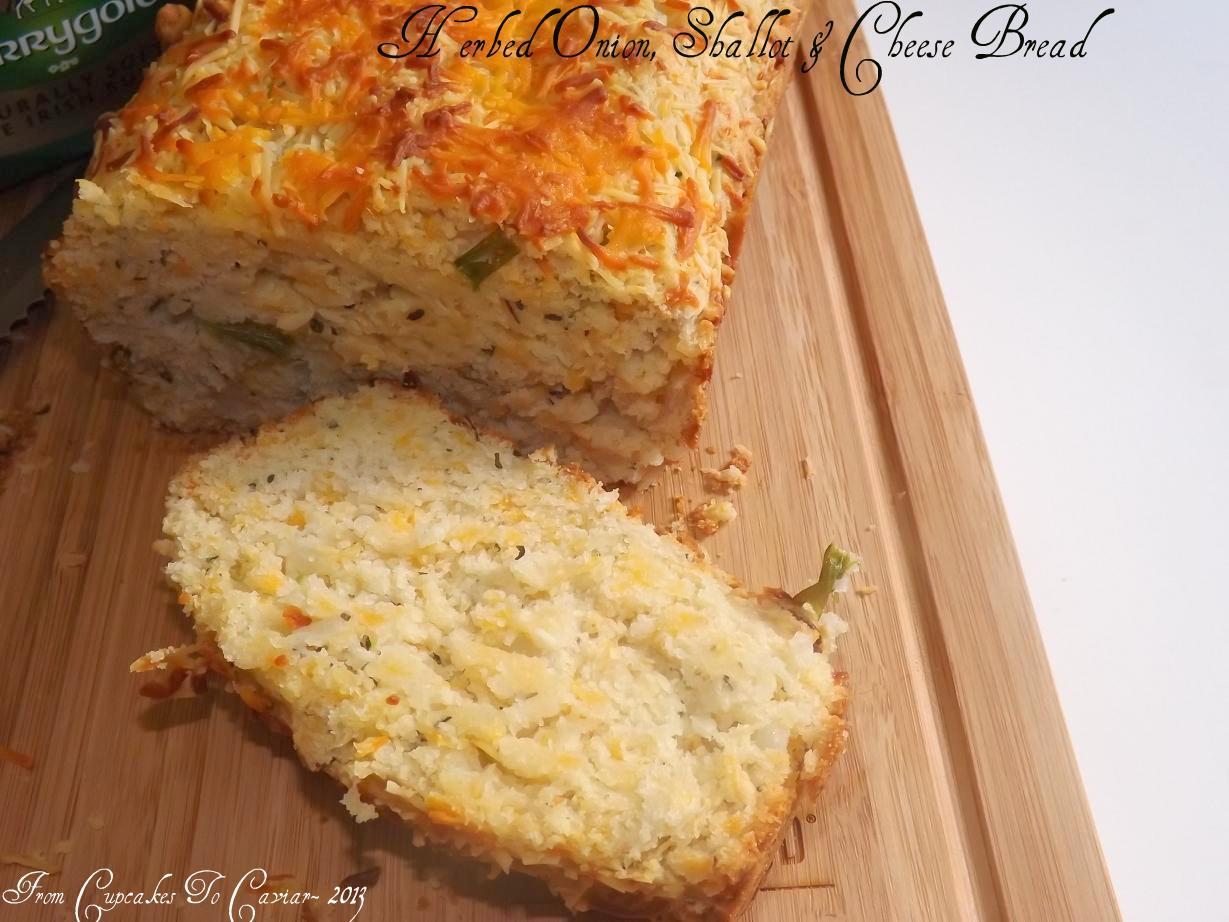
Herbed Onion, Shallot & Cheese Bread

I love baking. I betcha never knew that, did you? I run a quiet little blog full of main dish recipes, vegan yummies (is it just me or the phrase “vegan yummies” a total contradiction in terms? hehe) and no baking whatsoever. or something like that. But really… I do love to bake. I don’t bake so that I have something to post on the blog. I blog because I love to bake. There is something about combining a bunch of ingredients, tossing them into a pan and creating something homey and comforting that appeals to the nurturer in me. And I love to share the recipes. And watch you all get fat with me. And buy stock in “fat girl pants” companies.
I especially love baking this time of year. Doesn’t most everyone? that whole colder weather, cozy house, yummy smells thing is great incentive. It’s also great incentive to buy a treadmill and a gym membership, but we won’t go there. Please see above about that stock option idea. 😀
My house smells amazing right now. I swear, one of the best smells ever is practically ANYTHING made with either cheese or onions. So combine cheese and onions with shallots, more cheese, Herbes De Provence, more cheese and make it all into a loaf of quick bread, and Janet is one happy camper. In all reality, I’d probably be a miserable camper unless said camp had a jacuzzi tub, king sized bed, room (campfire) service and the campfire was a large fireplace overlooking either the mountains or the ocean. Ahhh, daydreams. They make life worth living, huh?
If you like savory quick breads and need something fairly quick to serve with dinner (or lunch or breakfast or a midnight snack) give this a try. Beyond the fact that I promise that your house will smell divine, this tastes so good. the top is slightly crispy form the cheeses, then you get the soft tender inside with more cheese and the flavor of the shallots, onions and garlic. This is great by itself. I can also see it going well with a bowl of soup or stew as the weather gets cooler. Shovel a boatload of butter on there (use two boatloads… I won’t tell) and eat half the loaf. I won’t tell if you do that either. I’ll just be counting my money from the fat girl pants stock.
Herbed Onion, Shallot & Cheese Bread
- 2 1/4 cups flour
- 4 and a half teaspoons baking powder
- 1 teaspoon salt
- 3 tablespoons unsalted butter, cold
- 1 cup sharp cheddar cheese, divided
- 3/4 cup fresh grated Parmesan cheese, divided
- 2/3 cup diced onion
- 2 shallots, diced
- 2 cloves garlic, minced
- 1/2 cup chopped green onions
- 1 tablespoon unsalted butter
- 1 egg
- 1 egg yolk
- 3 tablespoons vegetable oil
- 1/2 cup milk
- Preheat oven to 375 degrees. Grease and flour (or use a cooking spray) a 9 inch loaf pan.
1)- In a large bowl, combine the flour, baking powder and salt. Using a pastry blender, cut in the 3 tablespoons unsalted butter until fine crumbs form. Add in 3/4 cup of the cheddar cheese and 1/2 cup of the Parmesan cheese and the green onions. Stir well to combine.
2)-I n a small pot, melt the one tablespoon butter. Saute the onions (just the regular onion, not the green onion), shallots and garlic over medium heat, stirring frequently, until soft and tender. Remove from heat and let cool for five minutes.
3)- When cool, add the milk to the onion mix. Stir well, then add the egg, egg yolk and vegetable oil. Stir.
4)- Pour the onion mixture into the center of the bowl of flour. Using a wooden spoon (not a mixer) mix just until thoroughly combined and there are no dry spots left. This is a thick almost biscuit like dough so don’t expect it to be pourable.
5)- Dump the dough into the prepared loaf pan and pat down, smoothing the top.
6)- Sprinkle with the reserved cheese.
7)- Bake at 375 degrees for about 30 minutes or until the top is golden brown and a skewer inserted into the middle comes out clean. Let cool in the pan for 2 minutes, then turn out onto a wire rack to finish cooling.
Copyright Notice: From Cupcakes To Caviar images and original content are copyright protected. Please do not publish these materials anywhere without prior permission.