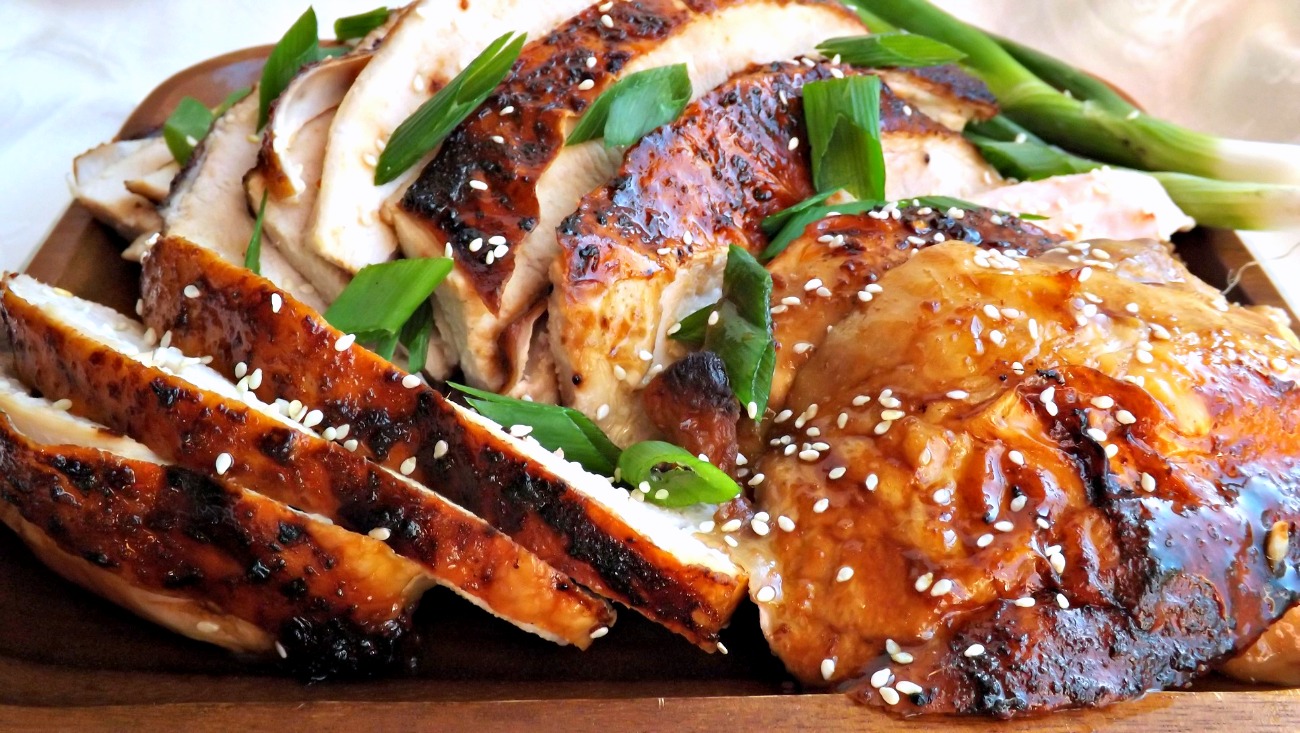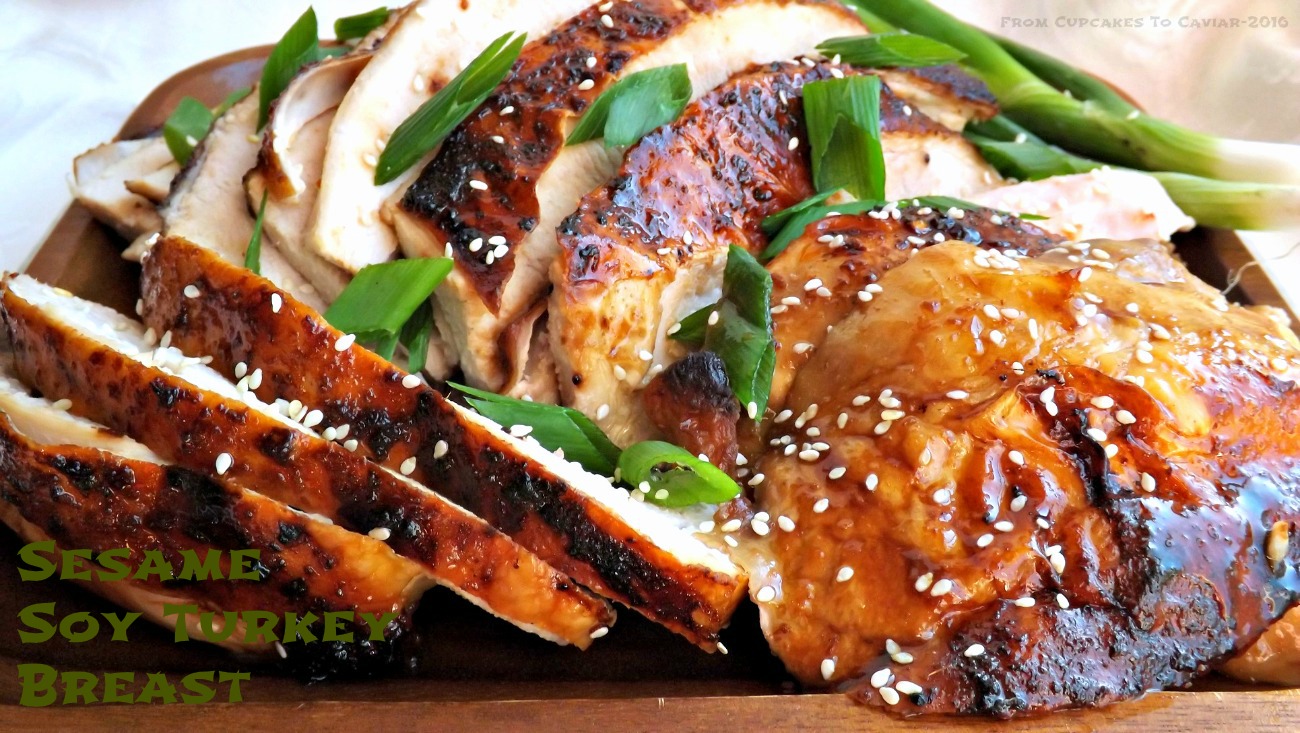
Sesame Soy Turkey Breast
Ok, who stole 2016? Yes, yes, I know, I’ve done a lot of whining lately about being glad the hot Summer is past and that the cooler weather and my favorite season, Fall, is here. And I stand by those whiny moments. It’s just that today, I was suddenly cognizant of the fact that it’s almost November. Freaking NOVEMBER! Wth? I mean, I knew it was this late in the year, logically. I’m that person who starts looking at Thanksgiving and Christmas pins on Pinterest in August, because it’s fun to mentally prepare my menu. it just didn’t really hit me until it occurred to me that I could probably go ahead and post this so that it was up in time for people to use on Thanksgiving. This year has gone abnormally quickly.
I made this turkey breast a couple of weeks ago and we absolutely loved it. The recipe is lightly adapted from one I found in Food & Wine magazine last year. I’m similar to what I guess most of you are and make my turkey the same way every time because, tradition. But this was a nice twist that I may even be willing to make on Thanksgiving and definitely will use other times of the year because we eat turkey more than just one day a year here, since we love it. My differences from the original are that they used a whole turkey, I used the breast, they melted and then re-chilled the butter mix and spread it under the skin and I left it melted and used it as a baste to make it easier, plus different cooking temps and minor diffs in seasoning.
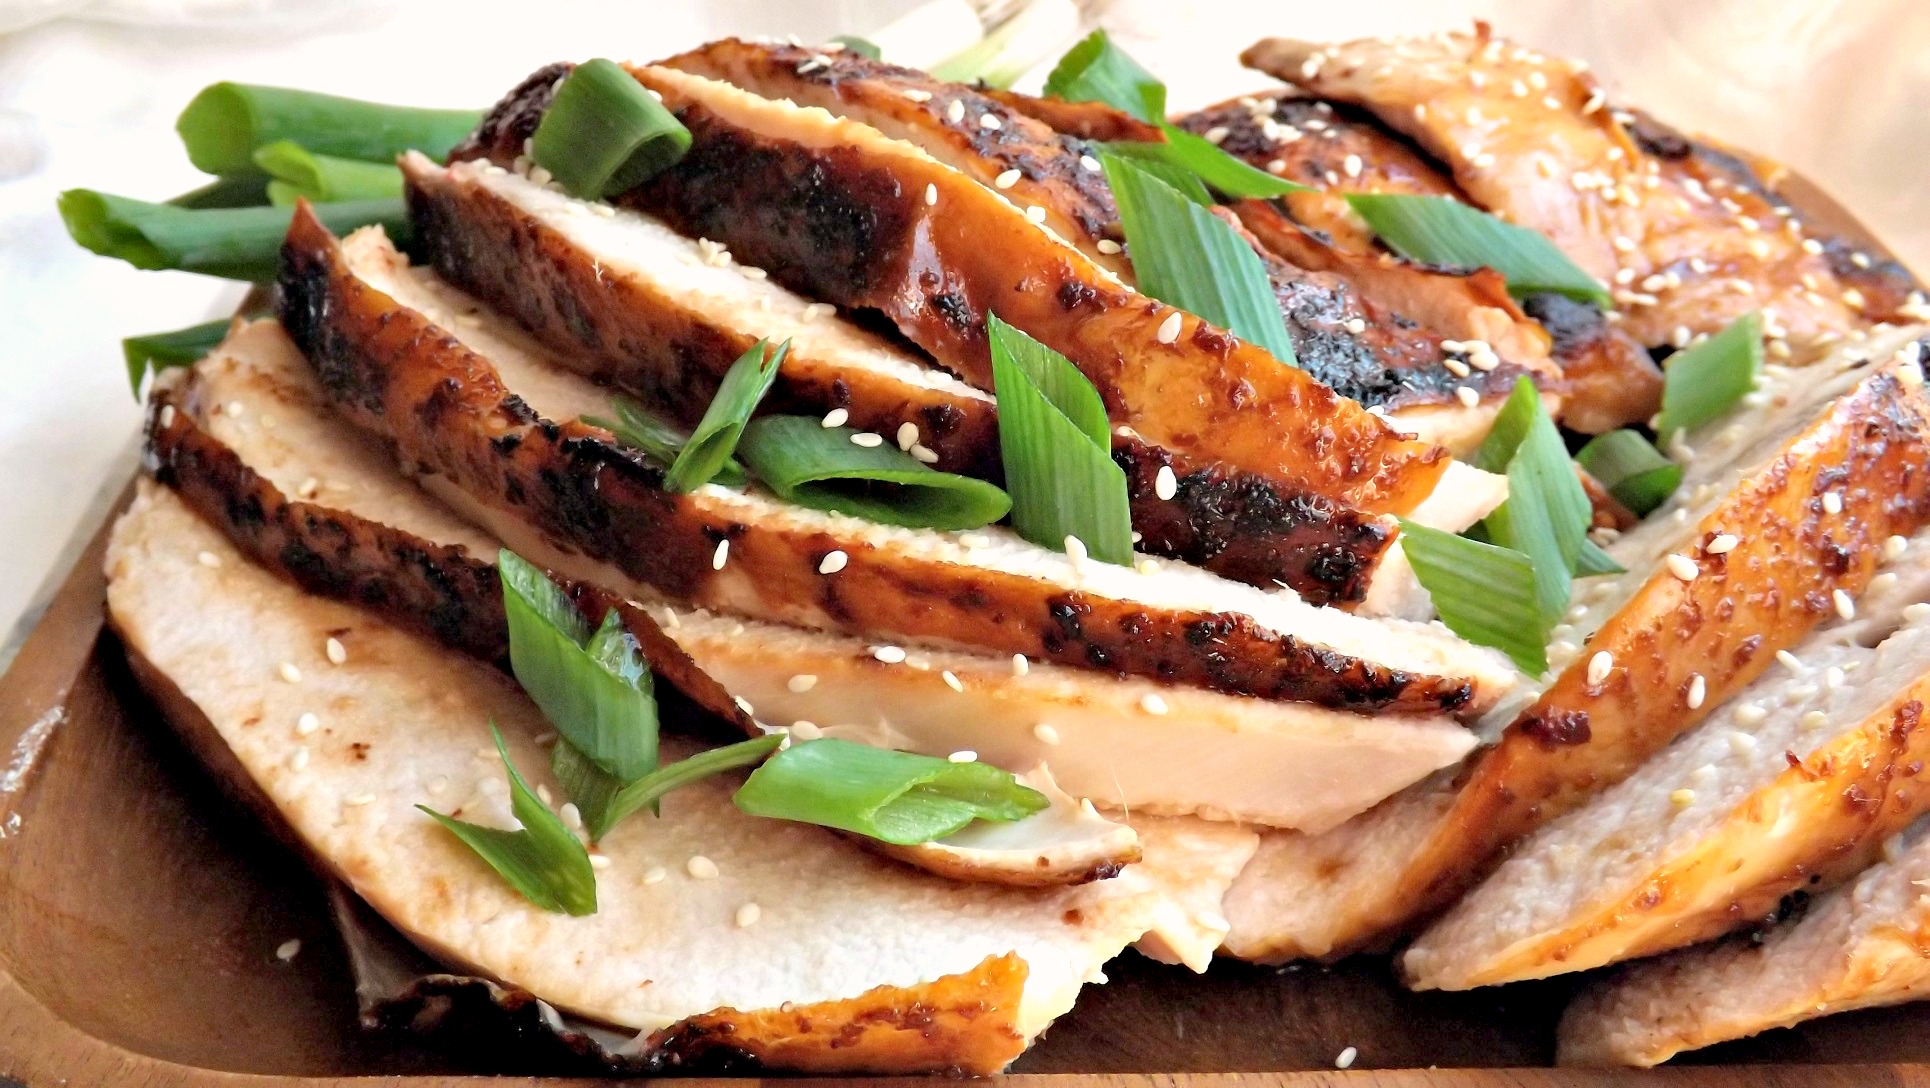
The skin on this gets nice and crispy and if you’re feeling ambitious, you could butterfly the breast and have it 1) cook even faster and 2) have all the skin get crispy rather than have the inevitable bottom skin staying kind of soggy. The flavor here is fantastic; a perfect mix of salty, a subtle sweetness, the richness of sesame oil and butter and a bit of bite from the seasonings. I served this with brown rice, but this would go just as well with noodles or Thanksgiving potatoes.
You know the drill…Â 🙂
Sesame Soy Turkey Breast
- 5 to 7 lb turkey breast, rinsed, innards removed, and turkey patted dry
- 1 teaspoon salt
- 1/2 -1 teaspoon black pepper
- 1 1/2 cups (3 sticks) unsalted butter
- 1/2 cup soy sauce
- 1/3 cup toasted sesame oil
- 1 1/2 teaspoons onion powder
- 1 teaspoon garlic powder
- 3/4 teaspoon ground ginger (please make sure it’s fresh. It loses quality if it has been stored in the cabinet for too long)
- 1/4 cup dark brown sugar
- 3/4 teaspoon red pepper flakes (use more or less of this according to your heat tolerance)
- 1 can (14 ounces) good quality chicken broth
- Sesame seeds and sliced green onions for garnish
- Preheat oven to 400 and line a 13×9 inch baking pan with foil. If you butterfly the breast, you’ll need to use a larger pan plus adjust cooking time.
- Make sure your turkey is dry, add to pan and sprinkle it with the salt and pepper.
- Melt the butter, then add in the next 7 ingredients (everything but the broth). Stir well to combine and dissolve the sugar and spices.
- Using a pastry brush, baste the whole breast with the butter mixture.
- Roast at 400 for fifteen minutes, then turn heat down to 375 and add the chicken broth to the bottom of the pan. Baste with more of the butter mixture and continue doing that every fifteen minutes.
- Roast turkey until it is golden brown and crispy and has an internal temperature of 165f, about one and a half to two hours, depending on size and whether or not you butterflied it. Be sure you’re not touching the bone when testing. Leave in the pan, very lightly covered with foil, for at least fifteen minutes to allow the turkey to continue to rise in temp and to prevent losing all the juiciness by cutting into it too soon.
- You can either serve the breast with the drippings, as we did, or use them to make a gravy. If you have leftover basting sauce, you can use it as a delicious dipping sauce for the turkey. Just make sure to bring it to a boil and let boil for one minute to prevent any cross contamination.
- Slice thin and garnish with sesame seeds and green onions.
Copyright Notice: From Cupcakes To Caviar images and original content are copyright protected. Please do not publish these materials anywhere without prior permission.