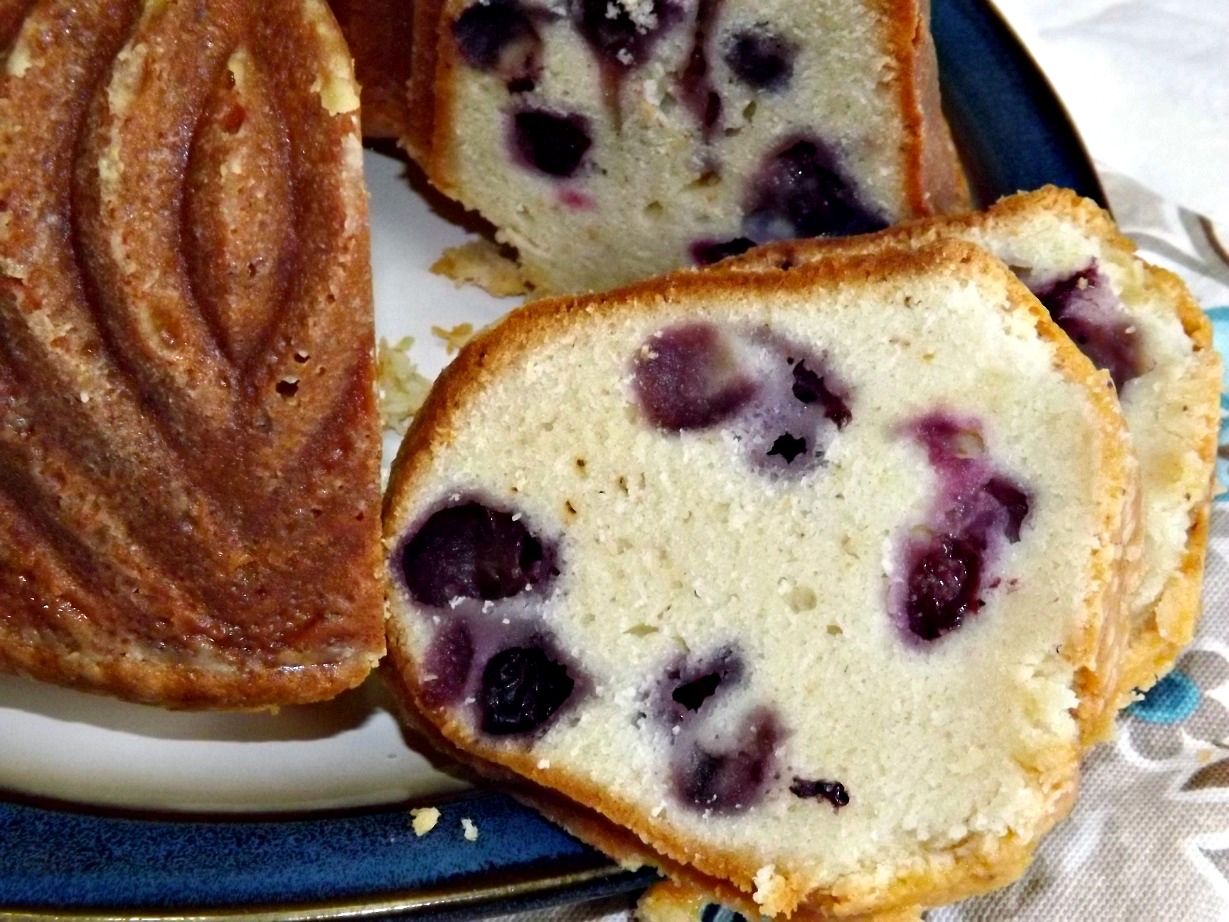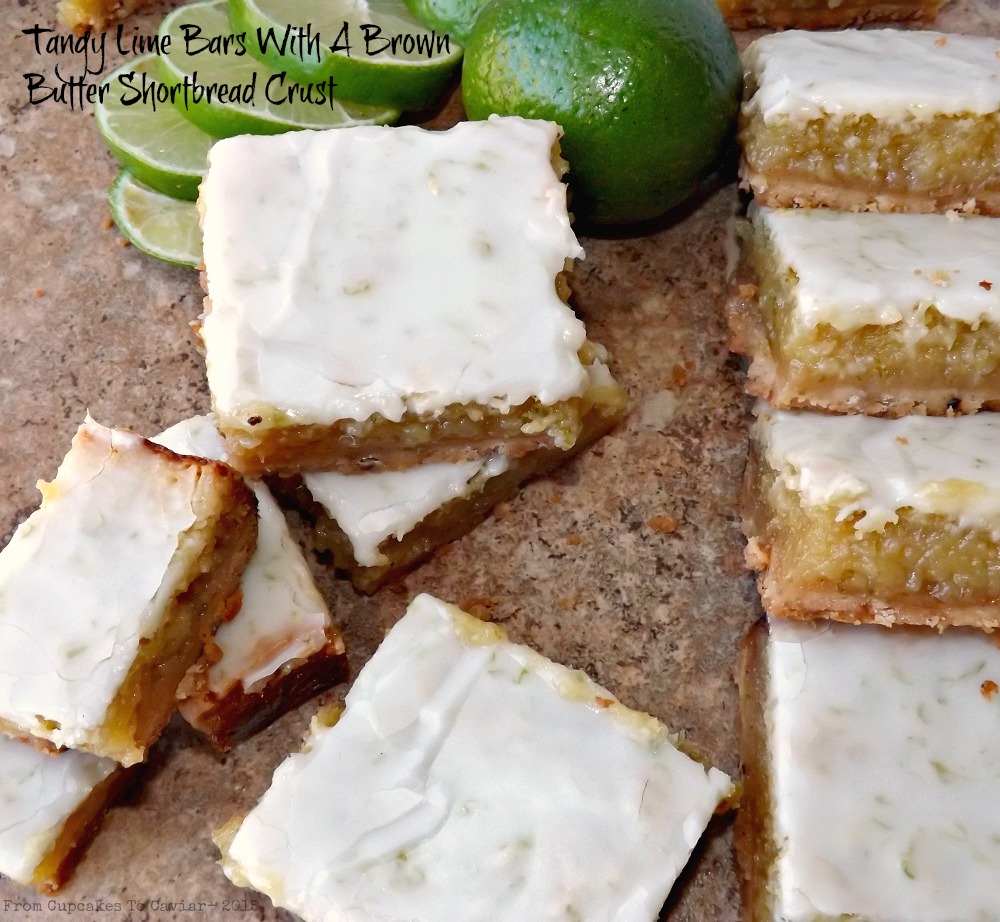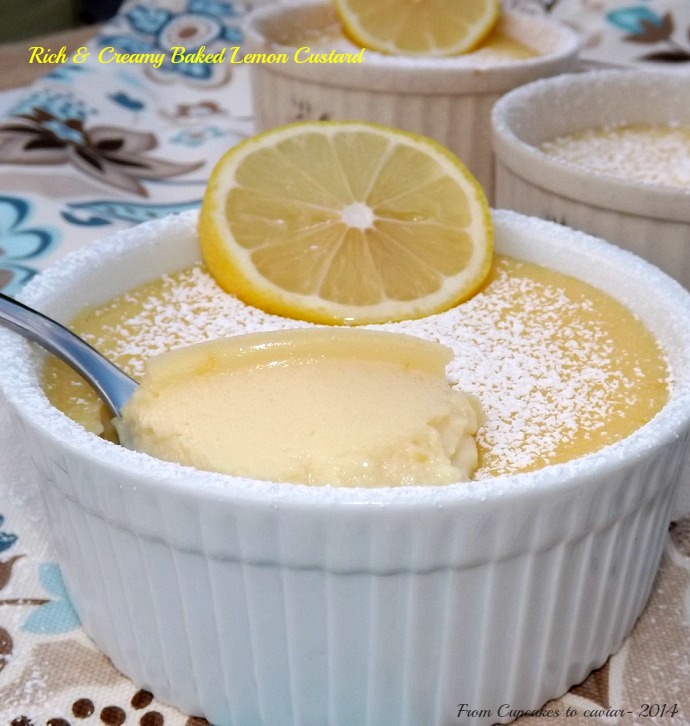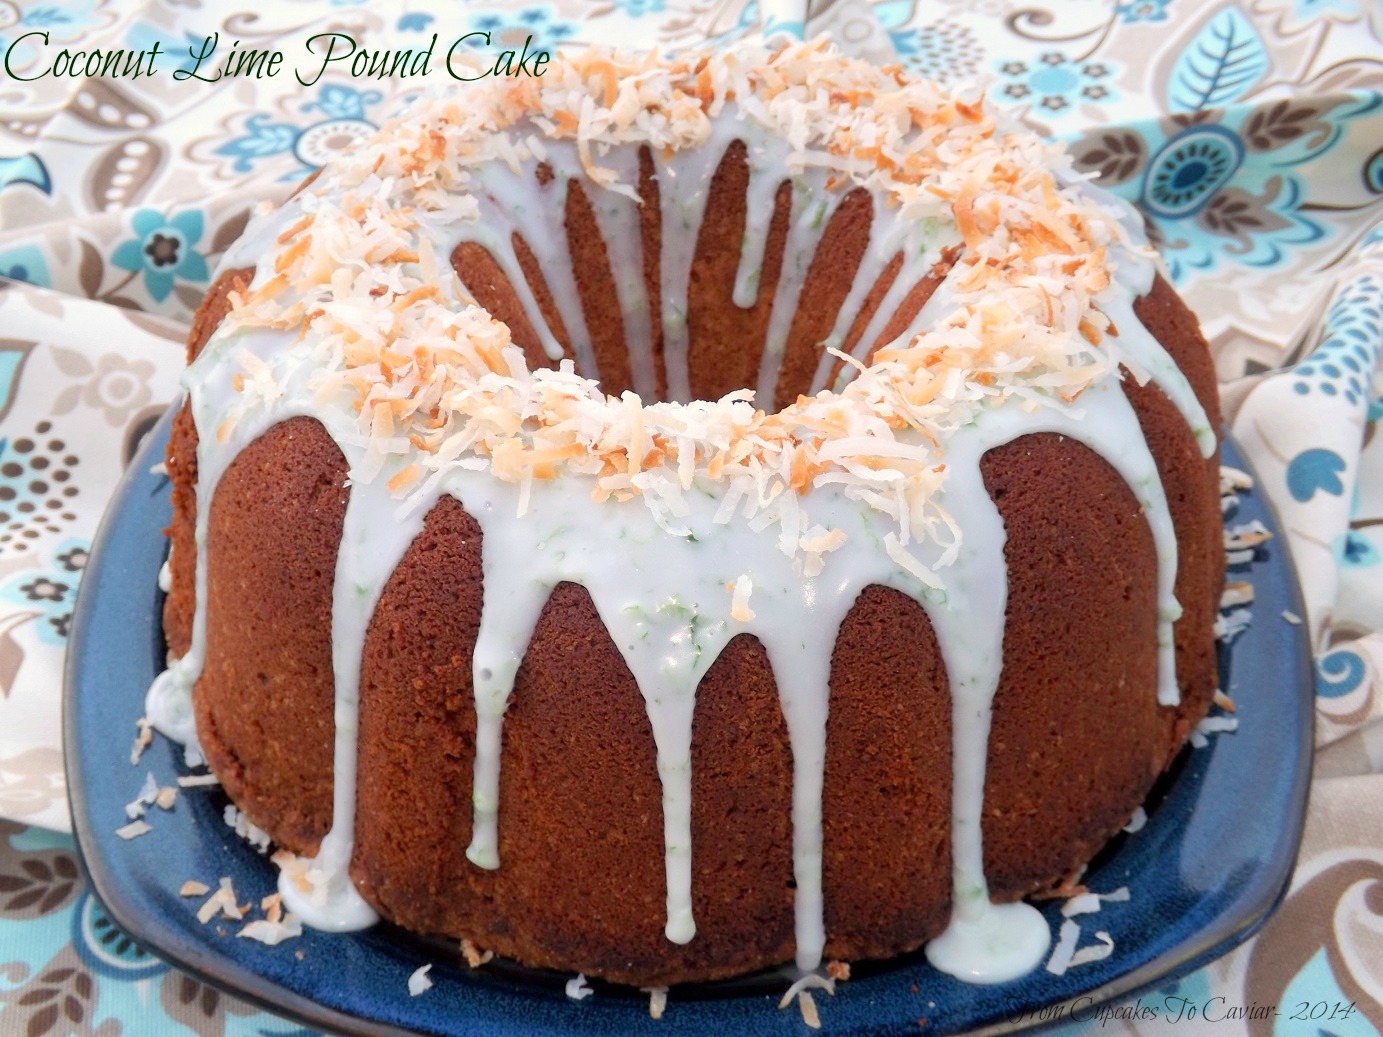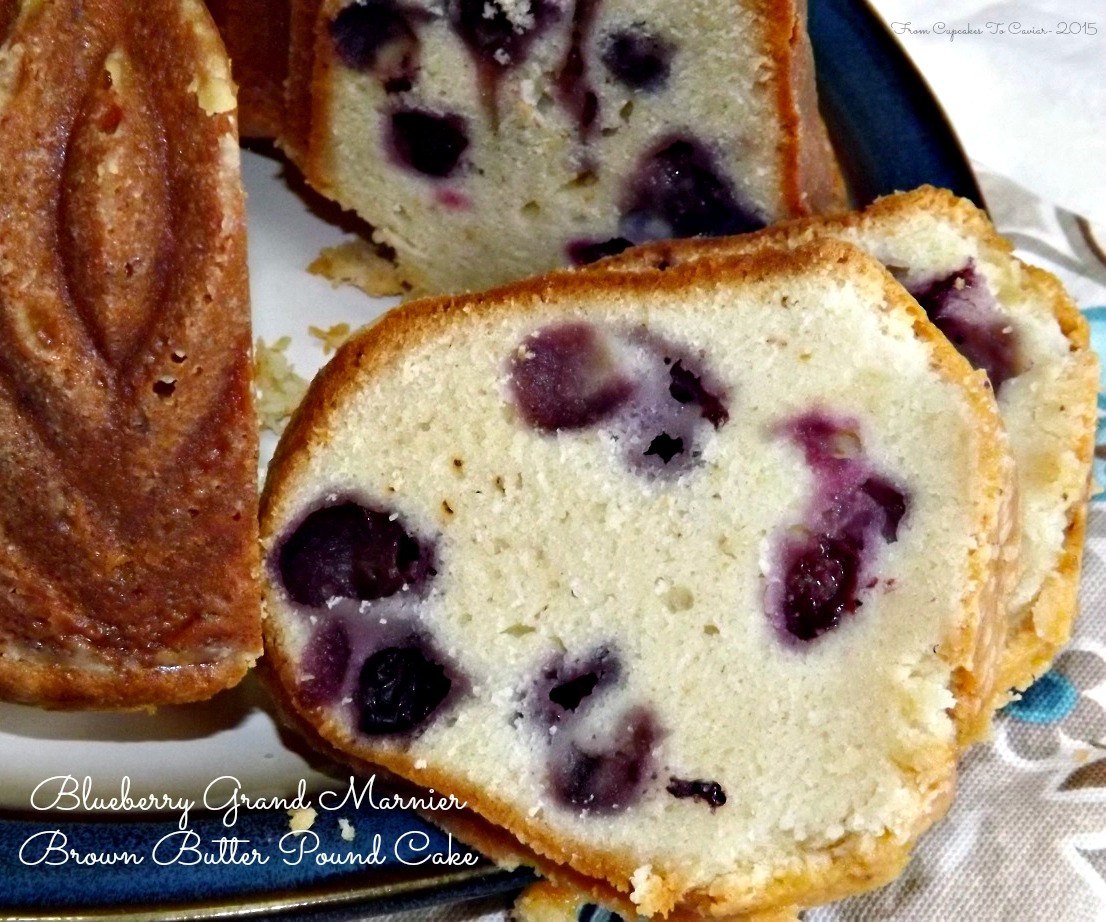
Blueberry Grand Marnier Brown Butter Pound Cake

When I was ten, my mom and brother and sister and myself went to Alabama to visit my grandparents (Mommer and Popper) for a few days. I absolutely loved being there. It was way out in the country, a small wood frame house with no central air, no central heat (no heat at all actually), built I have no idea when. It had one small bathroom, two small bedrooms and an ancient kitchen with an old iron porcelain coated sink. I remember sleeping in the tiny hallway between the kitchen and one of the bedrooms on a blanket with my mom when I wasn’t staying over with my cousin Lori. The house was surrounded by woods and the blueberry bushes that Popper had planted. On the same patch of land was the trailer my Aunt Irene and my cousin Lori, who was my age, lived in, so going to visit was sheer heaven for me. Country, family and someone to play with. Part of my heart still lies in Alabama and the south, which is why I’m probably quite content living out the rest of my life here in Kentucky even though I was born and raised in Chicago.
Well, one day during the visit, Popper told me, my cousin Lori and a couple other cousins who were visiting that we could go pick some blueberries. We grabbed bowls and went out to the two large bushes right next to the house, which were about 5 feet tall each; nicely established bushes. About half an hour later, we went back into the house to show Popper our blueberry haul. We had totally stripped the bushes bare and had about 2 gallons of blueberries. While I’m sure that inside of him he was thinking, “oh, Etta (Mommer) is going to kill me for letting them doing this”, outside all he did was laugh, tell us that we had a lot of blueberries and had us take them in to my aunt. I have no earthly idea what they used all those blueberries for.
Silly story maybe, but the memory popped into my head the other day when I made this cake. It doesn’t take 2 gallons of blueberries though, I promise; just one pint. It did however, take me a couple of tries to get right. The first one totally stuck to the pan and while it tasted fine, it wasn’t quite right even if it hadn’t stuck. The second one however, was completely delicious. My husband, who is type 2 diabetic and knows better, had three slices in one day. I used my raspberry amaretto pound cake recipe, but changed it up for this, plus increased the butter a bit to account for the water evaporation from browning the butter. This is a delicious cake. It has a tight, moist crumb and an amazing flavor. Don’t look at the amounts of flavorings and think it sounds like they would all be competing with each other. They don’t at all. They complement each other and mixed with the fresh berries, brown butter cake and the orange syrup finish, add up to an outstanding cake, if I do say so myself.
You know the drill…
Mrs. Cupcake, who needs to go get some cake before my husband finishes it all
Blueberry Grand Marnier Brown Butter Pound Cake
- 1 1/2 cups unsalted butter
- 3 ounces cream cheese, softened
- 2 1/4 cups sugar
- 3 tablespoons Grand Marnier
- 1 1/2 tablespoons vanilla extract
- 1 1/2 teaspoons almond extract
- 1 teaspoon orange oil (or orange extract, but please, go buy the oil. it lasts forever and is much better
- 1 teaspoon Fiori Di Sicilia flavoring (optional; available through the King Arthur site. Another one I recommend splurging on. It is a fantastic addition to many baked goods)
- 2 1/2 cups flour
- 6 eggs
- 2 cups fresh blueberries
- Orange syrup-
- 1/2 cup sugar
- 1/2 cup fresh orange juice
- 2 tablespoons orange zest
- Place the butter in a medium pot and cook over medium high heat, swirling the butter frequently, until it is golden brown, about 5 minutes. Do NOT leave the stove. Butter can burn before you know it. Pour immediately into a bowl and put in the fridge for 45 minutes or so, just long enough to chill it and take it form a pure liquid state to a mushy solid.
- Preheat your oven to 325 and grease and flour a 12 cup Bundt pan and set aside.
- In a large bowl, combine the soft brown butter and cream cheese. Beat at medium speed until creamy, scraping down the bowl once if needed.
- Gradually add the sugar, beating at medium speed until light and fluffy. Add the Grand Marnier and the extracts, beating well afterward. Gradually add the flour to the mixture at low speed. Beat just until blended.
- Add the eggs, one at a time, beating just until blended after each one. GENTLY fold in the blueberries. Spoon batter into the prepared pan and smooth the top. When you have it in the pan, firmly bang the pan on a counter top to help remove any air bubbles.
- Bake at 325 for 65 to 95 minutes or until a skewer inserted in the middle comes out clean.
- When the cake is almost done, make the syrup- in a small pot, combine the syrup ingredients. Bring to a boil over medium heat. Use a fine mesh strainer to strain out the orange zest and discard it, then set the syrup aside until the cake is finished.
- Let the cake cool for 20 minutes, then use a plastic spatula ( or a fast food plastic knife if you have one) to loosen the cake from the edges of the pan. Place a large plate over the top of the pan, then carefully invert the pan. Tap firmly on the bottom of the pan to loosen the cake. It should fall out onto the plate. Let it finish cooling on the plate.
- Carefully transfer the cake over to a rack that has been set inside of a large rimmed baking sheet (to catch drips). Reheat your syrup until it is hot to the touch, then spoon the hot syrup over the cake. Make sure to let it soak in each time before adding more. You may not use all the syrup; it’s up to you. If you don’t though, don’t throw it out. It’s wonderful in tea.
- That’s it! Enjoy!
Copyright Notice: From Cupcakes To Caviar images and original content are copyright protected. Please do not publish these materials anywhere without prior permission.