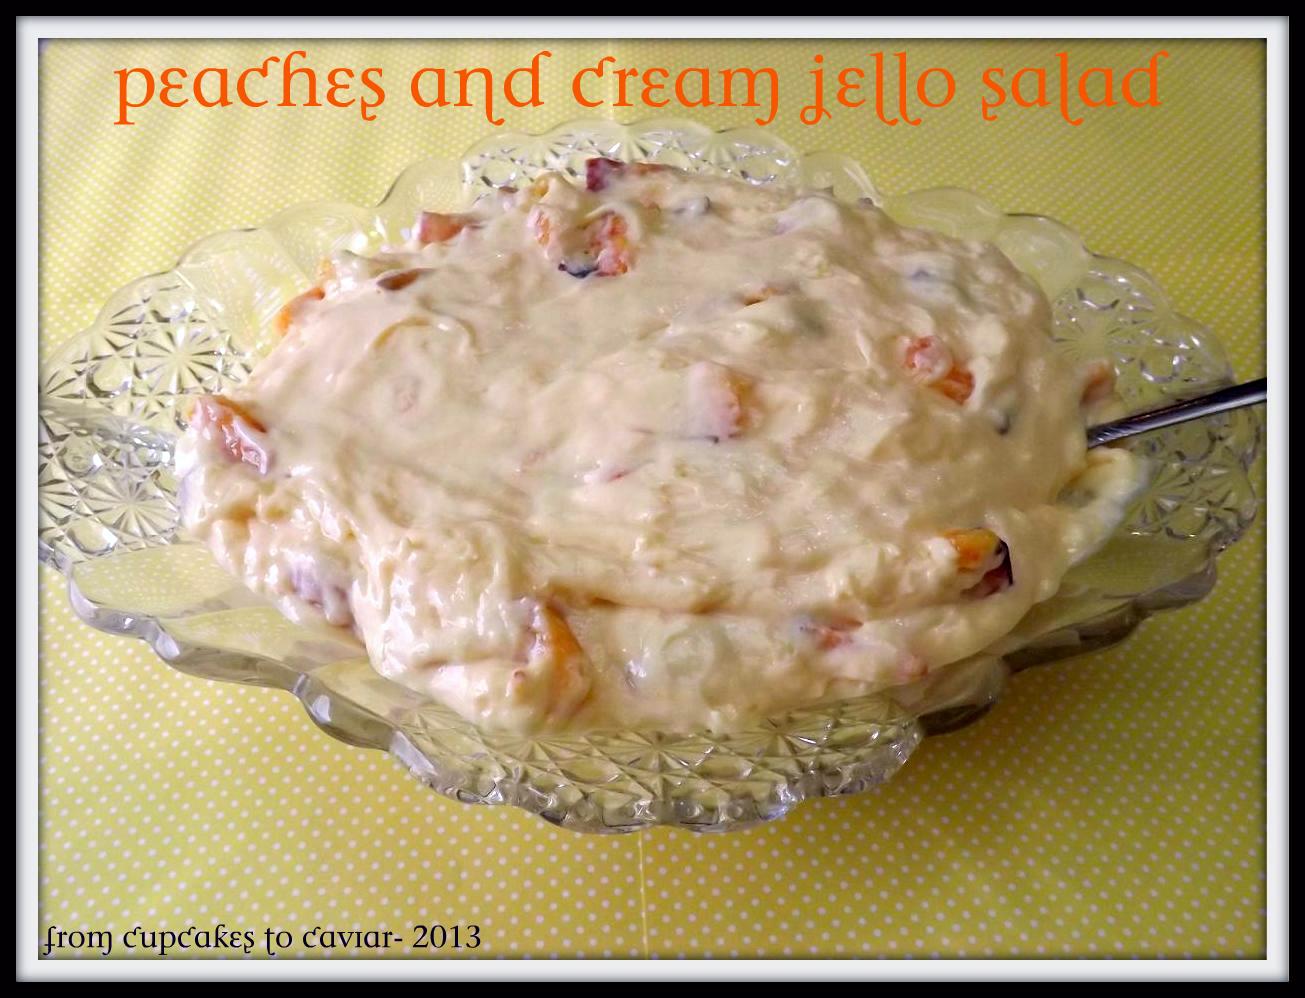
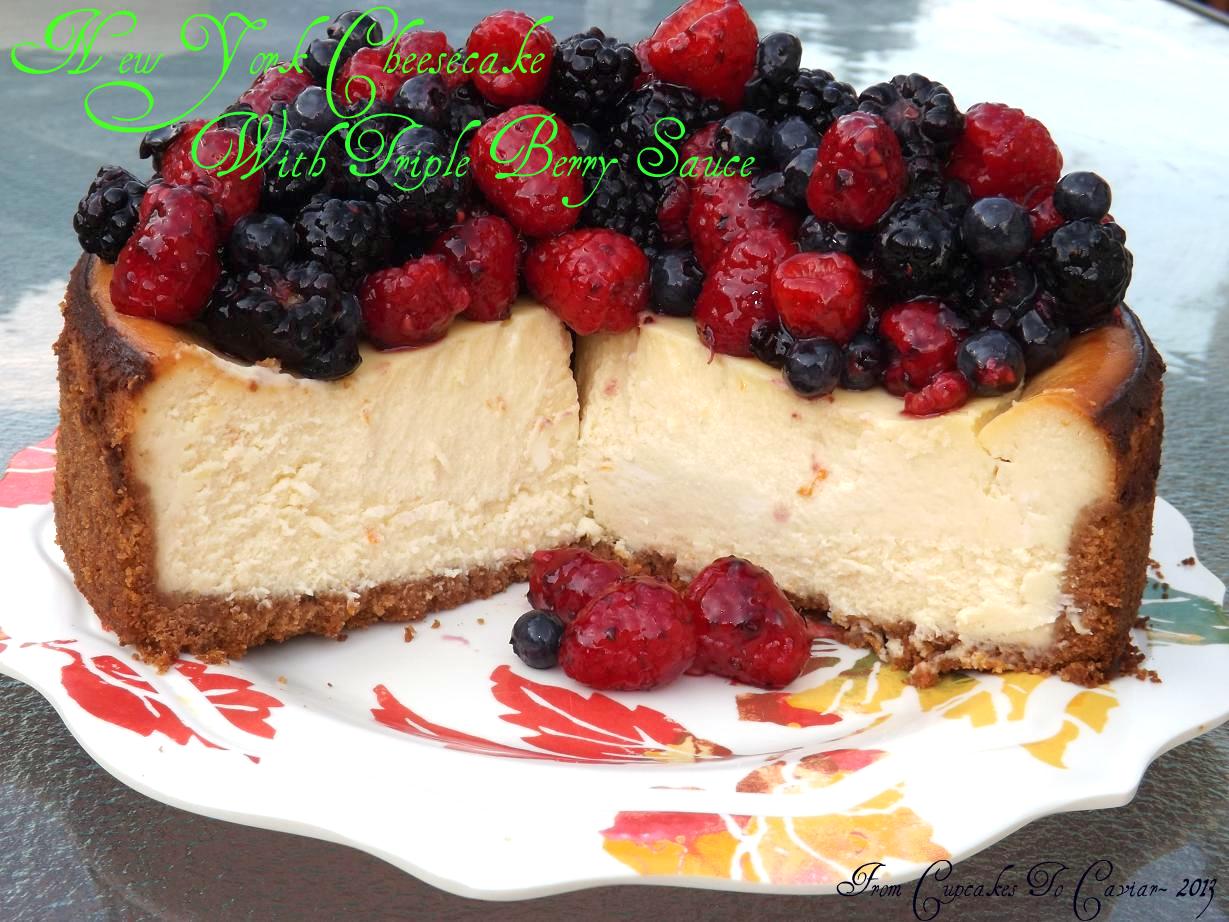
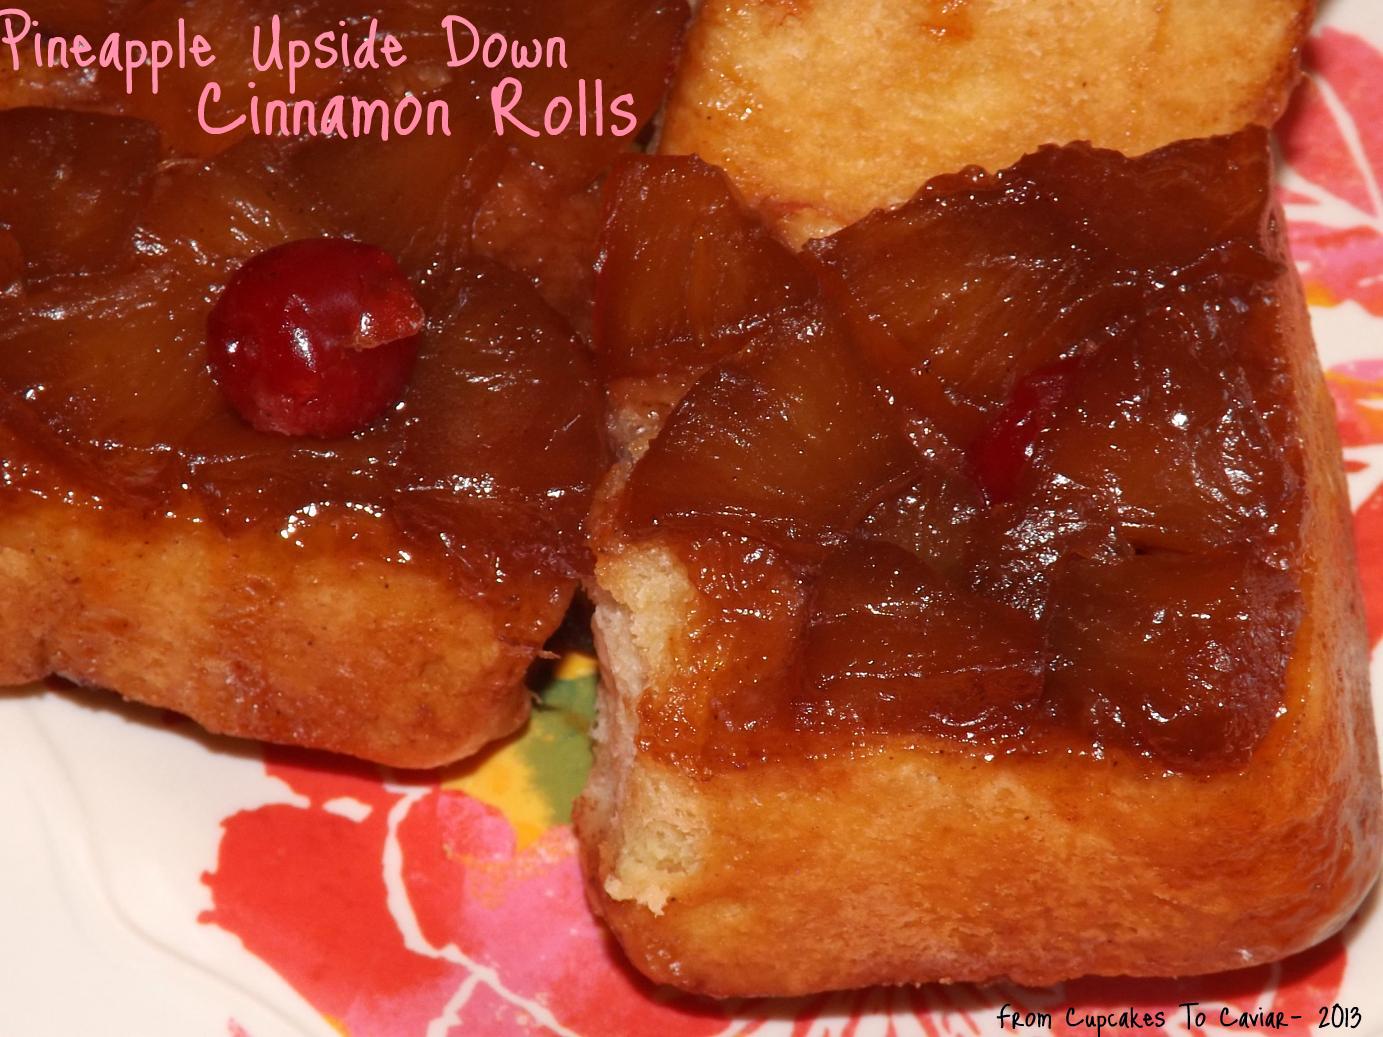
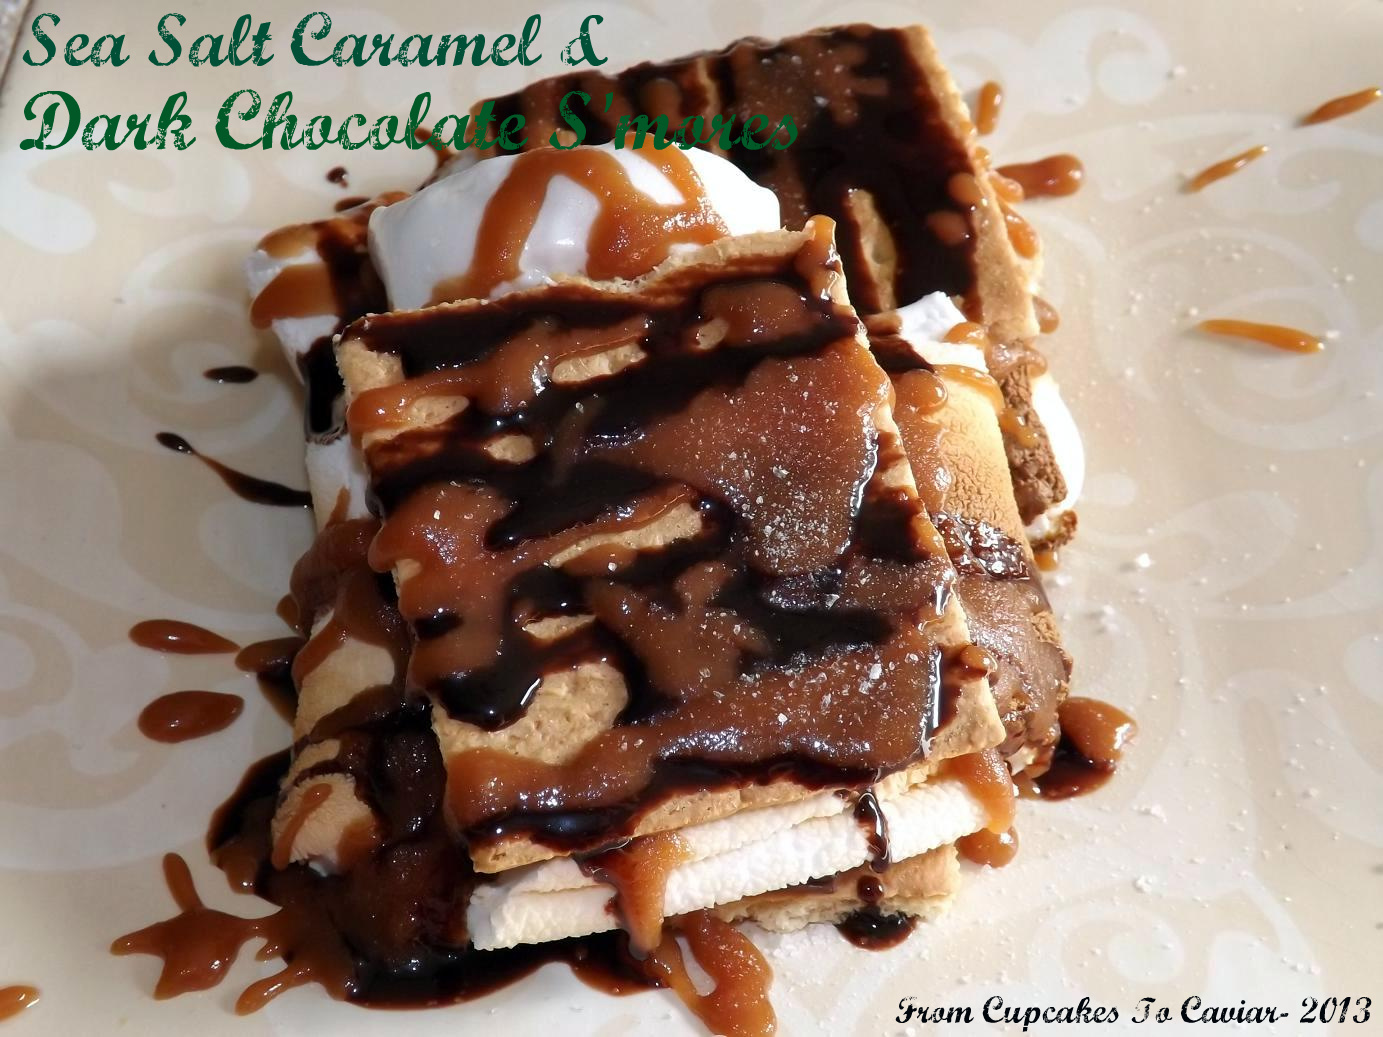
Insanely Cheesy And Creamy Mac & Cheese

Yum
Insanely Cheesy And Creamy Mac & Cheese 
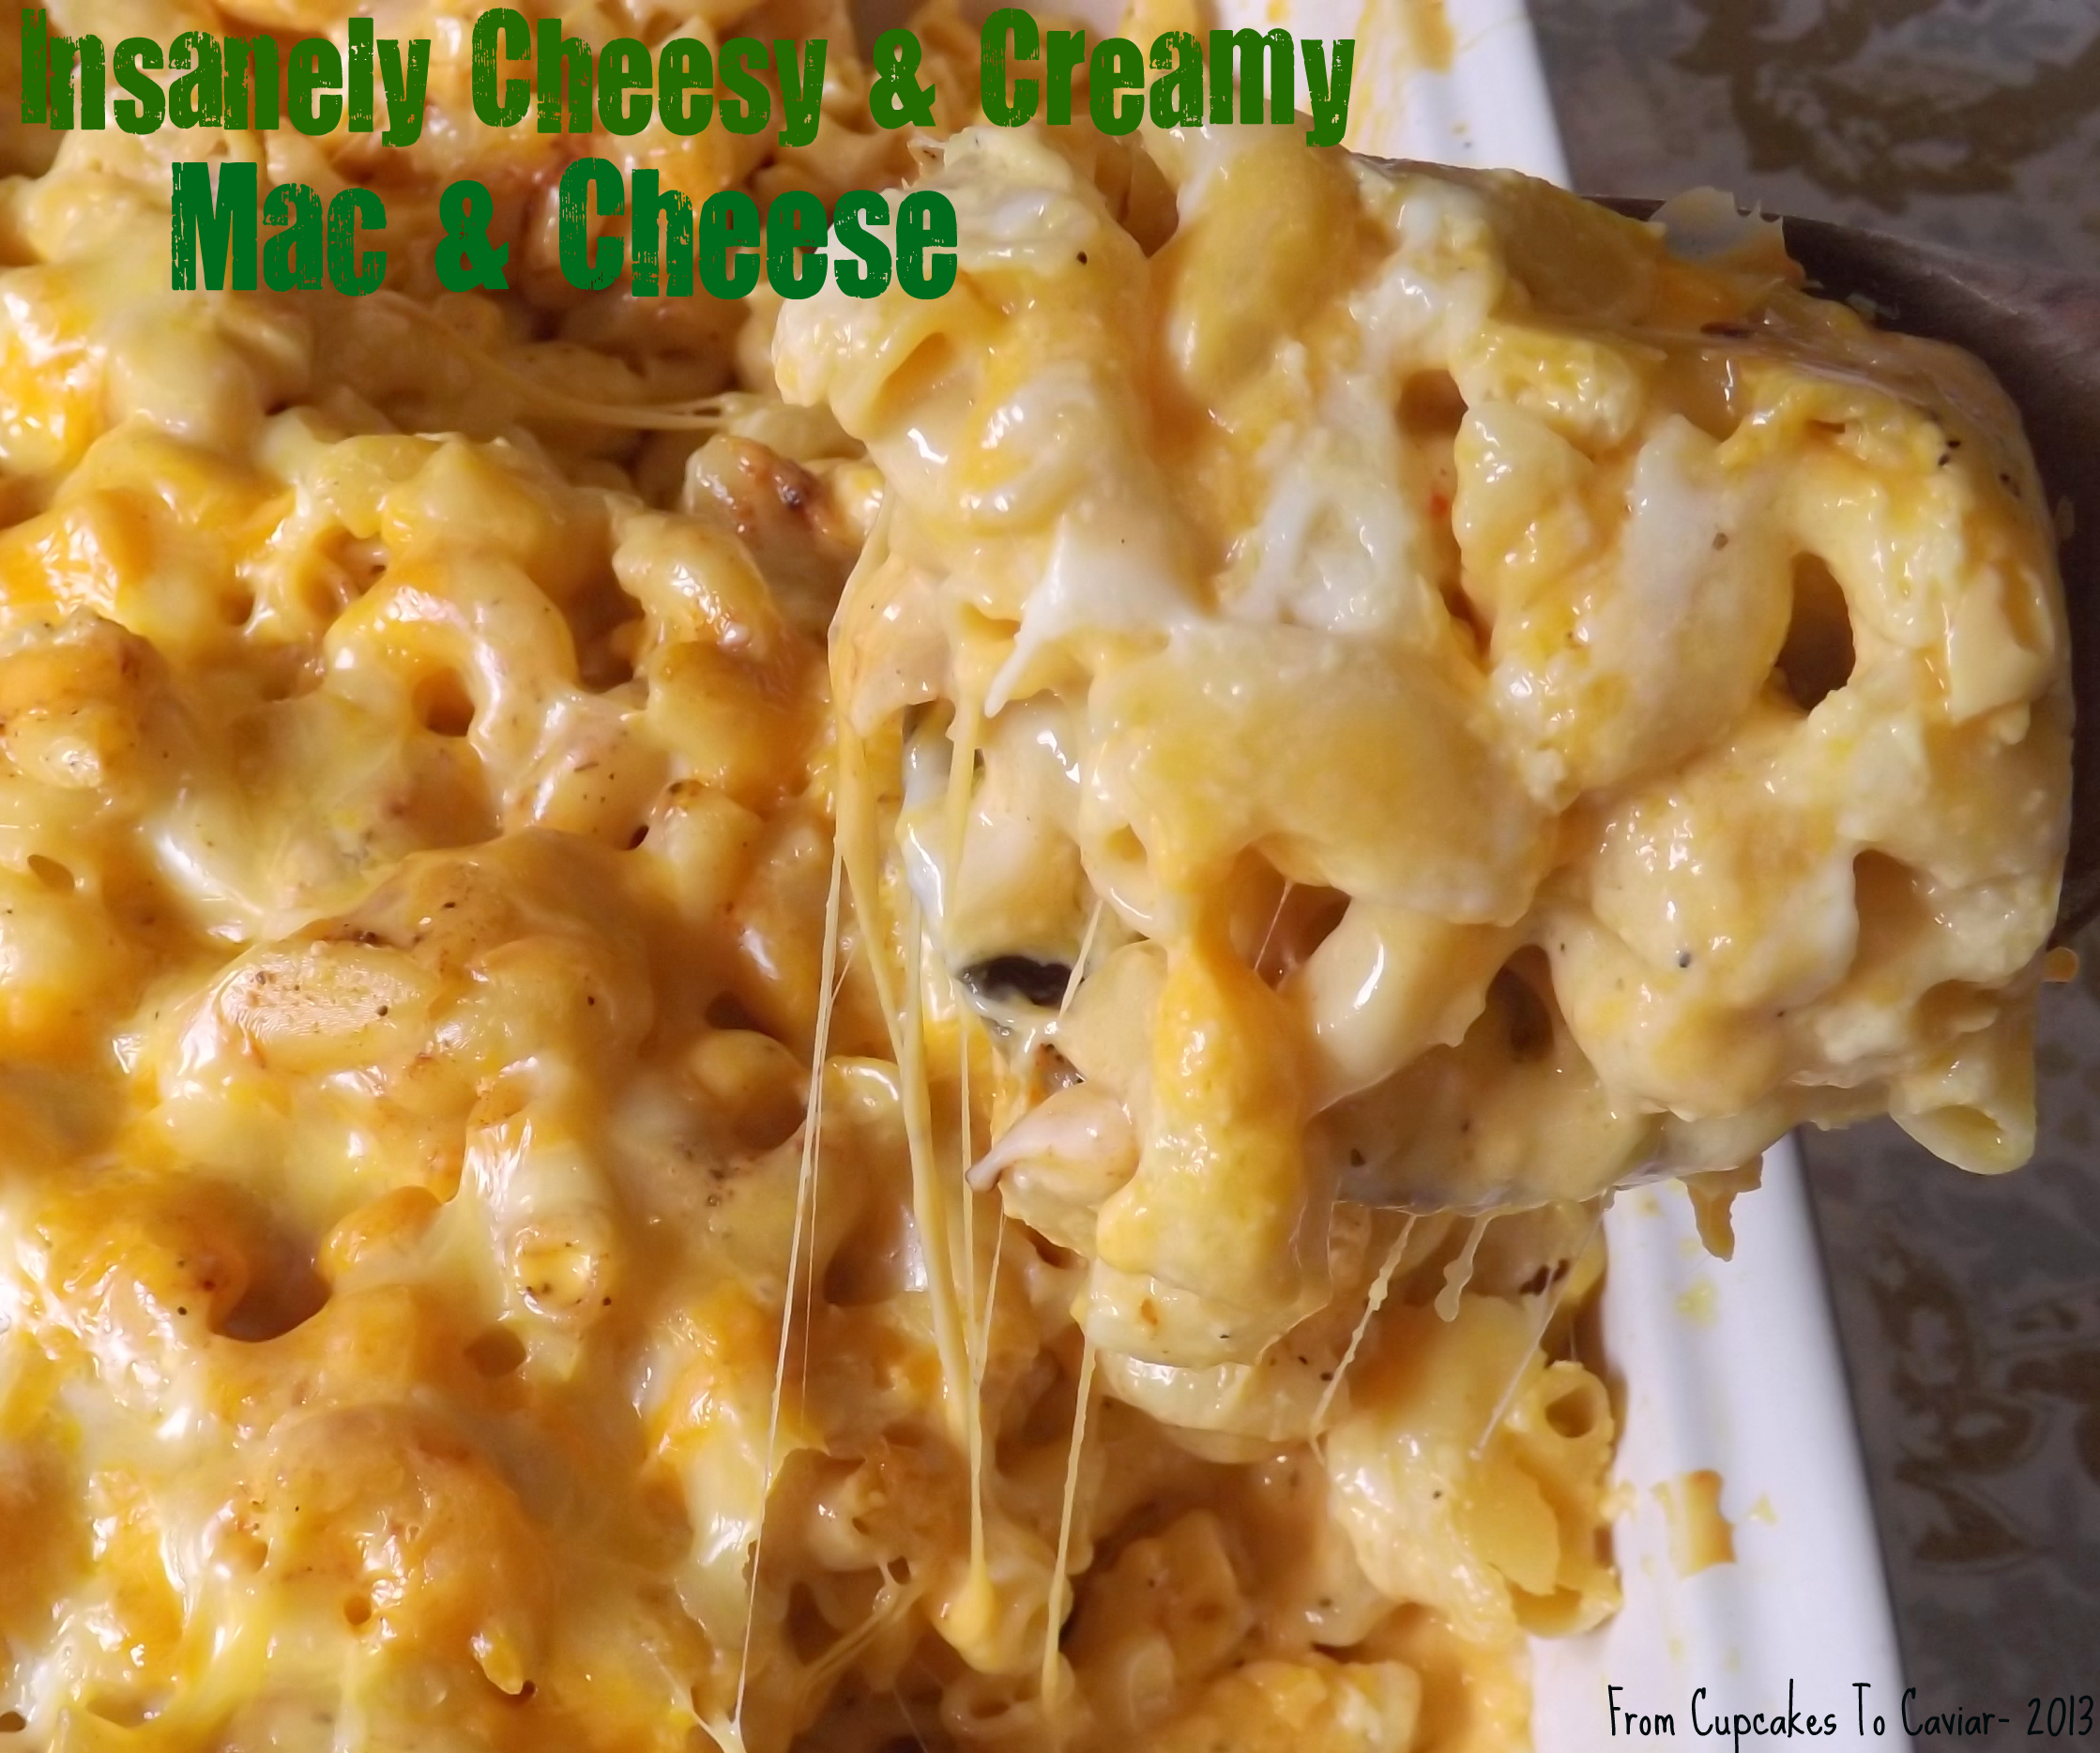
Once upon a time, I made atrocious mac and cheese. It tasted ok, but the texture was kind of grainy and gritty. Every once in a while, I would hit it and it would be good but those times were few and far between.

For years, I had seen recipes for it that used eggs to make a sort of cheesy custard but something about using eggs in mac and cheese just seemed weird to me, not to mention that, even to ME, it was like “whoaaaaa… like mac and cheese isn’t fattening enough as is without adding a bunch of eggs to it?” But I kept running into recipes with them in it and the photos I saw always looked good so I broke down and tried it.

I’m sorry I waited so long.

And looking back and thinking in a logical cooking way, it makes sense. Make an egg custard and put cheese in it and you’re going to have something delicious. I do it when I make Pastitsio (the love child of Greek mac and cheese and Greek lasagna) so I don’t know why I hesitated in this. Adding the eggs to the milk and cheese one might normally use to make a white sauce for M&C simply gives you a smoother, richer, better textured final product. If you’ve never used a custard base for pasta, don’t be nervous. If you remember to temper your eggs, you’ll be fine. All that means is to beat a little of the hot milk/cheese mixture into the eggs to heat the eggs up. That way they don’t immediately scramble when you add them to the milk. After that, it’s a breeze. You’ve got this!  For the life of me, I don’t recall where I got the un-changed up recipe originally. I had it hand written on a piece of paper with no info.

You know the drill… in this case, it’s go make some outrageously cheesy and creamy mac and cheese!

(I have updated this over the years, because it simply didn’t reheat well due to the sauce getting soaked up. When you first make this, you will think it’s too much sauce. It’s not. it works when first made, and helps the mac and cheese stay creamy when reheated. )

Insanely Cheesy And Creamy Mac & Cheese

  • 2 lbs macaroni
  • 30 ounces sharp cheddar cheese, freshly grated (don’t use the preshredded)
  • 30 ounces Monterey Jack cheese, freshly grated (don’t use the preshredded)
  • 3 lbs Velveeta, cubed
  • 3 1/4 cups milk (use whole for this or 2%. There is really no use using skim or 1%. I mean… really… with all the cheese?)
  • 5 eggs, well beaten
  • 1/2 cup unsalted butter
  • salt and pepper to taste
  1. Cook your pasta, drain well and set aside.
  2. While it’s cooking, combine your cheddar and Monterey jack cheeses in a large bowl. Set aside.
  3. Pour your milk into a medium, preferably non stick, pot. Over medium heat, bring the milk to a simmer.
  4. Add in the Velveeta cheese and stir constantly until smooth and completely melted.
  5. Take about 1/2 cup of the hot milk/cheese mixture and SLOWLY drizzle it into the bowl of beaten eggs, whisking with a fork constantly. When you have it all tempered, slowly pour the egg mixture back into the milk mixture, again stirring constantly.
  6. Butter a 4 to 6 quart baking dish ( I use one of those deep dish foil lasagna pans for this) and preheat the oven to 350 degrees. Don’t use a smaller one… this makes a LOT of mac and cheese. Pour half of the pasta into the dish. Sprinkle with salt and pepper and layer the sliced butter all over the top.
  7. Sprinkle half of the cheddar/jack cheese mixture over the top of the pasta, then pour half of the hot milk/cheese mixture over the top. Repeat this layering one more time.
  8. Bake at 350 until mac and cheese is bubbly and lightly browned, about 30 to 45 minutes.

Copyright Notice: From Cupcakes To Caviar images and original content are copyright protected. Please do not publish these materials anywhere without prior permission.

Peaches And Cream Jello Salad

Peaches And Cream Jello Salad

Peaches And Cream Jello Salad


I’ve said it before and I’ll say it again. I’m old! Yep, compared to many bloggers, I’m old. I have six kids, three grown and married and have 7 grandchildren. The bulk of food bloggers are working on their first child, if that.

Why do I mention my old fart status? Jello. That’s why. Back in the stone age, when I was a kid who played with T-Rex bones for fun and dodged falling pterodactyl poop, jello was the dessert of choice. That and canned fruit, though that may have just been my mother who bought that…every…single…payday. Lots of canned fruit. LOTS. I still don’t care for canned fruit. Jello however, I still like. Though I have this bad habit of stockpiling it like there’s going to be a run on jello and then I end up with, no lie, about 50 boxes of jello. And we won’t mention how many boxes of pudding mix that I buy thinking it would be a quick dessert and then never make. And brownie mixes. And…and…never mind. Just suffice it to say that I hope you aren’t wanting to buy gummy candies anywhere anytime soon.

This started out as a creamsicle salad, which, while yummy, isn’t what I wanted. I hate being a conformist. EVERYONE makes it with orange jello. I’m a rebel.

Or something.

I made it with peach jello. And cheesecake flavored pudding mix.

It’s yummy. You need this. This is creamy and peachy and jello-ey (yes, that is now a word) and very refreshing after you’ve spent an hour or so watching your body shrink as you drip sweat over a red hot grill. It’s also so easy that anyone can do it, even my husband.  Ok, maybe I’m stretching the truth there.

Peaches And Cream Jello Salad

  • 2 3 ounce packages cheesecake flavored instant pudding mix (you can sub vanilla or maybe white chocolate if you want to)
  • 1 3 ounce package peach jello
  • 1 1/2 cups boiling water
  • 1/2 cup heavy cream
  • 2 cups chopped fresh peaches
  • 16 ounces cool whip
  1. In a large bowl, combine the pudding mix and jello. Pour the boiling water over it and stir until smooth and well blended.
  2. Stir in the heavy cream and stir until combined.
  3. Fold in the peaches.
  4. Fold in the cool whip.
  5. Chill until firm, about 2 hours.
  6. Serve. Eat. Burp. Ok, you don’t have to burp if you don’t want to.

Copyright Notice: From Cupcakes To Caviar images and original content are copyright protected. Please do not publish these materials anywhere without prior permission.


New York Cheesecake With Triple Berry Sauce

New York Cheesecake With Triple Berry Sauce

New York Cheesecake With Triple Berry Sauce


I’ve always gotten a kick out of the regional competition between different parts of the country when it comes to food. Being born and raised in Chicago, I saw a lot of it there. Chicagoans will tell you that you can’t get sausage as good anywhere but there… and they would be correct. They will also tell you that the way they make hot dogs is the best… and they would, again, be correct. Then there’s pizza. While Chicago is known for deep dish, believe it or not, a native Chicagoan will tell you that Chicago is more known for thin crust pizza. And yes, it’s better there. I didn’t have deep dish pizza until well into adulthood. Go figure.

Other parts of the country will arguments over other foods, such as where in the south you can get the best fried chicken or the best shrimp and grits (both foods dear to my heart…and stomach), where the best bagels are available (from all accounts that would be New York but never having been there, I can’t say) down to even where you can get the best coffee (Seattle ostensibly but again, I couldn’t say)

One thing most people won’t argue about though is where one can get the best cheesecake. New York wins that. While, like I said, I’ve never been there (*sobs* I’m so travel deprived) I’ve tried enough cheesecake to be pretty certain which is the best. And a thick, dense, creamy New York style cheesecake is hard to beat. Though *she says with a sheepish grin* I DO have a liking for those creamy French style Sara Lee cheesecakes. Don’t judge!

You need to give this one a try next time you get a hankering (yes, I just said hankering…what of it? 😛 ) for cheesecake. It is, as I mentioned above, thick (boy, is it thick), dense and creamy. Plus, with the quick berry sauce on top, it goes from wonderful to “omg, back away from this cheesecake cause it’s all mine!”.

This is fairly quickly put together. It takes a while to cook and then to chill but it’s worth the wait. Mine took longer than the recipe said it would by about 50% time wise but that could be my oven, who knows. This originally comes from Cooks Illustrated and I really didn’t chance much other than I added 2 tablespoons of flour (I have bad luck at times with cheesecakes that don’t contain a touch of flour so I just put a bit) and I added the lemon and orange zests. The berry sauce is also mine but there’s nothing fancy about it though it looks it. All it is is berries and some softened up jam. I prefer uncooked berry sauces over cooked because 1) they’re easier and 2) you don’t lose the fresh flavor of the berries by cooking them. I also opened the door for a minute at the stage of turning the oven down to 200 because when researching this recipe, I read a LOT of reviews saying that theirs burned but those who said they propped the door open for a minute didn’t have that issue. I love the mild citrus flavor they added but feel free to omit them if you’re more a cheesecake purist.

You know the drill… git to cookin’.

New York Cheesecake With Triple Berry Sauce

  • Crust-
  • 5 tablespoons unsalted butter, melted
  • 4 ounces graham cracker crumbs
  • 1 tablespoon sugar (I used about 2 cause I like graham cracker crusts a bit sweet)
  • Cheesecake-
  • 5 8 ounce packages of cream cheese, softened
  • 1/8 teaspoon salt
  • 1 1/2 cups sugar
  • 1/3 cup sour cream
  • 2 tablespoons flour
  • 2 teaspoons lemon juice
  • zest from one lemon
  • zest from one orange
  • 1 tablespoon good quality vanilla extract
  • 6 eggs
  • 2 egg yolks
  • Triple Berry Sauce-
  • 4 cups fresh mixed berries
  • 1/2 cup good quality berry jam (I used Smuckers Triple Berry Preserves)
  1. Spray a 9 inch springform pan with cooking spray. Set aside. Preheat oven to 325 degrees.
  2. To make the crust, combine the crumbs and the sugar. Stir to combine. Then pour over the melted butter and stir well until it’s evenly moistened. Pour the crumbs into the prepared pan and using the bottom of a glass, press them onto the bottom and halfway up the sides of the pan. Place in the oven and bake for about 12 minutes or so, until they are lightly browned. After you take it out, turn the heat up to 500 degrees (yes, you read that right)
  3. For the cheesecake- in a large bowl,  using a hand mixer (I have tried a stand mixer with this recipe and it simply doesn’t get the bottom of the bowl well enough and you end up with lumps of unmixed cream cheese), beat the cream cheese until smooth and creamy with no lumps. Scrape the bowl once or twice during the mixing.
  4. Add in the sugar and flour and beat until combined, about one minute. Scrape the bowl again, then add the lemon juice,  zests, sour cream and vanilla. Beat at low speed until combined. Add the egg yolks, then beat until combined. Add the eggs, 2 at a time, and beat each time until well combined.
  5. Spray the cheesecake crust with cooking spray (yes, the crust… ), set the crust on a baking sheet (in case of drips) then pour the batter into the prepared pan. Bake for 10 minutes at 500. Then turn the heat down to 200 degrees. Prop or hold the door open for about 45 seconds or so so heat goes down a bit quicker then close it back.
  6. bake at 200 degrees for about an hour and a half (like I said up there, mine actually took closer to 2 hours but that may be my oven so check yours at the 90 minute mark.
  7. You want this to come to 150 degrees on an instant read thermometer. It should be set except in the center 2 inches or so of the cheesecake. It’s ok if it is VERY slightly jiggly there. It will firm up during the cooling process.
  8. Transfer to a wire rack and let cool until barely warm, about 3 hours. Using a butter knife, run it along the edge of the pan between the crust and the pan. This will help loosen it up. Wrap tightly and refrigerate until cold, about 3 hours.
  9. About an hour before serving, pour your berries in a medium bowl. Gently fold in the softened jam or preserves (you can soften it simply by giving it a good stir before using it). When ready to serve, either spoon the berries on top of the cheesecake or serve in a bowl alongside it.

Copyright Notice: From Cupcakes To Caviar images and original content are copyright protected. Please do not publish these materials anywhere without prior permission.


Pineapple Upside Down Cinnamon Rolls

Pineapple Upside Down Cinnamon Rolls-001

Follow my blog with Bloglovin
You may have heard me say more than once that I lov(ed) Twinkies and Ho Ho’s and the like. basically, if it was Hostess, I was there, preservatives or not. I like to delude myself by saying that with all the Hostess cakes I’ve eaten in my life, I should have enough preservatives in me to live to be 400. So when Hostess went bankrupt, I was devastated. I held candlelight vigils every night for a month and still wear the “hair” shirt I made out of old ho ho wrappers.

So when I heard Hostess was coming back in July (bought by some company or another) I stopped the candle light vigils, bought a helicopter and had it flying a “Twinkies are coming back!” banner behind it and knitted a throw rug with a Ding Dong design in the middle.

One of the things I sheepishly admit to liking from them was their packs of cinnamon rolls. That slick icing you could pull off in one horrifyingly large piece, the somewhat dry rolls (especially once you pulled off and ate the vaguely plastic icing)… it was all high on my list of “I have no idea why I like this, but I do” foods, along with gummi candies, combos, liverwurst and lemonheads.

But even I’m not totally delusional. I know that homemade cinnamon rolls are better. And YOU all know ME.  I can’t leave well enough alone and just make something the normal way. I’m genetically mutated and must screw around with a recipe. So I made Pineapple Upside Down Cinnamon Rolls. I had seen the recipe originally in a cookbook and it intrigued me. Well, intrigued was all it could do. The recipe totally sucked.  The dough was soupy and even after adding a couple extra cups of bread flour, was far too sticky to work with and I knew if I kept going, i’d 1) waste more ingredients and 2) even if I got decent textured dough, it would end up overworked. So I tossed it and started over with my tried and true recipe for sweet roll dough from The Fannie Farmer Baking Book, just updated a bit for a stand mixer. Then I made the same type of topping I put on a upside down cake, just different ratios and Bobs your uncle… Pineapple Upside Down Cinnamon Rolls. These are a wonderfully flavored tender yeast roll with a delicious cinnamony/ buttery filing then topped with a buttery/sugary/pineappley (lots of y’s here) topping. Basically, you get two desserts in one for the calories of one dessert PLUS you can feel all self righteous if you have this for breakfast. This is a longer recipe but it comes together fairly quickly and it’s definitely worth the time

You know the drill…

Pineapple Upside Down Cinnamon Rolls

  • Cinnamon Rolls-
  • 2 packages dry yeast
  • 1/4 cup warm water
  • 1 cup milk, warmed
  • 1/2 cup sugar
  • 2 teaspoons salt
  • 1/2 cup unsalted butter, room temp
  • 3 eggs, warmed up in a bowl of warm water
  • 51/4 to 51/2 cups flour
  • Filling-
  • 1 stick unsalted butter, very soft but not melted
  • 1 cup sugar
  • 2 tablespoons cinnamon
  • Topping-
  • 2 20 ounce cans pineapple chunks in juice, well drained
  • 2 sticks unsalted butter
  • 1 1/3 cups dark brown sugar
  • 1 small jar maraschino cherries, drained (optional)
  1. Sprinkle the yeast over the warm water in a small bowl. Stir and let sit for a few minutes so yeast can dissolve.
  2. Combine the milk, sugar, salt and butter in the bowl of a stand mixer and beat will. Stir in the dissolved yeast. Put on the dough hook- add 2 1/2 cups of the flour and beat until the dough comes together in a shaggy mass. Add another 2 1/2 cups flour and on low speed, mix until the dough is smooth and firm.
  3. Feel it with your fingers and if it is tacky (unless your house is very humid, 5 cups should be fine. The original ingredients were for a hand mixer. A stand mixes better and you can usually use a touch less flour to get a good dough.) add about another 1/4 cup flour. Mix at low speed for about 5 minutes. Turn the dough out into a greased bowl; turn the dough to make sure all sides get greased, then cover with plastic and set aside. Let rise until doubled in bulk.
  4. Meanwhile, make your topping and filling. For the filling, in a small bowl, combine the one cup sugar and 2 tablespoons cinnamon. Set aside.
  5. For the topping, combine the butter and brown sugar in a medium saucepan. Bring to a simmer over medium heat, stirring occasionally to mix the sugar. Add the drained pineapple, stir and simmer over medium heat for five minutes. Mixture will seem thin but it will thicken and caramelize as it cooks in the oven.
  6. Grease a 13×9 inch baking pan and preheat oven to 350 degrees. Pour the topping in and make sure to spread the pineapple out to cover the bottom of the pan. If using cherries, randomly top the pineapple mixture with some cherries.
  7. When dough has risen to double it’s original bulk, punch down. Turn out onto a floured board and knead lightly for a minute or so. Roll out into a rectangle of approximately 28 by 12 inches. It doesn’t have to be perfect.
  8. Spread the top of the dough with the very soft butter, Then sprinkle with the cinnamon/sugar mixture. Starting from one of the long sides, roll up tightly like a long jelly roll. Cut the dough into 15 pieces and lay each piece into the prepared pan. You should have the five rows of 3 rolls. Cover lightly with plastic or a damp towel and set aside to rise again. Let rise for about another half hour or until almost doubled in bulk.
  9. Bake at 350 degrees until the rolls are puffy and golden.
  10. Let sit for five minutes then invert pan over either some sheets of foil or a larger pan if you have one. Let excess topping drip down for a minute.
  11. Serve warm… cold…room temp… in a cave… on a horse…eat them any way, Sam I am.

Copyright Notice: From Cupcakes To Caviar images and original content are copyright protected. Please do not publish these materials anywhere without prior permission.

Salted Caramel & Dark Chocolate S’mores

Sea Salt Caramel & Dark Chocolate S'mores

Sea Salt Caramel & Dark Chocolate S’mores

I don’t like s’mores much. There. I said it. I have no problem with the marshmallows and the chocolate. I mean c’mon, this is me.  I love those parts. But I really don’t care for graham crackers. We were fairly poor growing up and as graham crackers were cheap, they were one of those things that my mom bought a lot as a treat. I ate them then… I was a kid… give me a shoe sole with sugar and I’d have eaten it. but even then they weren’t a favorite. Still aren’t. but you know what? When I made this S’more, the first thing I tried was the cracker that was all coated with caramel, chocolate and sea salt. And know what? It was amazing! I now have a way I will eat graham crackers lol. Of course, it takes a somewhat benign food and makes it a heart attack on a plate, but I’m cool with that 😀

If you like s’mores the old fashioned way, you’ll like these even better. If you like salted caramel and fancy schmancy chocolate this will be heaven on a plate for you. A layer of graham cracker covered in a square of good quality chocolate ( I used Lindt Caramel Sea Salt bar just to layer that sea salt caramel flavor , covered in a toasted marshmallow and sea salt caramel sauce, then coated with more chocolate, another graham cracker THEN slathered in more caramel, good chocolate sauce and more sea salt. Yep… Heaven. On. A. Plate.

Salted Caramel And Dark Chocolate S’mores

  •  1 3.5 ounce bar Lindt Caramel Sea Salt Bar (or any flavor you prefer… but use GOOD chocolate)
  • 5 graham crackers, broken in half
  • 5 large marshmallows. (I used the extra large ones from Campfire brand)
  • A half batch of my homemade caramel sauce (you’ll end up with some left over but I promise that you won’t mind. It has many uses 😀
  • 1 teaspoon sea salt
  • 1/4 cup good quality chocolate sauce
  1. After you make the caramel, stir the teaspoon of sea salt into. If you want to hold on to some of the sauce plain, just use what you want and cut the salt accordingly. Set aside.
  2. Set the graham cracker halves on plates (one cracker to each of five plates) and put a square of chocolate on each piece.
  3. Toast your marshmallow by whatever method you prefer. I just used the stove but go for it and be authentic and use a campfire, a grill, whatever… use a Bic lighter if it makes you happy 😛
  4. Put the marshmallow on a graham cracker half, cover with some of the caramel sauce, then put the other cracker half on top.
  5.  Drizzle with chocolate sauce, more caramel sauce then sprinkle with some sea salt.
  6. Inhale. Thank me later.

Copyright Notice: From Cupcakes To Caviar images and original content are copyright protected. Please do not publish these materials anywhere without prior permission.


Sticky Spicy Sweet Thai Wings

Sticky Spicy Sweet Thai Chicken Wings

Sticky Spicy Sweet Thai Chicken Wings

Yesterday, I was having a conversation with friends on facebook about how the American public (and a few other westernized cultures) has gotten fatter and fatter even though there is a far larger variety of good for you foods to choose from. We went back and forth over whether diet or lack of exercise was the larger culprit with my personal stance being right in the middle of both. We make crappy food choices, then do nothing to work it off. As a society we have come so far from our agricultural work 10 hours a day at manual labor roots that’s it’s frightening. most of us now get our exercise at home via a dvd or at the gym or maybe jogging and that’s assuming we even get up off of our computer chairs to do ANYTHING. And as I said to friends, I’m as guilty of that as anyone.

Case in point, chicken wings. I absolutely love them and would happily eat them several times a week with no problem. The problem lies in how I usually like them. I love the prepackaged bags of Hooters coating, frying the wings up all nice and crispy and then slathering them in the Hooters sauce. In my defense, I don’t have them often, maybe 2 or 3 times year, but to be totally honest, that probably stems more from the price of wings than any healthy living on my part. Like I said, I’m as guilty as anyone else. Last night, I had those same Hooters wings all planned for dinner. But after that conversation, I just couldn’t do it. I have been trying to eat better lately anyway (as I’ve said before, I actually don’t eat much of what I make for the blog… this is where having teenage boys and my husband having female coworkers who love sweets comes in handy hehe) and after my soapbox talk on facebook, couldn’t justify fried wings coated in flour and a buttery sauce.

So I played. I love spicy foods, I love sweet hot foods even more and I love Thai influenced foods too. So I dreamed up a sauce that had those flavors. I am rather pleased with how these turned out. The sauce is sticky, (and a good wing just HAS to be sticky. It’s the law!), sweet and with a nice punch of heat to it. If you’re spice averse, just lower the amount of jalapeno pepper.  This makes a lot of glaze. You can store the excess in the fridge to use as a dipping sauce for many different foods. 🙂

You know the drill… git to cookin’

Sticky Spicy Sweet Thai Wings

  • 1 4 lb bag frozen chicken wings, thawed
  • 8 ounces apricot preserves
  • 1/2 cup honey
  • 1/2 cup soy sauce
  • juice and zest from one small lime
  • juice and zest from one small orange
  • 2 tablespoons red curry paste
  • 1/3 cup Thai sweet chili sauce
  • 1/3 cup brown sugar
  • 1/4 teaspoon cinnamon
  • 3 tablespoons finely minced jalapeno
  1. Preheat oven to 400. Line a large baking sheet with non stick foil (you could also use regular foil but spray it with cooking spray… as much fat as wings render, they still stick to the pan).
  2. Place the wings in a single layer on the baking sheet.
  3. Bake at 400 degrees for 20 minutes, then drain off all of the rendered fat or your wings won’t crisp at all, they’ll just steam in their own fat.
  4. Continue baking at 400 until wings are cooked through. If they haven’t browned enough for you, turn your broiler on high and put the pan under the broiler until they are of desired brownness. Watch closely so they don’t burn.
  5. As the wings cook, make your sauce. In a medium non stick pot, combine all the sauce ingredients. Bring to a boil over medium heat, stirring constantly so it doesn’t burn while the preserves melt. Once it is smooth, turn the heat to medium and continue boiling, stirring very frequently to prevent sticking. Turn the heat off about ten minutes before you take the wings out of the oven to let the sauce cool and thicken. it will look thin hot, but will thicken nicely as it cools.
  6. Put your cooked wings in a large heatproof bowl and pour the desired amount of sauce over them. Toss to coat. Garnish with sesame seeds and sliced green onions.

Copyright Notice: From Cupcakes To Caviar images and original content are copyright protected. Please do not publish these materials anywhere without prior permission.


Butterscotch, Brown Sugar & Cinnamon Scones With A Maple Glaze

Butterscotch Brown Sugar & Cinnamon Scones With A Maple Glaze

Butterscotch Brown Sugar & Cinnamon Scones With A Maple Glaze


I remember the first time I read about scones. it was when I was in my early 20’s, way back before the days of the internet and 900,000 recipes about ANYTHING.  I was reading a cheap romance set in Scotland. The heroine (whom I remember as being a total spoiled pain in the arse) was whining about being hungry and the maid of the hero (whom I remember as being a total sexist pain in the arse) gave her an oat scone. Since I’ve been fascinated with food culture for most of my life, I was intrigued at the idea of a scone. So when I finally found a recipe, years later, I just had t make them.

They sucked.

The first ones I ever made were made with an oat flour (ground up oatmeal), raisins (they called for currents but those weren’t easily found here in the states back in the day), butter and other assorted ingredients I can’t recall. They were dry as dust, tough and crumbly all at the same time with a taste that was like…well… ground up oatmeal with some raisins in it.

Being me though, I didn’t give up. Just like with bread pudding, which I hated when I first tried it, I had to keep trying. Now, I absolutely love scones. You can find quite a few of them here on the blog.

These are quite yummy. They are reminiscent of the packs of instant brown sugar and maple oatmeal that we all ate as kids (and that I personally still love). But no dry as dust texture. They are soft and flaky (I slightly overcooked mine by accident and they are still good) and the cinnamon brown sugar flavor accented by the maple glaze is outstanding (am I the only one who every single time I use the word outstanding I think of the old saw {that made no sense} about “yeah, he was outstanding… outstanding in the field”. WTH does that even mean???). The butterscotch and cinnamon chips in them just gives them that “I can eat these for breakfast OR dessert” feel. All in all, a very good scone.

You know the drill…..

Butterscotch, Brown Sugar & Cinnamon Scones With A Maple Glaze

  • 3/4 cup chopped toasted and cooled pecans
  • 1 1/2 tablespoons cinnamon
  • 1/4 cup dark brown sugar
  • 4 tablespoons unsalted butter, chopped into small pieces,cold
  • 1 tablespoon solid shortening, chopped into small pieces, cold
  • 2 cups flour
  • 1 teaspoon cream of tartar
  • 1/2 teaspoon baking soda
  • 1/2 teaspoon salt
  • 1/4 cup sugar
  • 1/4 cup buttermilk
  • 1/2 cup heavy cream
  • 2 tablespoons vanilla extract
  • 1/2 cup butterscotch chips
  • 1/2 cup cinnamon chips
  • sanding sugar for sprinkling on top of scones (optional- I like the touch of sweetness and mild crunch)
  • Glaze-
  • 1 cup powdered sugar
  • 1 teaspoon cinnamon
  • 3/4 teaspoon maple flavoring
  • 3 to 6 tablespoons heavy cream (may need more or less to get to drizzling consistency)
  1. Preheat oven to 400 degrees and lightly grease a large baking sheet.
  2. In a small bowel, mix together the pecans, brown sugar and cinnamon. Set aside
  3. Mix together your buttermilk, cream and vanilla extract and set aside.
  4. Mix together your flour, baking soda, cream of tartar, sugar and salt. Using a pastry blender, cut the butter and shortening into the flour until it is fully combined and in tiny pieces. Stir in the pecan/brown sugar mixture.
  5. Make a small well in the center. Pour in the buttermilk mixture all at once. Using a wooden spoon, stir together to make a moist cohesive dough. Make sure all the flour is combined in and you don’t have dry streaks. Gently fold in the butterscotch and cinnamon.
  6. Dump the dough out onto a lightly floured board.  Pat into a rectangle of about 1/2 inch thick.
  7. Using a sharp knife dipped in flour or a pizza cutter (they work great for cutting doughs) cut the dough into either 8 large scones or 12 smaller ones. Your choice there. If you look and think that 12 is too small, remember that these will spread as they bake.
  8. Lay the scones, close together but not touching, on the prepared baking sheet. Sprinkle with the sanding sugar if desired.
  9. Bake at 400 for about 14 to 18 minutes for large scones or until browned and firm on top. For small ones, bake for about 10 to 13 minutes or until browned and firm on top.
  10. Let cool on a wire rack until completely cool.
  11. For glaze, in a small bowl, combine all glaze ingredients and using a whisk, whisk well until mixture is smooth and creamy. Drizzle over cooled scones.

Copyright Notice: From Cupcakes To Caviar images and original content are copyright protected. Please do not publish these materials anywhere without prior permission.

Potato Skins With Pancetta, Brie And Fried Shallots

Potato Skins With Pancetta, Brie & Fried Shallots

Potato Skins With Pancetta, Brie & Fried Shallots


I remember back in the day when I waitressed. I’ve been lucky enough the last few years to be a stay at home mom because I have the most awesome husband ever, but I worked in all forms of the service industry for many many years. Back in the mid 80’s, during my first marriage, I worked at a restaurant called T.J. Applebees. Yep, that was how what we now know as Applebees started. This was in Houston and was one of their first restaurants.

This place was big on appetizers, beer and TV’s playing sports; one of the original sports bars/restaurants. Every Friday night they would have appetizer and drink specials to lure in the hungry masses. You could get ten cent wings (Gosh, I miss the days of ten cent wings lol. Now if you’re lucky, you can find 50 cent wing specials), quarter draft beers, 2 dollar pitchers of margaritas (more tip money spent on those than I care to recall hehe) and a plate of potato skins for a buck. Back then, potato skins weren’t as common. You could find them at places like T.J.’s and the like but no one really made them at home. Now though, they are a common game day snack.

I wanted to make them a bit more upscale though. I absolutely love the original way with cheddar cheese and bacon but I figured they could be made a bit more “knife and fork worthy” if that makes any sense. So instead of the normal toppings, we have some pan browned pancetta, creamy brie (mixed with a bit of Monterey Jack for tang) and some shallots that have been sliced thin, dredged in a touch of flour then fried in the drippings from the pancetta. Then each skin is sprinkled with some Fleur De Sel. Serve these with a bowl of sour cream and green onions and you have a snack worthy of eating with your pinky held out haughtily.

This is a multi step recipe but none of the steps is difficult. The most time consuming part is scooping out the potatoes. After that, it’s all prep.

You know the drill. Git to cookin’.

Potato Skins With Pancetta, Brie & Fried Shallots

  • 6 medium potatoes
  • 8 ounces cubed pancetta
  • 12 ounces good quality brie, room temp (preferably a triple creme brie)
  • 4 ounces freshly shredded monterey jack cheese, brought to room temp AFTER grating)
  • 5 large shallots, sliced thin and tossed in 1 tablespoon flour
  • Fleur De Sel or Sea Salt
  • 1 cup sour cream
  • 2 green onions, thinly sliced
  1. Take each potato and wrap tightly in a piece of foil. Why? Because if you bake these, then bake them again later to melt the topping and crisp them, you end up with shriveled potatoes. Boiling them in foil gives you very pretty unwrinkled potatoes.
  2. Simmer the potatoes in water in a large pot for about 40 minutes or until a fork poked into the middle of the biggest one goes in easily.
  3. Carefully remove the foil and let potatoes cool completely on a wire rack.
  4. When cool, cut each potato in half lengthwise. Using a small spoon, carefully spoon/scrape out the center of each potato half, leaving about a quarter inch thick shell.Cover the scooped out potatoes and save to use for something else. You could toss it also but why waste perfectly god potatoes?
  5. Preheat oven to 400 degrees, then lay the potatoes, cut side up, on a baking sheet. Make sure they are right next to each other touching because they can then support each other and prevent tipping over once the toppings are in them. Spray the potatoes liberally with cooking spray and place in a 400 degree oven.
  6. While the potatoes crisp up, start on the pancetta. In a medium pan, over medium heat, fry the pancetta until nice and crispy and browned.  When done, use a slotted spoon to remove to a bowl, leaving the drippings in the pan. Set aside for now.
  7. In the same pan, drop your dredged shallots and cook over medium high heat, stirring once or twice to prevent sticking and burning, until browned and crispy, about five minutes. Spoon out and set aside. If you’re anything like me, do the dishes now because it’s driving you crazy. 😛
  8. In yet another small bowl, mix together your brie and monterey jack. It will be sticky and kind of turn into a sort of cheese ball. This is actually what you want 😀
  9. Take the pan of potatoes out of the oven and fill each skin with a scoop of the cheese mixture, some of the pancetta and some of the fried shallots. Sprinkle each skin with some Fleur De Sel or sea salt.
  10. Place back in the 400 degree oven for about five minutes or until the cheese is totally melted.
  11. In a small bowl, combine the sour cream and green onions. Serve the potatoes with the sour cream for dipping.
  12. You can serve these potatoes as an appetizer or as a light dinner with a salad. Either way, they are totally delicious!

Mediterranean Lamb Burgers With Balsamic Caramelized Onions & Feta Cheese

Mediterranean Lamb Burgers With Balsamic Caramelized Onions, Feta

Mediterranean Lamb Burgers With Balsamic Caramelized Onions, Feta


Looks like a pretty plain burger, ehh? Well, don’t be deceived! That plain look isn’t the fault of the burger, just me as the one who photographed it hehe. Over a week ago, I made these for the first time. We absolutely loved the burger, but I absolutely hated the photos I took of it. So I asked on my Facebook page if the wonderful people who have my page liked trusted me enough to have me post the recipe even though the photos stunk. The answer was an overwhelming yes, that they trusted me enough even if the photos were bad. I was actually kind of touched to be honest.. But…. I just couldn’t do it. I mean, the photos really really stunk. So, I made the burgers again. Nobody minded hehe. They are truly yummy. And I tried the pictures again. Guess what? They sucked too. I am not capable of taking a good burger photo, it seems. I’m posting it anyway because these burgers deserve to be seen… to be eaten… quite possibly to be revered and worshiped on the alter of burgerness. Or something. Sorry. I had a moment there.

Seriously though, these are really really good. Add a few more reallys in there for good measure. Then git to cookin’. You want these. You really do. Don’t let the photo fool you. These are meaty, flavorful, tangy from the onions, a bit of a salty kick from the feta and creaminess from the cheese on top. You could dress these with tomatoes, ketchup, etc etc but they really don’t need anything. The meat is flavorful enough on its own and the onions just put it over the top.

Also, I did these in a grill pan indoors but feel free to grill them on the bbq.

                     Mediterranean Lamb Burgers With Balsamic Caramelized Onions & Feta Cheese

  • Burgers-
  • 2 lbs ground lamb
  • 1 egg yolk
  • 6 to 8 ounces crumbled feta cheese
  • 3 tablespoons Wish Bone brand Mediterranean Italian Dressing
  • 1 tablespoon minced garlic
  • 1/4 cup minced onion
  • 3 tablespoons grated Parmesan cheese
  • 1 tablespoon lemon zest
  • choice of cheese for topping burger (I used Havarti)
  • Sriracha if desired for some heat (that’s what you see running off of mine there 😀 )
  • 6 burger buns
  • Balsamic Caramelized Onions-
  • 4 medium onions, sliced thinly into half moons
  • 2 tablespoons olive oil
  • 2 tablespoons unsalted butter
  • 3/4 cup balsamic vinegar
  • 1/4 cup brown sugar
  • salt, to taste
  1. Get your burgers put together first because they will need to chill- In a large bowl, combine all the burger ingredients except the lamb and feta. Mix well. Put the lamb and feta on top and using your hands, lightly mix everything together. Don’t overwork the meat or you’ll have tough burgers in the end (and smushed cheese).
  2. Shape the meat into 6 patties. Again, don’t overwork it but make sure they are firmly together. Put on a plate, cover and chill while you make the onions. These are fairly soft burgers due to the dressing in them so they need to chill some to firm up. Do NOT skip that or you’ll end up with a crumbled mess when you try to cook them.
  3. While the burgers chill, make your onions- in a large pan, heat your oil and butter. Add in the thinly sliced onions and turn the heat to low and cover the pan. Let the onions cook over low heat until they are totally soft and transparent.
  4. Turn the heat up to barely medium and uncover the pan. Stirring frequently, cook the onions until they are a deep golden brown. Don’t rush this by turning up the heat. The process will take at least 25 minutes or so, probably longer.
  5. When they are nicely browned, pour in the balsamic vinegar and the brown sugar. Stir well to combine. Turn the heat back down to low and cook the onion mix, stirring frequently, until about 3/4’s of the vinegar is evaporated.
  6. For the burgers- Heat a good frying pan, preferably a cast iron grill pan, over medium high heat until it is almost smoking hot. Do NOT attempt this if all you have is a non stick pan. They can release toxic fumes if heated too high. If that’s all you have, just heat the pan for a minute over medium heat.
  7. Carefully lay your burgers in the pan (only three at a time for an average sized pan). They will spit and sputter all over so be careful not to burn yourself. Cook over medium high heat to desired doneness, about 130 degrees internal temp for medium rare, 145 for medium. I absolutely refuse to put a temp for medium well or well done. Just eat a shoe :-p
  8. To serve, simply put a burger on a bun, top with a scoop of the onions and some cheese. Eat. Love me forever. Set up a burger alter. Cry because I am incapable of taking burger photos that do this justice.


Double Chocolate Berry Meringue Trifle


Double Chocolate Berry Meringue Trifle-001

You know that saying, when life gives you lemons, make lemonade.”? Well, life was spitting lemon juice at me every time I tried to make this dessert lol. My original idea was to make mini meringue shells and fill them with the cheesecake mixture and berries. But after three tries to make mini meringue shells and failing each time (meringue too runny, cooked meringues not cooked enough yada yada yada) I then went to just two large meringue shells, figuring I could make something like This amazing dessert. But then I undercooked THOSE a touch and when I went to get them off of the baking sheet, they crumbled. Very tasty crumbles, but crumbles nonetheless. So there went the idea of a two layered pavlova sort of dessert. So what did I do? I made lemonade. No, no, not really. Chocolate meringue lemonade? EWWW. I know I can be a bit out there at times, but not THAT much. Proverbial lemonade, people.

So what is the proverbial lemonade? A trifle. As I stood there ready to either cry or beat on a wall because this would be the third mess up (and I have made meringues many many times before. I have NO idea what my issue was this time.) for this idea. But as I stood trying not to sob, the thought popped into my head… make it into a trifle. So…ummmm… I did. Every once in a while I listen to that voice. Usually it gets me in trouble, like that whole incident with Wal Mart and wearing the underwear on my head or the time I…well, never mind.

I have to admit; the trifle idea is a pretty good one. Is it as pretty as having all of this as elegant little meringue shells would have been? No. Do I care? No. I’m more of a rustic type of a gal anyway. More importantly though- will YOU or those you’re feeding care? Oh, hell no. This is creamy from the cheesecake filling, chewy/crisp form the meringue, tart/sweet form the berries and then creamy again from the whipped cream. All in all, while I hate the eggs I wasted getting to this point, I’m quite pleased with the end result. This makes a lot so is perfect for that Summer cookout while berries are in season or great for a large family dinner.

As usual… you know the drill. Get to cookin’.

Double Chocolate Berry Meringue Trifle

  • Meringue-
  • 8 egg whites
  • 1 teaspoon cream of tartar
  • 1 1/3 cups sugar
  • 1/4 cup unsweetened cocoa powder, sifted to remove lumps
  • 1/2 teaspoon vanilla extract
  • Cheesecake filling-
  • 8 ounce container mascarpone cheese, room temp
  • 8 ounce package cream cheese, room temp
  • 2 egg yolks (optional- they add richness but aren’t necessary if the idea of raw eggs skeeves you out)
  • 1 cup sugar
  • 1/4 cup unsweetened cocoa powder, sifted to remove lumps
  • 1 1/2 teaspoons vanilla extract
  • 1/4 cup heavy cream
  • Berries-
  • 5 cups mixed berries or berries of choice (I used a mix of blackberries, raspberries and blueberries) rinsed and patted dry
  • 1/4 cup apricot preserves, melted and cooled slightly (I like using preserves in many desserts instead os sugar because you get some sweetness but it’s not overpowering plus the berries tend to release less juice using jam or preserves so no liquidy mess)
  • Whipped Cream-
  • 1 1/2 cups heavy cream, cold
  • 3/4 cup sugar
  • 1 teaspoon vanilla extract
  1. Make your meringue- Preheat oven to 225 degrees and line 2 large baking sheets with parchment paper or a silicone liner.
  2. In the bowl of a stand mixer with the whisk attachment on it, add your egg whites, vanilla and cream of tarter. Beat on medium speed until foamy. Turn speed up to high, gradually add your sugar and beat until stiff peaks form. Don’t panic if it seems to be taking forever. Some days when I make meringue, it gets to peak quickly. Other times, it may take like 5 minutes. It all depends on the temp of the kitchen, the humidity, the temp of the eggs, etc.
  3. When you have stiff peaks, take the bowl off of the stand and gently fold in your cocoa powder. Don’t mix vigorously or you’ll deflate your whites. When mixed, spread half of the mixture into a circle on each prepared pan.
  4. Cook at 225 for about one hour or until the meringue is cooked throughout (don’t be afraid to stick a knife in there and check; you’ll just be crumbling these up anyway so pretty isn’t imperative. ) and lightly browned. Turn oven off and let meringues sit in the oven for about another hour or until completely cool.
  5. Meanwhile, make your filling- In a large bowl, combine the mascarpone and cream cheese. Beat at medium speed until light and creamy. Add in the sugar (and egg yolks if using) and beat well. Add in the cream and vanilla extract and beat well, until mixture is smooth and creamy. On low speed, beat in the cocoa powder.  If you did NOT use the egg yolks, you may need to add a tablespoon or two more of cream to get this to a more spoonable consistency. Cover and put in the fridge until ready to put together the dessert.
  6. Make your berries-  in a medium bowl (shush… bowls aren’t that hard to wash 😛 ), combine the berries and the preserves. Gently fold together trying not to mush up the berries. Take about a cup of berries and set aside for the top of the dessert.
  7. Make your whipped cream- In a large bowl, combine the cream, sugar and vanilla. Beat until stiff peaks form. Set aside or refrigerate if not using right away.
  8. To put together- Crumble up one of the cooled meringues at the bottom of a large serving or trifle bowl. On top of that, layer half of the chilled chocolate mixture. On top of that, spread half of the berries. Repeat layering, then top with the whipped cream. Top the cream with the reserves berries. Cover and chill if not serving this immediately and store leftovers in the fridge.