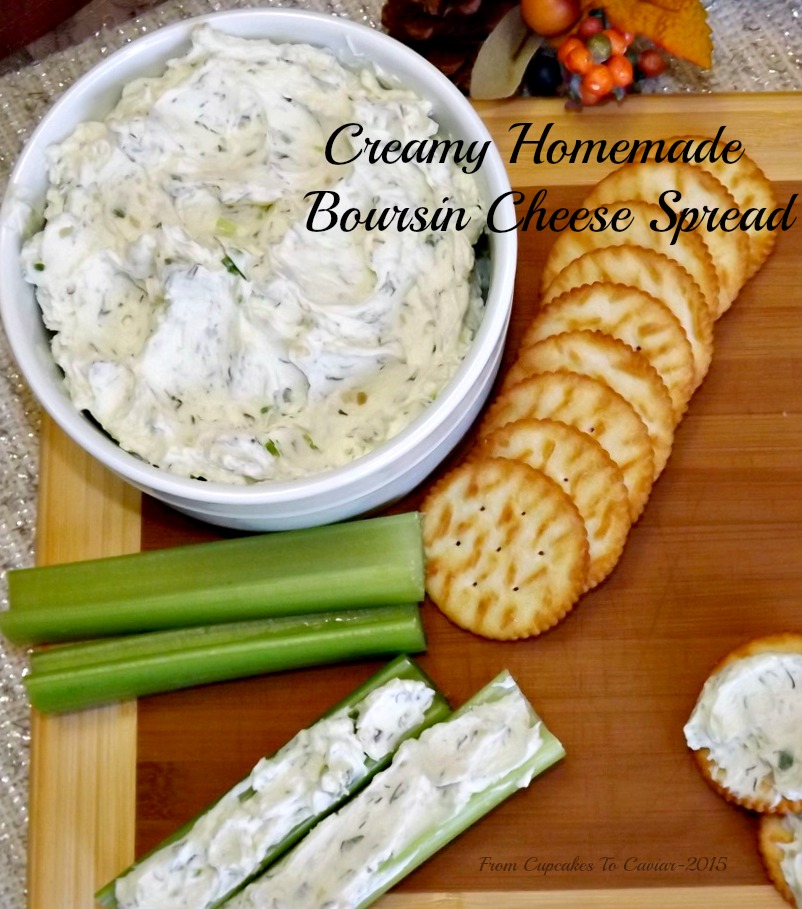
Creamy Homemade Boursin Cheese Spread

I am a Thanksgiving appetizer junkie. By the time I finish cooking the actual meal, I am so filled up on appetizers that I have no interest in dinner. Of course, the taste testing I just HAVE to do *innocent smile* as I cook doesn’t help either. Mind you, none of this stops me from loading up a full plate just in case. I then eat three bites, cover the plate and become a total turkey pig a few hours later.
But nothing matches appetizers for me. I love small bites, love being able to pick and choose from nibbles of fun finger foods. One thing I particularly love is cheese. Combine that with what all of you know is one of my downfalls, something creamy, and I become a total glutton. Many years ago, I saw a recipe somewhere or another for Boursin cheese and just had to give it a try. The rest is history. Now I make it each Thanksgiving and Christmas. The original recipe has changed much over the years and I don’t even make it as per the recipe anymore.
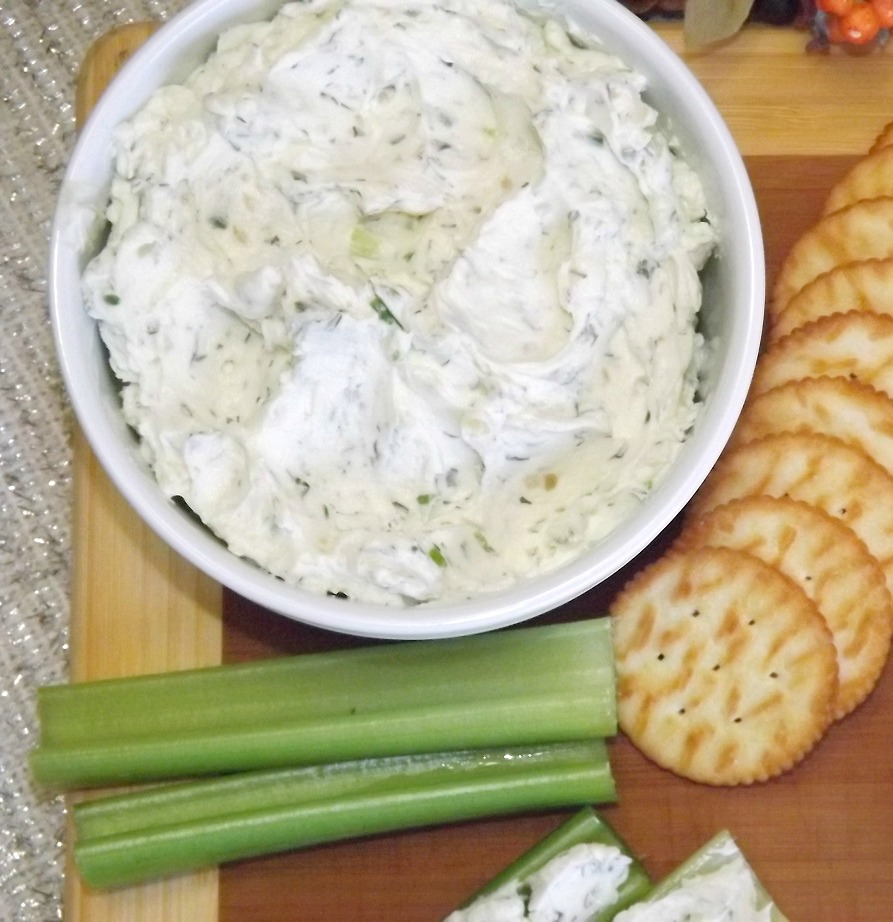
This cheese is so darn good! If you love creamy spreads, you’ll love it. It goes great on crackers, veggies, and one way I love to use it to stuff chicken or pork chops with it. I’m a total peasant myself; this cheese spread and some Ritz crackers and I’m in heaven. Add in a glass of wine and yeah, baby, I’m good! 😀
This goes together so quickly you’ll think you missed a step. The most time consuming part; all of three minutes or so, is finely chopping the green onions and the garlic. Such a workout. :-p Then just put it into a pretty serving bowl, set out crackers and others dippers and watch your family and guests go crazy for it. You’re welcome. 😀
You know the drill….. <3
 Creamy Homemade Boursin Cheese Spread
- 2 8 ounce packages cream cheese, room temp
- 1/2 cup (one stick) unsalted butter, room temp
- 1/4 cup good quality Parmesan Cheese (not the grated stuff you sprinkle on spaghetti)
- 3 tablespoons finely minced green onion (about 1.5 green onions should do it)
- 2 to 3 cloves garlic, minced
- 1 teaspoon dill weed
- 1 teaspoon Fine Herbes
- 1/2 teaspoon dry basil
- 1/2 teaspoon salt (do NOT use more without taste testing. This is a simple mixture and easy to over salt)
- Â In a medium bowl, combine the butter and cream cheese. Beat well on medium speed until creamy and fluffy. Scrape bowl once, and beat for another minute or so.
- Add in all the rest of the ingredients. Beat well to combine. Give it a small taste test for salt and seasoning. Keep in mind the saltiness of any dippers you may use before adding more salt to the cheese.
- Spoon into a serving bowl; smooth top. Serve immediately or refrigerate until about half an hour before serving time.
Copyright Notice: From Cupcakes To Caviar images and original content are copyright protected. Please do not publish these materials anywhere without prior permission.
Creamy Homemade Boursin Cheese Spread