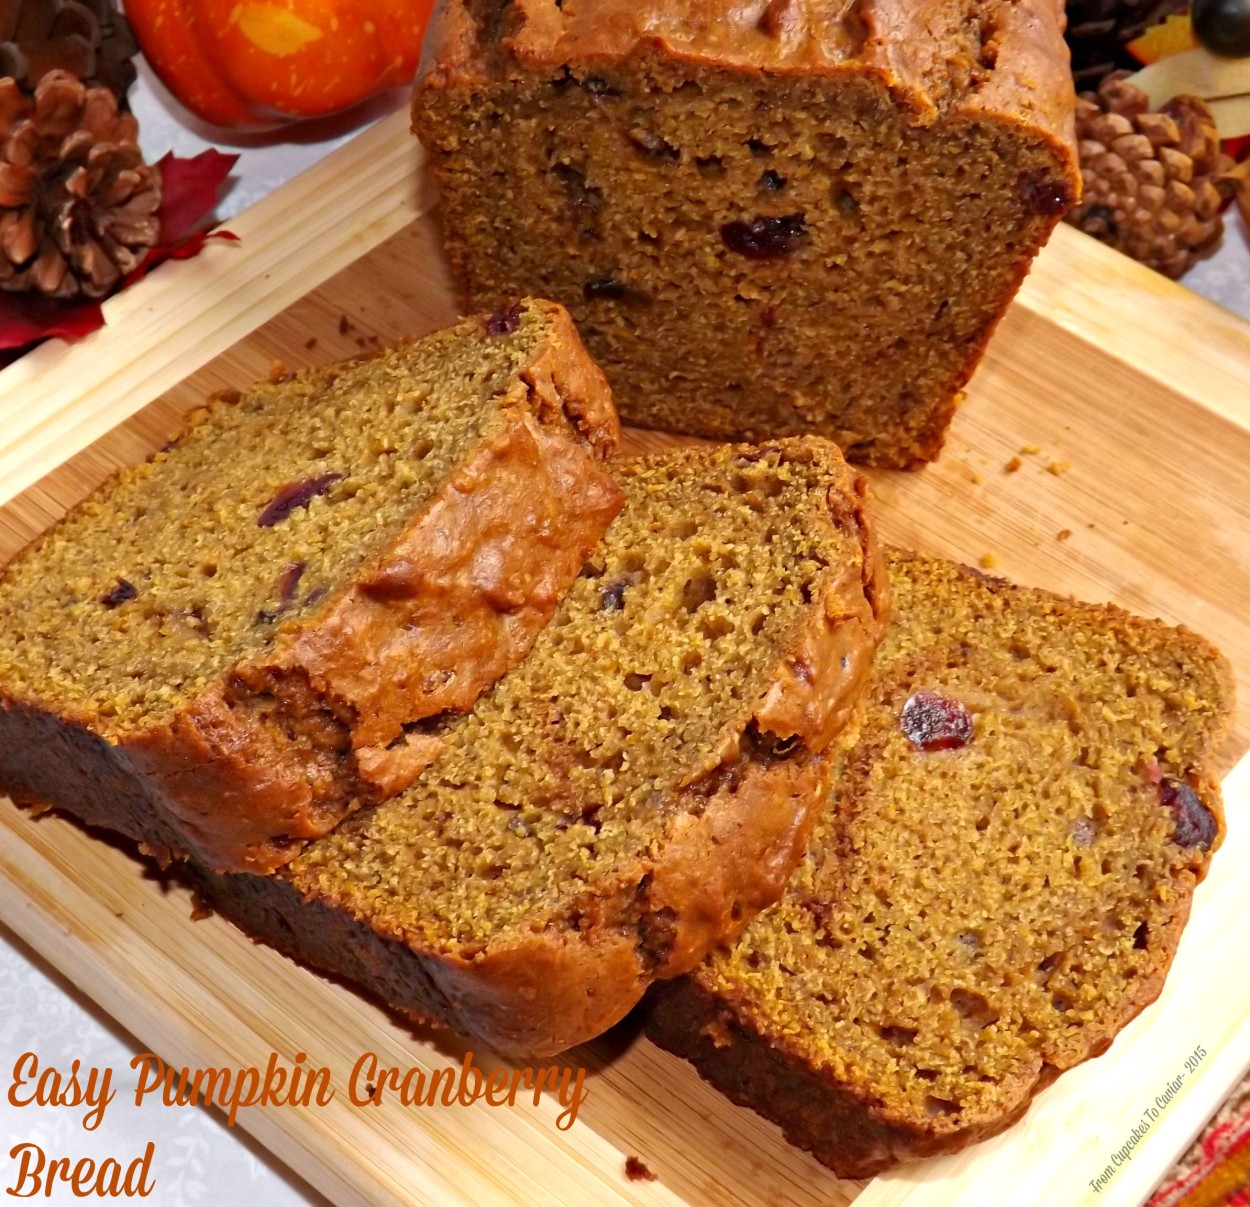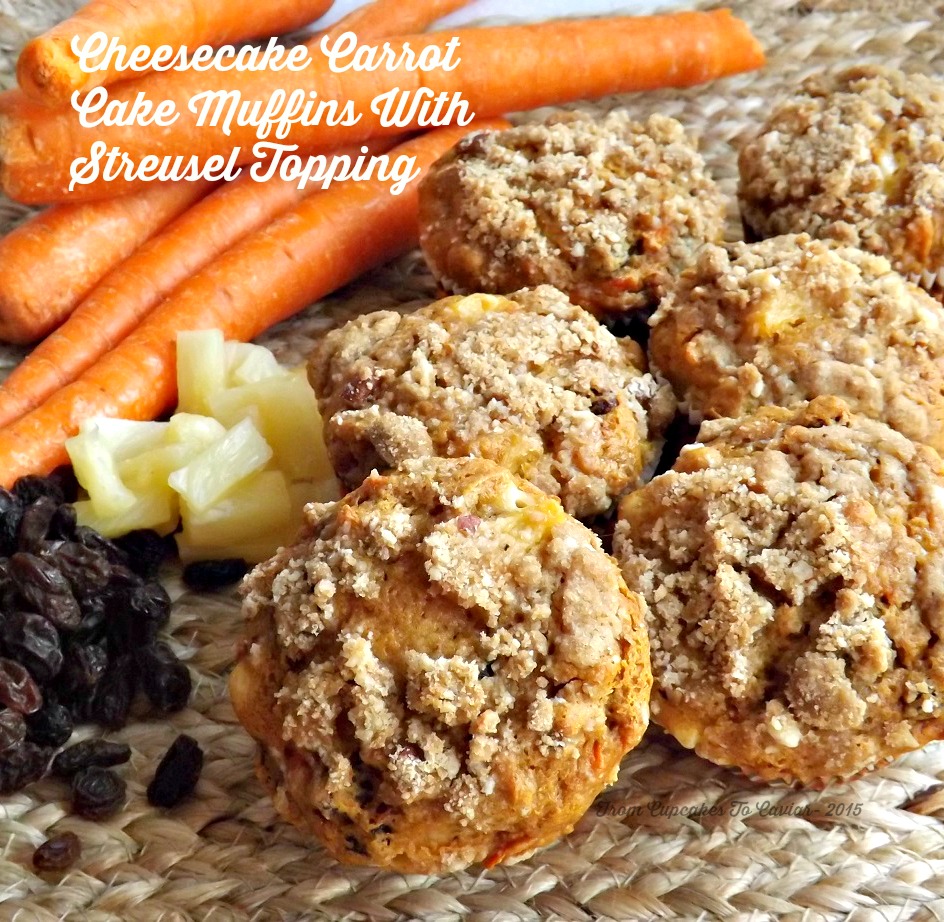
Cheesecake Carrot Cake Muffins With Streusel Topping

I hate carrots. No; really. I do. Fine, I just kind of hate carrots. I totally can’t stand raw carrots. As for cooked and savory, I only like baby carrots cooked with a ton of salt and butter. Rather like a crunchy orange salt and butter delivery system, one might say. I DO however, love carrot cake. Go figure. I also dislike zucchini but love zucchini bread. I would wager the obvious reason is that the veggies add moistness but don’t leave behind a lot of their icky poo flavors. Yes, I’m 51 and just said “icky poo”. Just shush. If you’ve been reading my blog for a while, you already know not to expect normality in any way, shape or form.
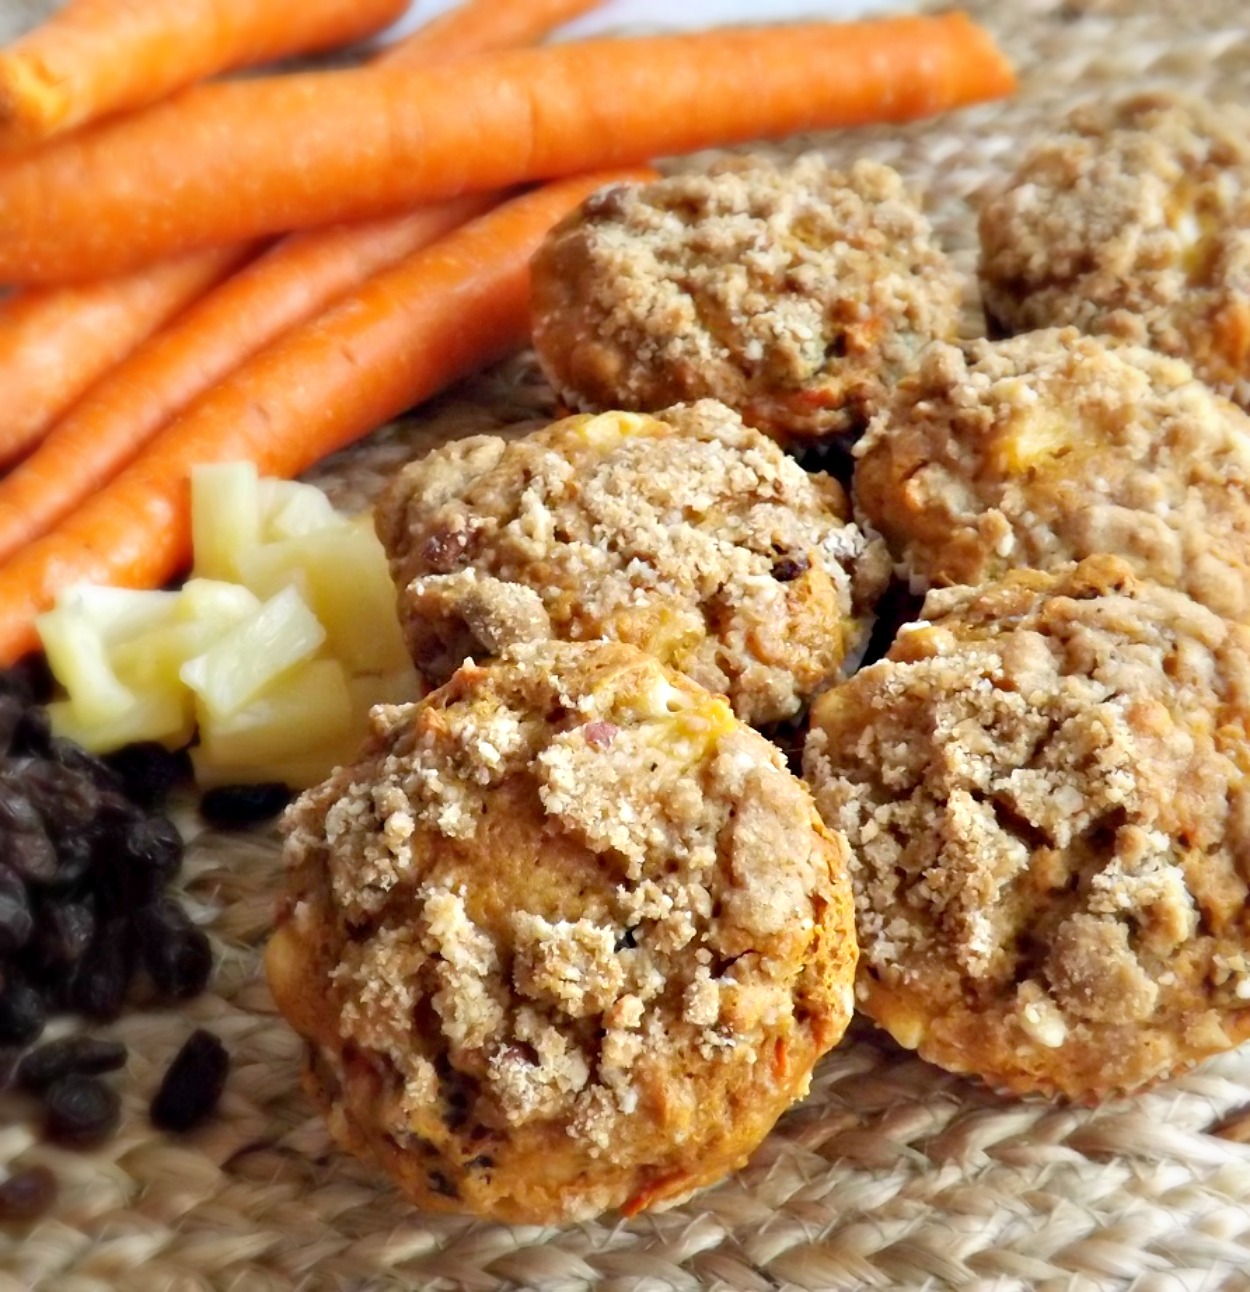
Long story short, I wanted carrot cake. But I’m too lazy to make carrot cake. So, when I realized I had a bag of the funky orange sticks taking up room in my veggie drawer and no intentions of actually using them for the cake I had envisioned, I had to improvise. When I noticed that I hadn’t done a muffin recipe in a while, that made up my mind. Carrot Cake muffins it was! And what, I hear you saying, is the best part of carrot cake? Certainly not the carrots! 😛 It’s the cream cheese frosting. So i used what few working brain cells I have left and I came up with these. Carrot cake muffins stuffed with a creamy cheesecake filling and then for total overkill, just because I could, I topped them with some streusel I had in the freezer. Because the world would be a happier place if everyone had streusel all the time AND no freezer is complete if it doesn’t have a bag of streusel in it just waiting for times like this.
These turned out darn tasty. I know…wonderfully descriptive today, aren’t I? But really; they are. The muffins have just enough batter to hold together the carrots, raisins, pineapple and nuts. Then there is a creamy center, reminiscent of a good cheesecake. All of that is topped with a crunchy streusel. What more does on need in life? Fine, you can get a cup of coffee or tea to go with them. But seriously… that’s it. Your breakfast or mid afternoon snack will be complete with just those two things.
You know the drill…. 😀
Don’t let the long ingredient list throw you. This is pretty quick.
Cheesecake Carrot Cake Muffins With Streusel Topping
- Streusel-
- 1/2 cup sugar
- 5 tablespoons flour
- 1 1/2 teaspoons cinnamon
- 1/4 cup unsalted butter, cold
- 1/4 cup finely chopped toasted walnuts (optional; sometimes I use nuts in my streusels, sometimes not)
- Cheesecake filling-
- 6 ounces cream cheese, room temp
- 1 egg yolk
- 1/2 teaspoon vanilla extract
- 1/2 teaspoon cinnamon
- 1/4 cup sugar
- Muffin-
- 1 1/3 cups flour
- 2 teaspoons cinnamon
- 1/2 teaspoon nutmeg
- 1/4 teaspoon ground cloves
- 1/2 teaspoon salt
- 1 teaspoon baking powder
- 1/2 teaspoon baking soda
- 1 cup finely chopped toasted walnuts (easily toasted by placing in a layer in a baking dish and toasting at 350 for about ten minutes; just until lightly browned)
- 2 eggs
- 2/3 cup honey
- 1/3 cup neutral oil, like vegetable
- 2 teaspoons vanilla extract
- 2 cups grated carrots (It will take about 4 large carrots)
- 1 8 ounce can pineapple tidbits in juice, well drained (Use the lid to press down on the pineapple to get excess juice out so you don’t end up with soggy muffins)
- 1/2 cup raisins
- Preheat the oven to 375 degrees. Lightly grease or line with liners 12 muffin cups. You will have a bit of batter left, so use it for one jumbo muffin or another couple of regular sized ones.
- Make your filling and streusel and set both aside- for the filling, beat together all the ingredients in a small bowl until creamy. Simple as that.
- For the streusel, in a small bowl, whisk to combine the flour, sugar and cinnamon. Use a pastry blender to cut in the butter until you have chunks ranging from pea size up to nickel sized.
- For the batter, in a large bowl, combine all the wet ingredients- the eggs, honey, oil, vanilla, carrots, pineapple and raisins. Stir well.
- In another bowl, whisk to combine all the dry ingredients- the flour, spices, baking powder and baking soda and salt.
- Dump the dry ingredients into the bowl of wet one and stir JUST until combined. Don’t over stir. You’ll end up with tough, tunnely (yes, tunnely is now a word) muffins if you do.
- Fill each muffin cup with just enough batter to cover the bottom. Then top that with about a tablespoon of the cheesecake filling. Then, cover the filling with a healthy dollop of the muffin batter. You want to end up with filled, but not overflowing muffin cups.
- Sprinkle streusel over the tops of each muffin, gently pressing down to get it to adhere better.
- Bake at 375 until the muffins are golden brown and a wooden pick inserted through the side comes out clean (it’s fine if there is some cheesecake filling on the pick, just no loose muffin batter itself), about 20 to 24 minutes.
- Let cool in the pan for a minute or two, then gently pull them out (I use a spoon) and set them on a rack to finish cooling.
Copyright Notice: From Cupcakes To Caviar images and original content are copyright protected. Please do not publish these materials anywhere without prior permission.