I remember when I first started canning about 15 years ago. I thought I owned the world. To be able to create jams, jellies and preserves in flavors no store would ever have; to feel so danged “Earth Mother-ish”. It was empowering in its own weird way. The first thing I ever made was orange marmalade. It was, yet again with me, a case of not even realizing I had picked something that experienced cooks/canners don’t like to do and that the inexperienced canners balk at. I have a habit of that. Same thing happened the first time I made croissants not long after I started baking with yeast. I found out later that many experienced home bakers don’t like to attempt croissants because they can be touchy. I’ve always been like, “This sounds good… I want to make it” and I give it a try. Usually things go well. I suppose ignorance really is bliss, ehh? This particular jam is a favorite in my family. My son Jordan has to be stopped from just eating it out of the jar as dessert and my husband, who is diabetic, loves it even though it’s so NOT good for him. If you like the classic mix of strawberry banana, you will love this jam. And contrary to what you may think, home canning isn’t difficult at all. If you can mix, stir, ladle into jars and then boil sealed cans, you’ve got this. I will say what I say every time I post a canning recipe, however. Steer clear of recipes/web sites/blogs that tell you it is just fine and dandy to do things like seal your jars by turning them upside down or just putting a lid on and letting the inner heat seal them, etc. These methods are NOT safe. You’ll run into people who will say, “Oh, my gramma/great gramma/gramma 35 generations ago did it this way and everyone was just fine.” They’re wrong, plain and simple. We have no way of knowing how many illnesses, “Oh, she has a stomach virus” or even deaths back in the day were from food poisoning. Seal your cans the correct way and you’ll have tasty food that is safe. Here’s a wonderful site to check out if you’re new to canning- Fresh Preserving . It will guide you along in easy terms and make you see how simple this really is! You know the drill…. git to cooking. Erhmmm, canning. This makes about 8 half pint jars.
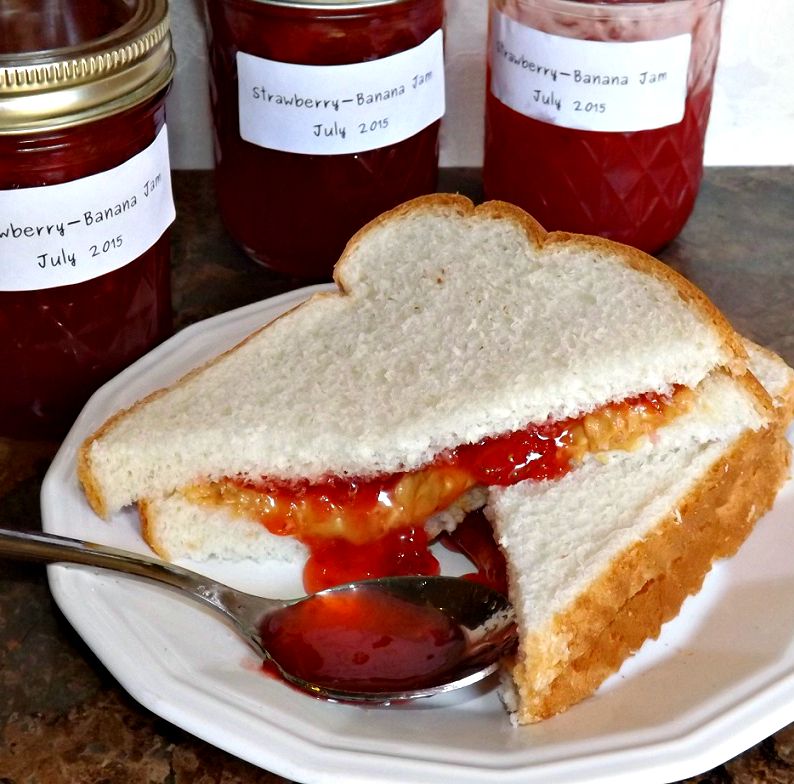
Sweet & Tangy Strawberry-Vanilla-Banana Jam
- 4 3/3 cups prepared fruit (about 2 1/2 containers strawberries and 3 to 4 medium bananas)
- 3 tablespoons lemon juice (bottles is fine)
- 1 box pectin (the powdered kind, not the liquid)
- 1/2 teaspoon butter to help prevent excessive foaming
- 1 tablespoon vanilla extract
- 6 3/4 cups sugar (yes, this is the correct amount; jams take a fair amount of sugar to set properly and are NOT diet food 😛 )
- Prepare your jars as directed in the above link and set your lids in a bowl of bowling water to sterilize them.
- Stem your strawberries. Crush them and measure out exactly 3 1/4 cups of the mashed berries (if there is any left over, which is doubtful, just find another use for them). Mash the bananas and add exactly 1 1/2 cups of them in a large pot along with the mashed strawberries. Stir in the lemon juice and the vanilla.
- Stir the powdered pectin into the pot with the fruit. Make sure you have your sugar measured and at hand.
- Add the butter and bring the fruit/pectin mixture to a full rolling boil (a boil that can’t be stirred away), stirring constantly.
- Pour in the sugar all at once. Still stirring constantly, bring the mixture back to a full rolling boil Once it gets there, boil for a full minute. Immediately remove form the heat and skim off any foam that has collected on top. Let the pot sit for five minutes, stirring about once every minute to help make sure the fruit doesn’t settle, but stays suspended throughout the mixture.
- Ladle into the prepared jars; wipe the jar rims and threads with a clean hot, wet cloth. Cover with the lids and process in boiling water for ten minutes. Remove form the water and let cool, set on a clean towel. You’ll hear a satisfying “ping!” as each jar seals.
- Label and store in a dark, cool place.
 Â Copyright Notice: From Cupcakes To Caviar images and original content are copyright protected. Please do not publish these materials anywhere without prior permission.
 Copyright Notice: From Cupcakes To Caviar images and original content are copyright protected. Please do not publish these materials anywhere without prior permission.