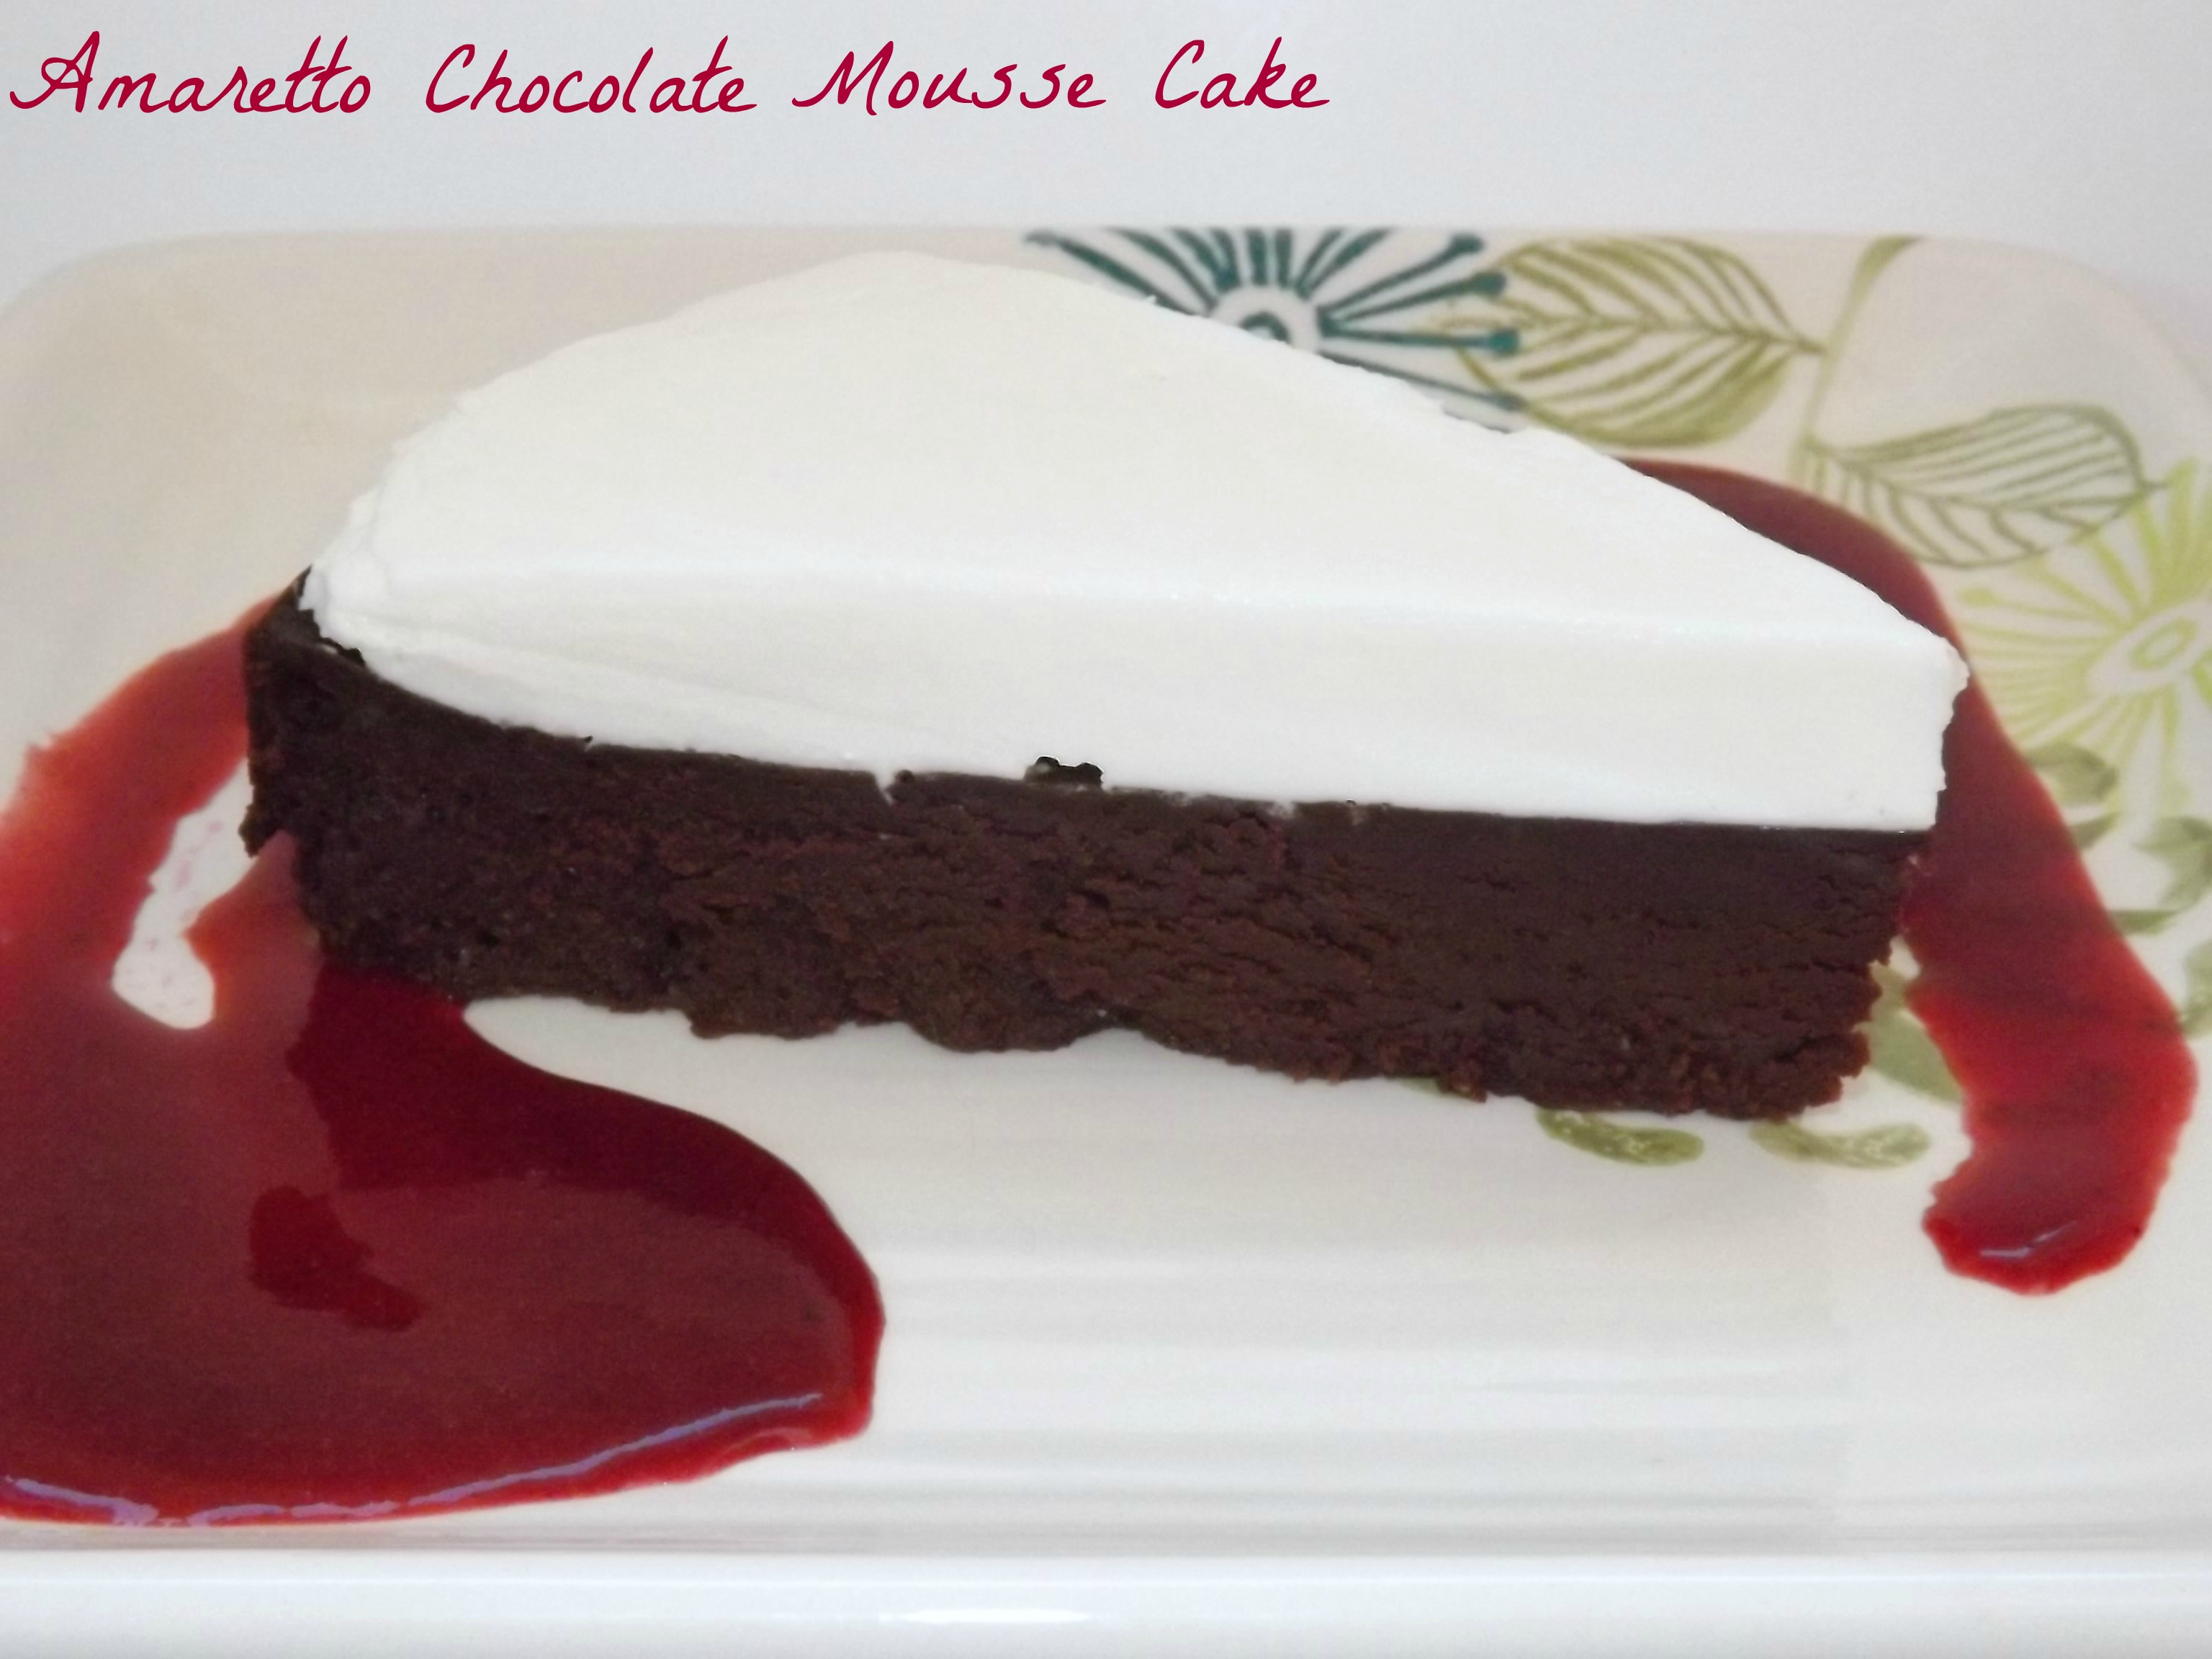
Amaretto Chocolate Mousse Cake

Whoaaaaa mannnnnn, that’s a long title. But I wanted to fit all the goodness in there so I broke my own rule about trying to avoid long titles.
This is also known as a flourless chocolate cake but that has such “omg, I can’t do that” connotations that I fiddled with the name some. Hey, I change recipes themselves, why not names too? :-p This is one of those desserts that, when people taste it, they are convinced that you 1) are a gourmet cook and 2) spent days making it. In reality however, this isn’t difficult at all. The most labor intensive part is making the berry sauce and you could used jarred ice cream topping if you wanted to or just serve the berries whole. I would of course, cry if you did, so just don’t tell me if you forgo the berry step. I don’t like crying. It makes my nose stuffy and I look like Rudolph the Red Nosed Reindeer after a 3 day booze binge.
Back in the day, I would never attempted something like this because for some reason, I have to agree with the general assessment, it just LOOKS and tastes like it must be complicated. So if I can get over being a chicken, so can any of you out there afraid to try it. This isn’t even as complex as unbaked chocolate mousse because there is no egg separating, no whipping a ton of cream to fold in, yada yada yada. You melt some good chocolate and butter, beat the crap out of some whole eggs, fold them together and bake. Voila! Cake. And the topping I made as well as the sauce are also easy. You’ve got this. Honest.
This cake is dense, rich, and almost fudge like when chilled. The texture changes at room temp and I personally prefer the silkiness it has when cold. But try it both ways and see how YOU prefer it. It’s outstanding either way.
Use good quality chocolate in this, not say, Wal Mart brand. The flavor here is pure chocolate and you get what you pay for in this.
You know the drill… 🙂
Amaretto Chocolate Mousse Cake
- 6 refrigerator cold large eggs
- 12 ounces good quality semi sweet chocolate, coarsely chopped
- 4 ounces good quality unsweetened chocolate, coarsely chopped
- 1 cup unsalted butter
- 1/4 cup Amaretto
- 1 teaspoon almond extract
- 2 teaspoons vanilla extract
- Mascarpone Cream-
- 8 ounces Mascarpone cheese, room temp
- 1/2 cup sour cream
- 1 teaspoon vanilla extract
- 1/2 teaspoon almond extract
- 1/2 cup powdered sugar
- Berry Sauce-
- 16 ounce bag frozen mixed berries, thawed and drained
- 1/2 cup sugar
- Preheat oven to 325 degrees. Wrap a 9 inch springform pan in two layers of heavy duty foil. Line the bottom of the pan with parchment paper and grease the sides of the pan well. Set the pan inside a large baking dish.
- In a small heavy bottomed pot, over low heat, melt together the butter and chocolate. Stir constantly until you have a smooth lump free mixture. Pour in the Amaretto and extracts and mix well. Set aside off the heat to cool for five to ten minutes. Start some water boiling for the water bath. Not, not for you. You can bathe later. For the cake.
- Meanwhile, in a large bowl (make sure this is scrupulously clean with no greasy feel at all) beat all 6 eggs at high speed. Beat for a full five to ten minutes until you have nicely aerated, foamy, doubled in volume eggs.
- Stir about one third of the eggs into the chocolate mixture. Be gentle, don’t stir like you’re trying to cause it pain. Now gently fold in half the remaining eggs. Make sure there are no streaks of white showing. Then fold in the remaining eggs.
- Pour the chocolate/egg mixture into the prepared pan. Place pan in the 325 degree oven. Pour boiling water around the pan, careful not to splash any into it, until the water is about halfway up the sides of the springform pan.
- Bake at 325 for 20 minutes. Take pan out of the water bath and set on a rack to cool completely, then chill overnight
- For the Mascarpone cream- In a small mixing bowl, beat together the mascarpone and the sour cream until smooth. Add in the powdered sugar and extracts. beat well. Chill. See how easy that was?
- For the berry sauce- make sure the berries are well drained, then pulse three or four times in a food processor with the sugar. Use the back of a large spoon to press the berries through a fine mesh strainer into a bowl, effectively getting rid of the seeds and pulp, leaving you with a nice smooth sauce.
- To serve- about half an hour before serving, carefully remove the side of the springform pan. Invert, then peel off the parchment. Invert back onto your serving plate.
- Use an offset spatula to spread the cream over the top of the cake. Alternately, you can just serve it on the side.
- Cut thin slices of the cake with a very sharp knife and serve with the berry sauce.
Copyright Notice: From Cupcakes To Caviar images and original content are copyright protected. Please do not publish these materials anywhere without prior permission.