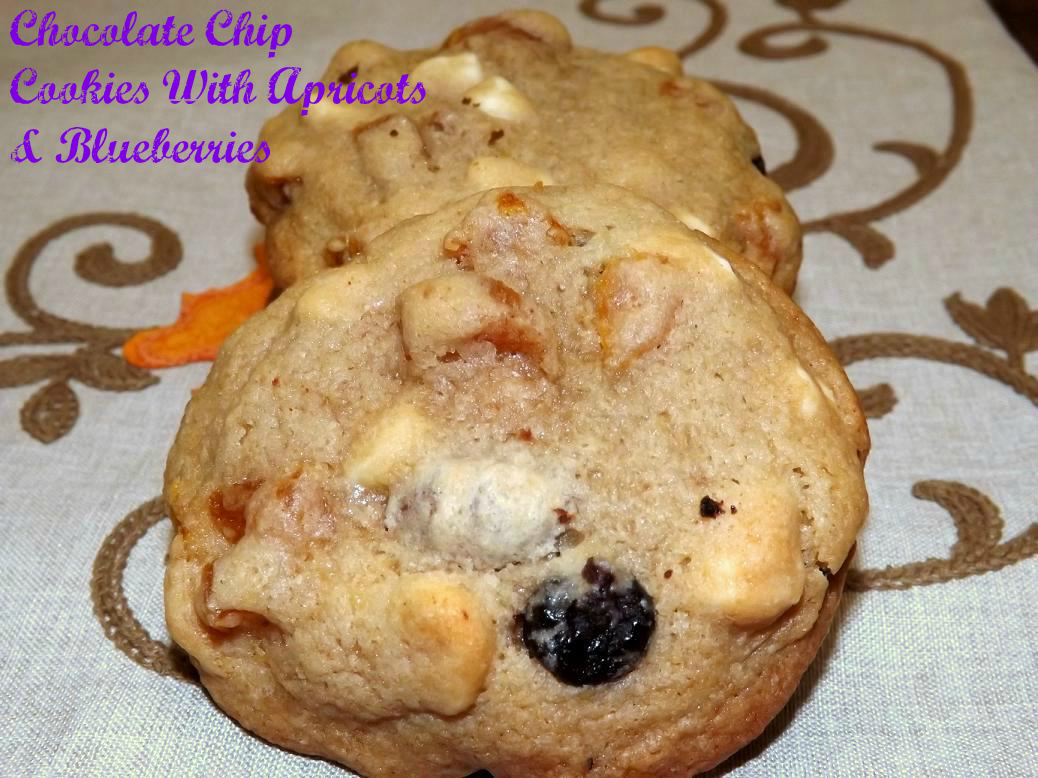
Double Chocolate Chip Cookies With Apricots & Blueberries

I remember how back when I was a kid, when dinosaurs roamed the Earth and we wore Saber Tooth Tiger skins for clothing, some years at Christmas time, my mom would get a fruit tray to set out. She also got a bag of shell on mixed nuts every year that we loved but that’s neither here nor there other than a memory I have. As for the fruit tray, you know the kind I mean; all neatly set up, with dried peaches, pears, apricots, prunes and dates on it. In our household, the peaches and apricots would get eaten first and the prunes would sit there until we kids got desperate. I actually like prunes sometimes now but I still prefer the apricots.
When I got older, I got into the whole cover perfectly good and nutritious fruit with chocolate thing. Easy enough; take a nice piece of fruit, fresh or dried and dip it into chocolate and cover up any nutritional value it ever had. What’s wrong with that, right? 😀 My favorite was of course to take a dried apricot and cover it in either semi sweet or white chocolate. The chewy tangy fruit mixed with the sweet chocolate… pure Heaven. So when my friend Jenni over at Pastry Chef Online came up with an utterly delicious Apricot Swirl Brownie, it got me craving that fruit/chocolate combo again.
So what did I do? It isn’t entirely original because I have seen cookies with dried apricots and white chocolate in them before but I combined two of my favorite fruit flavors (in the Summer, I am constantly eating sliced fresh apricots and fresh blueberries with a little sugar and cream) in a cookie with both white and dark chocolate. I love the way this turned out; fairly reminiscent of those chocolate covered fruits I love. The soft sweet cookie, tangy fruits and bites of chocolate just go together so well! These are extremely easy to make so….
You know the drill….
Soft Chocolate Chip Cookies With Apricots & Blueberries
- 2 1/4 cups flour
- 1 teaspoon baking soda
- 1 teaspoon salt
- 1 cup unsalted butter, room temp
- 1/2 cup white sugar
- 2/3 cup packed dark brown sugar
- 2 eggs
- 2 teaspoons vanilla extract
- 1/2 teaspoon almond extract
- 1 6 ounce package dried apricots
- 1 6 ounce package dried blueberries
- 1 cup good quality white chocolate chips
- 1 cup good quality bittersweet or dark chocolate chips (Ghirardelli makes a good 60% dark chocolate chip; not too sweet or too bitter)
- 1 cup boiling water
-  Preheat oven to 375 degrees. Put the dried fruit into a small bowl and cover with the boiling water. Let sit for 30 minutes. Drain well. Lay the berries in a paper towel and gently blot dry. Blot dry the apricots and chop into small bite sized pieces. Set aside.
- In a large bowl, combine the butter, sugars, and extracts. Beat well, until smooth and creamy. Add the eggs, one at a time, beating well after each addition.
- In another bowl, combine the flour, baking soda and salt. Stir to mix, then add to the butter mixture all at once. Beat at low speed until fully combined. Alternately, you can use a heavy wooden spoon to mix.
- Add in the white and dark chips; stir well. Add the apricots; stir well. Last, gently add the blueberries, being careful to not break them up more than can be avoided.
- Roll golf ball sized pieces of dough in your palms to get them rounded, then lay about 3 inches apart on large ungreased baking sheets.
- Bake at 375 degrees for about 14 minutes or until the top is light golden brown and the cookies look just set in the middle. They will firm up as they cool. If you prefer a crisper cookie, let cook for maybe an extra 2 minutes, until the top is golden brown and looks dry.
- Let sit on the pans for two minutes, then transfer to a rack to finish cooling.
- I got 27 good sized cookies from this. You could make them smaller but make sure to adjust your cooking time.
Copyright Notice: From Cupcakes To Caviar images and original content are copyright protected. Please do not publish these materials anywhere without prior permission.