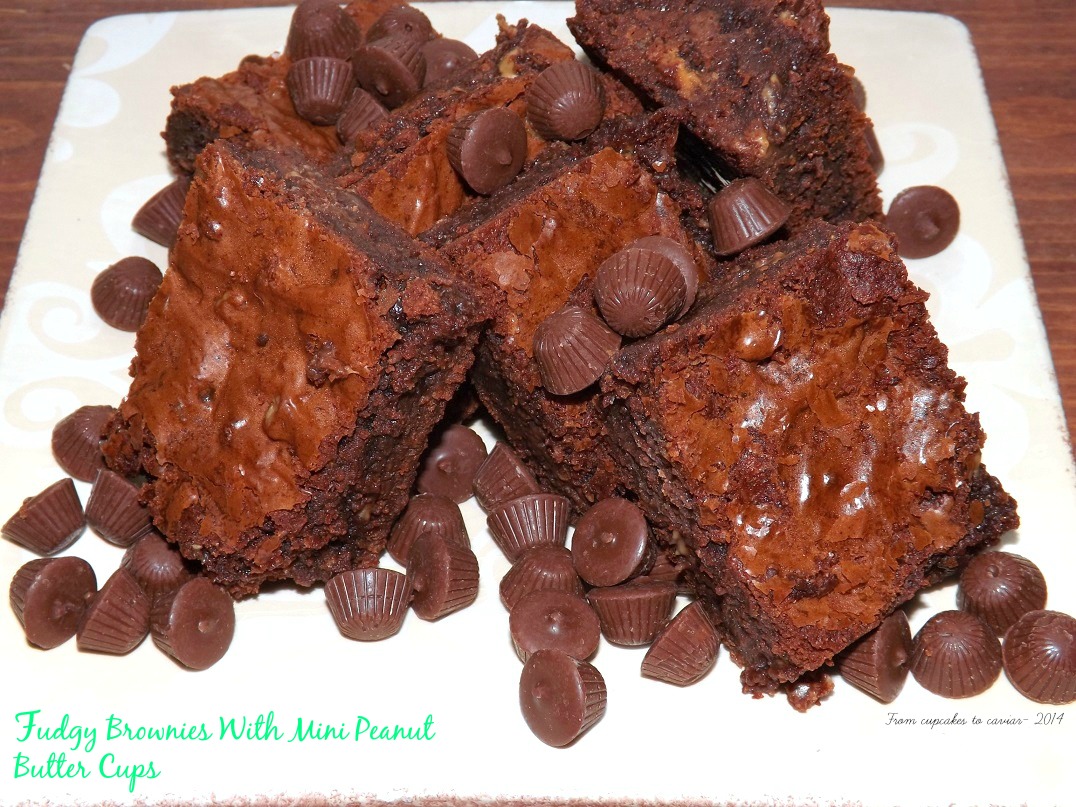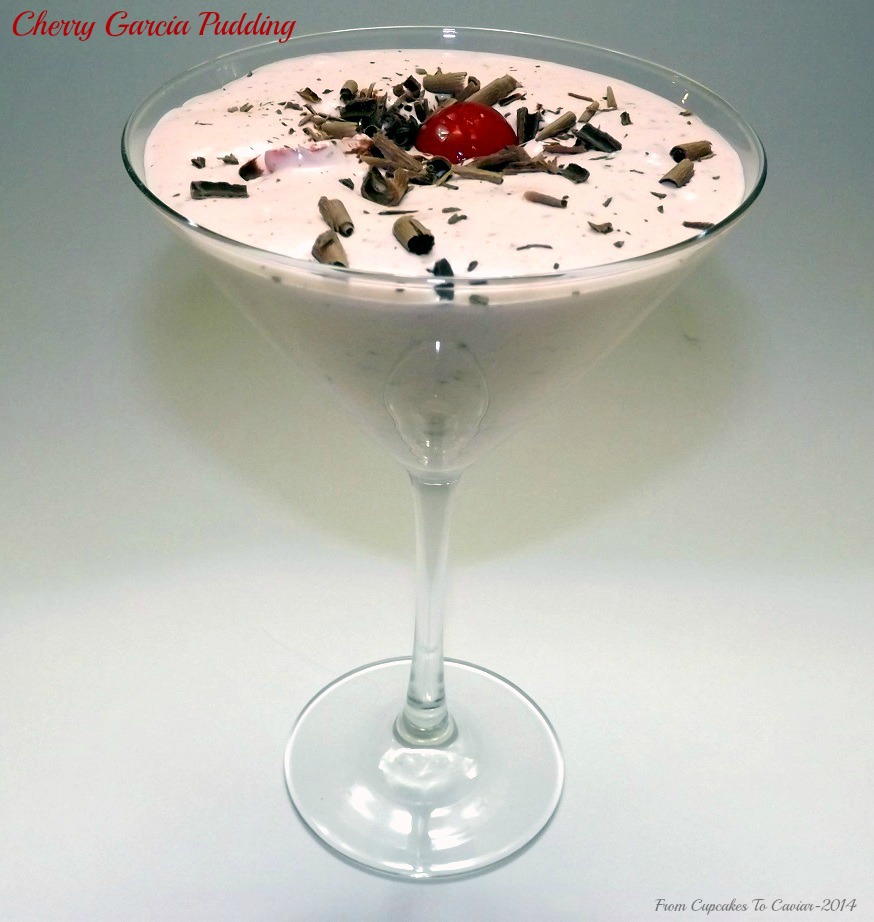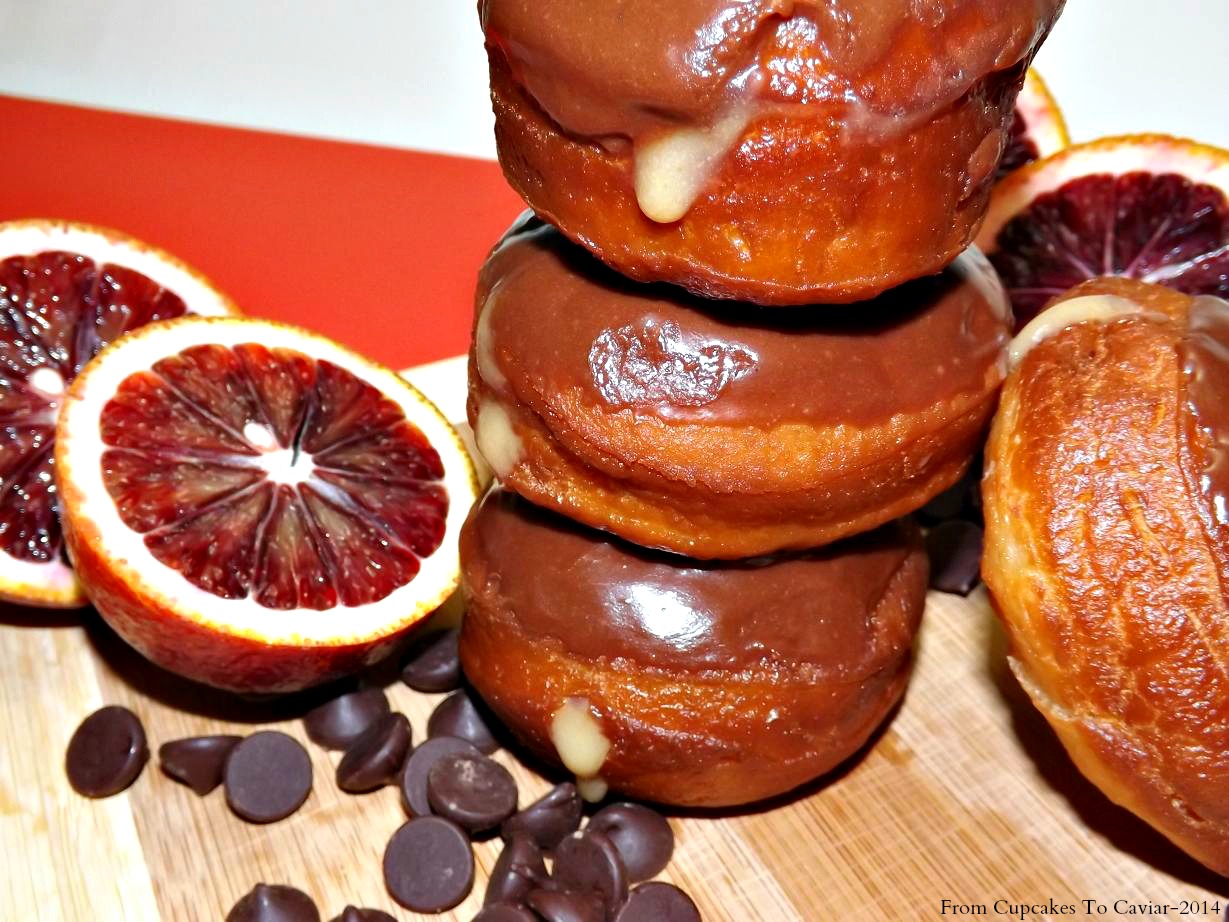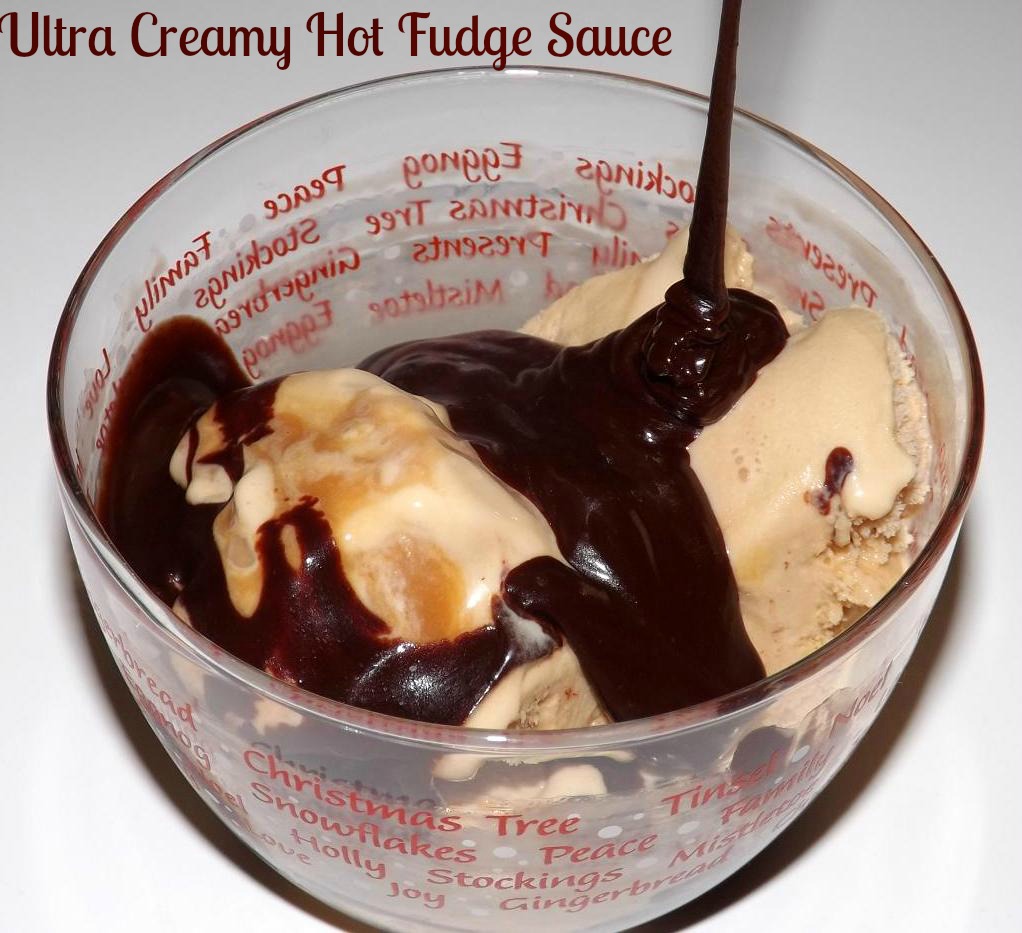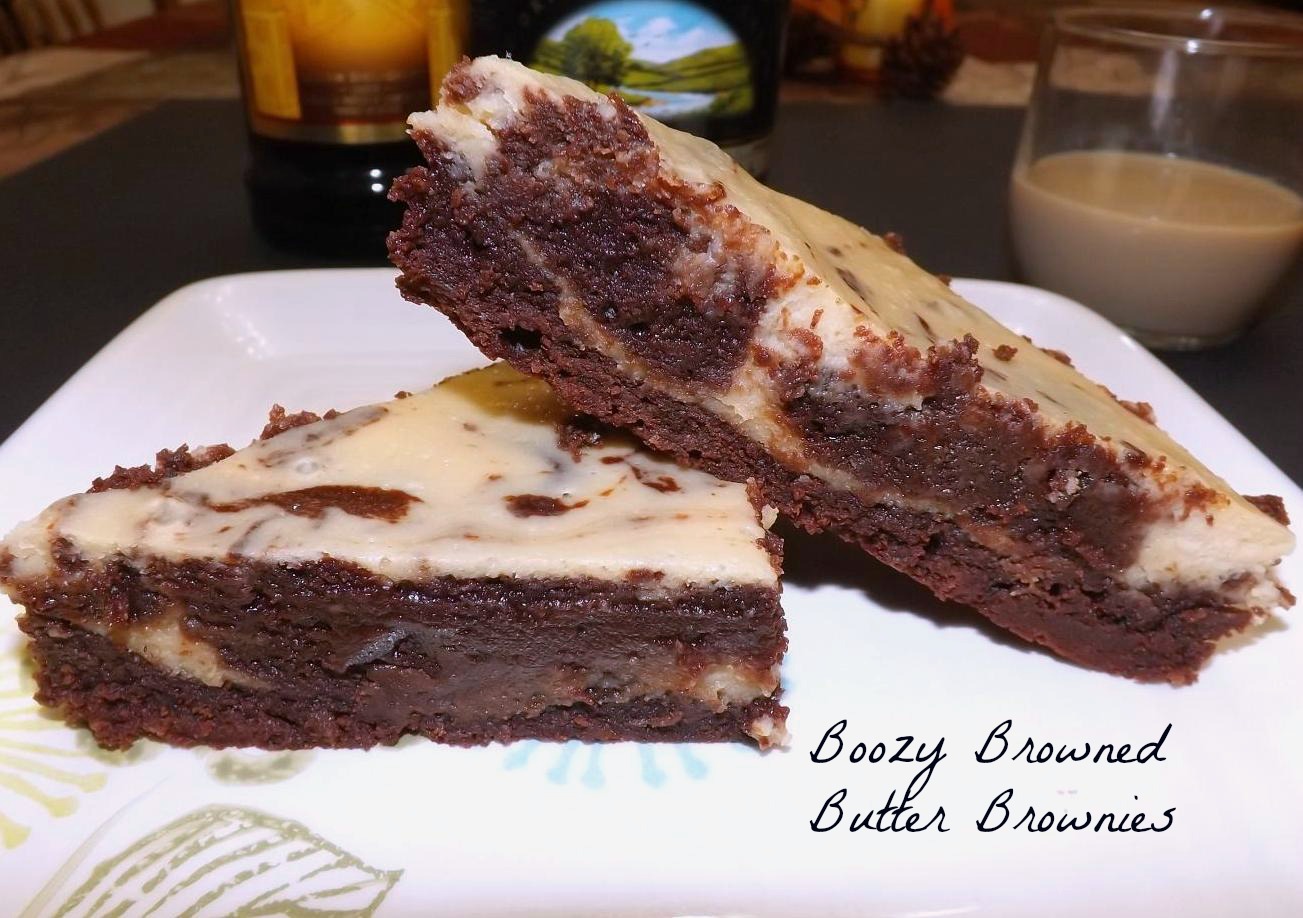
Chocolate Malted Milk Mousse

When I was 13, I worked at a small ice cream shack (shack is a fairly fitting word, too) called “Frosty Hut”, also called Frosty Slut, but we won’t go there. I worked there for a dollar an hour. I had had to get a work permit to even work at that age and I guess the owner, Mr. A, figured a buck an hour was sufficient even though minimum wage was $3.35. One of the perks of the job was, of course, the free ice cream. Since this was privately owned and we were paid slave wages, there was no “you have a 30 minute lunch break and can eat one small thing from the menu” rule. Nope, my sister and I (she also worked there…we were the full line up of employees that Summer) ate like pigs lol. One of my favorite things to do was work my shift, then make 2 of what were called Boston Shakes, one for me and one for my brother Steve. These were HUGE shakes that also had a about 73 pints of soft serve on top of them. I have absolutely NO idea how I didn’t weigh 500 pounds by the end of that Summer. Mine was the same each time; a chocolate malt with extra malt syrup. The flavor is still a favorite. I don’t drink shakes often but when I go to say, Sonic and get one, it’s still chocolate malt with extra malt. I’m a creature of habit 🙂
Since I also love Whoppers Candy; they are malt flavored after all, I was tickled to find this recipe in the same Better Home And Garden Cookbook/magazine (it’s one of those they keep on the shelves for a few months, then retire) that my last post came from. I am slowly working my way through all the recipes in there that I have tabbed. It was a good find; a cookbook that you actually want to make multiple recipes from. I have about a dozen pages tabbed and plan to get to them all.
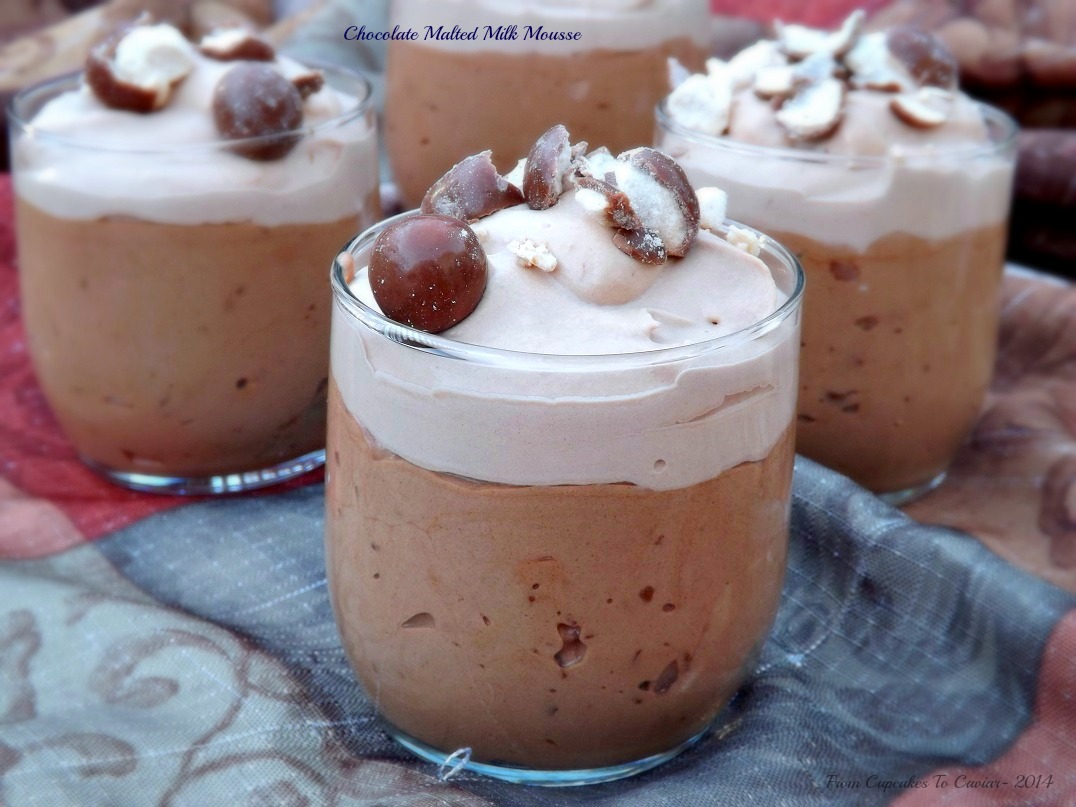
This is a perfect Spring dessert; it’s rich yet light and not overwhelming. Mind you, it would also be great for a Christmas dessert or heck, any time of year lol. I don’t want to limit it. But Easter is tomorrow and if you still need just one more dessert, this would work wonderfully. It can be ready to go in less than 90 minutes and that includes chilling time. The mousse itself is sweet and creamy with a nice malted milk flavor. The topping is only very lightly sweetened and a wonderful foil to the sweeter mousse. And the crushed malted milk balls in the mousse and the topping add a nice light crunch.
You know the drill…. 🙂
Chocolate Malted Milk Mousse
- 2/3 cup malted milk balls (plus extra for garnishing)
- 3 cups heavy cream
- 4 ounces milk chocolate, coarsely chopped
- 3 ounces bittersweet or semisweet chocolate, coarsely chopped
- 1/3 cup chocolate malted milk powder (I actually used the plain kind, not the chocolate kind)
- 2 tablespoons amaretto, chocolate liqueur or cream (I used Kahlua cause I’m just a rebel :-p )
- 1 1/2 teaspoons vanilla, divided
- 1 tablespoon unsweetened cocoa powder
- 1 tablespoon sugar (this is for the topping. Don’t be tempted to add more sugar. The small amount of sweetening is excellent against the sweet mousse)
- Put the malted milk balls in a large bag and crush them using a rolling pin…or a hammer…or a neighbors head, whatever works for you; no judgment here. Set aside.
- In a small saucepot, combine the chopped chocolates and 1/4 cup of the cream. Over low heat, stirring constantly, heat until all the chocolate is melted and the mixture is smooth. Add 1 teaspoon of the vanilla, the malted milk powder and the liqueur (or cream) Cool to room temp. Stirring speeds this up.
- Meanwhile, in a large bowl, whip 1 3/4 cup of the cream until stiff peaks form. Stir 1/2 cup of the cream into the cooled chocolate mixture. gently fold the rest of the cream into the chocolate. Then gently fold in the crushed malted milk balls. Spoon the mousse into either small dessert glasses or a 1.5 to 2 quart glass serving bowl. Cover and chill for one hour at least and up to 24 hours.
- When ready to serve, whip the remaining one cup cream with 1/2 teaspoon of vanilla, 1 tablespoon of sugar and the 1 tablespoon of cocoa powder until stiff peaks form. Spoon the topping onto the mousse and garnish with more malted milk balls.
Copyright Notice: From Cupcakes To Caviar images and original content are copyright protected. Please do not publish these materials anywhere without prior permission.