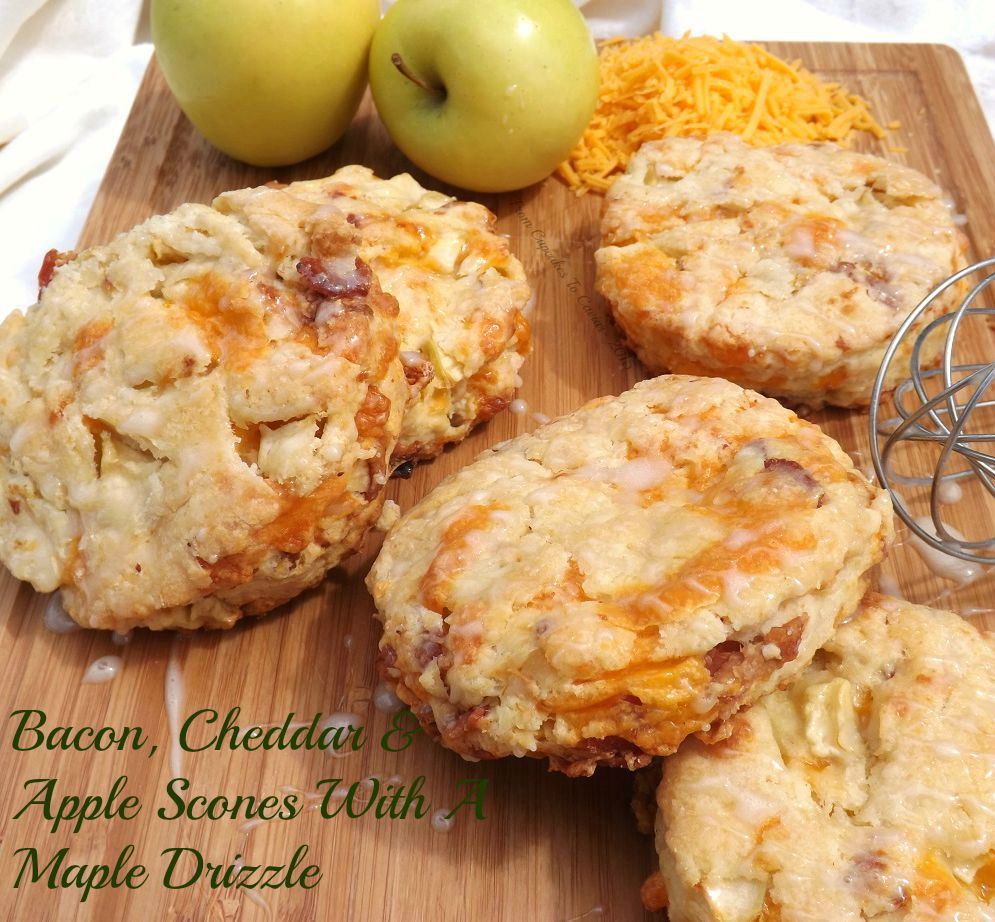
Bacon, Cheddar & Apple Scones With A Maple Drizzle

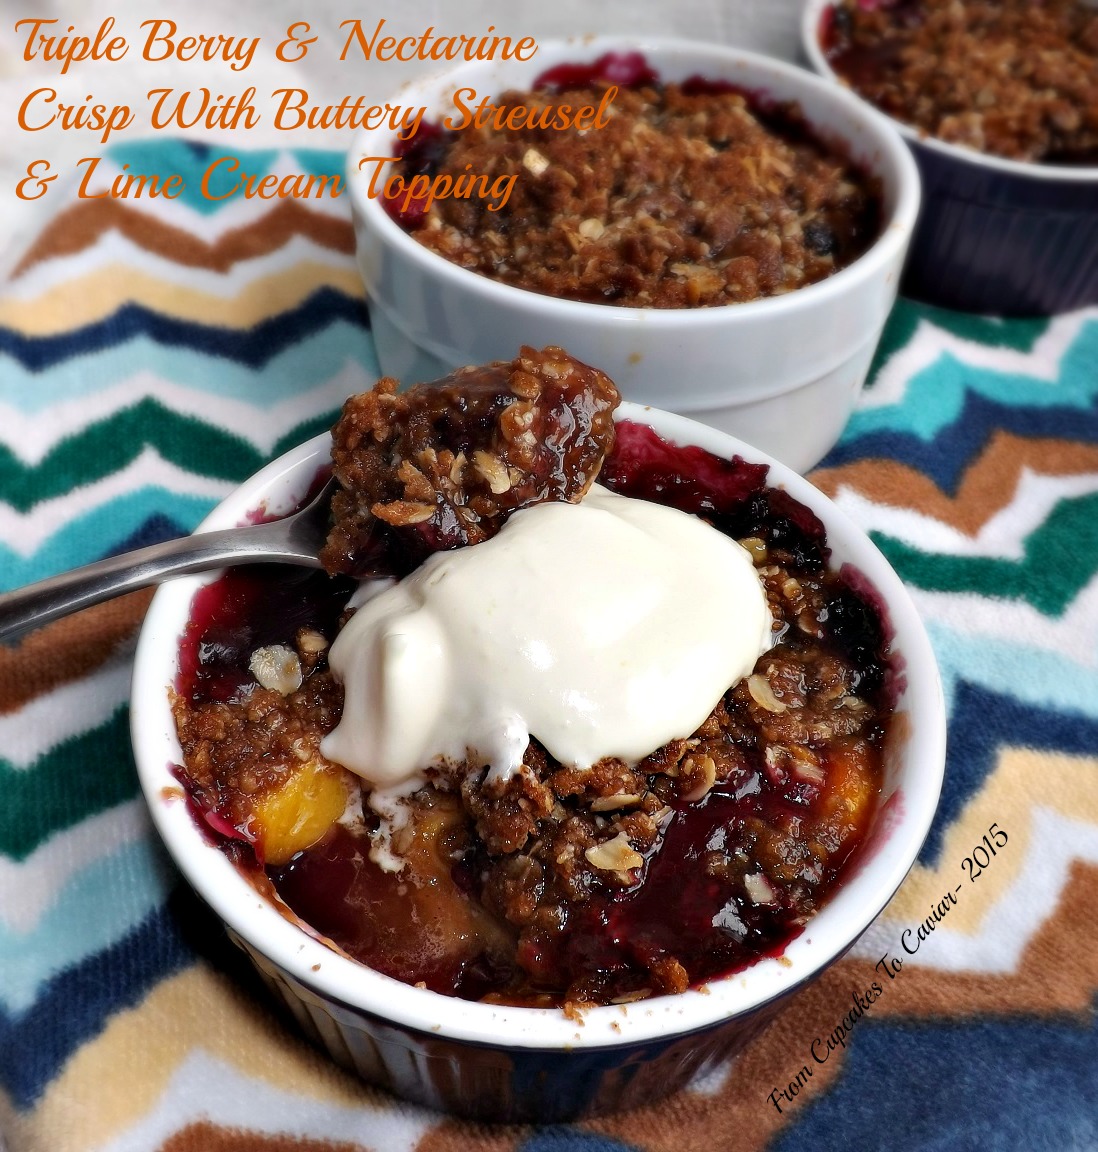
The idea for these scones came into my head around the beginning of June. But I knew if I put up this combo of flavors in the middle of what turned out to be an unbearably hot Summer in many places, no one would give them a second glance. And these deserve to be glanced at. Well, they deserve to be eaten, but it’s ok to look at them first. They aren’t the worlds prettiest baked good, but what scone is?
So I waited until the weather cooled to make them. They are a perfect breakfast with a cup of tea or coffee or a great afternoon snack when the “hangry’s” are making you growl. 😛 All the flavors in here meld so well into the flaky, buttery scone.
When I first thought of them, I had no plans for a glaze. But they looked naked. So it occurred to me what goes well with both apples and bacon? Maple, of course. I was a little worried about the cheddar part, but it actually works great. I mean, everyone loves maple and apples, and who doesn’t smear their bacon through the syrup on their plate, right? Well, the cheddar can be our new secret cause it’s darn good!
These go together quickly. Mix it up and pat it out. You can do the typical wedge cut with these or, as I did, just use a biscuit cutter.
You know the drill…. 😀
Mrs. Cupcake, who just finished a lovely lunch of a scone and some tea.
Bacon, Cheddar & Apple Scones With A Maple Drizzle
- 3 cups flour
- 1 tablespoon baking powder
- 1 teaspoon salt
- 10 tablespoons chilled salted butter, sliced thin (yes, salted. I know I usually use unsalted, but I wanted to try the salted with this being a savory scone.)
- 8 ounces bacon, fried until crisp, cooled and crumbled
- 1 1/4 cups chopped apple, about 2 small apples (peels on or off, your choice. I left them on)
- 8 ounces sharp cheddar, grated
- 1 egg
- 1 1/2 cups heavy cream
- Glaze-
- 2/3 cup powdered sugar
- 2 tablespoons cream or half and half
- 2 tablespoons maple syrup (plain old table syrup like Mrs. Butterworth or Log Cabin is fine)
- Preheat your oven to 375 degrees. Lightly grease 2 cookie sheets or line with silicone mats.
- In a large bowl, whisk together the flour, baking powder and salt.
- Use a pastry cutter to cut in the cold butter; just until the mixture resembles coarse crumbs.
- Whisk together the heavy cream and the egg. Pour this all at once into the center of the flour/butter mixture. Use a wooden spoon to mix it, getting all the dry flour off of the bottom of the bowl.
- Dump the bacon, apple and cheddar into the dough. Stir well to combine. Dump it all onto a lightly floured board or counter and gently knead it a handful of times, just to incorporate the add ins. It may seem dry, but the moisture from the apple and the bacon will soften it up within just a minute or so.
- Pat the dough into a large circle of about 3/4 inch thick. Then either use a sharp knife to cut it into wedges or use a biscuit cutter to cut out rounds. Cut as closely together as possible if doing that, because when you reroll the scraps to make more, they can get tough. I got ten scones using a biscuit cutter.
- Bake at 375 until golden brown and firm, about 20 to 25 minutes. Let cool on the pan for a minute, then let finish cooling on a rack.
- For the glaze, simply combine the powdered sugar, syrup and cream. Whisk until creamy and relatively lump free. Either drizzle over the scones or dip the tops of each scone in the glaze, depending on whether you want a light or heavy coating.
Copyright Notice: From Cupcakes To Caviar images and original content are copyright protected. Please do not publish these materials anywhere without prior permission.

Bacon, Cheddar & Apple Scones With A Maple Drizzle