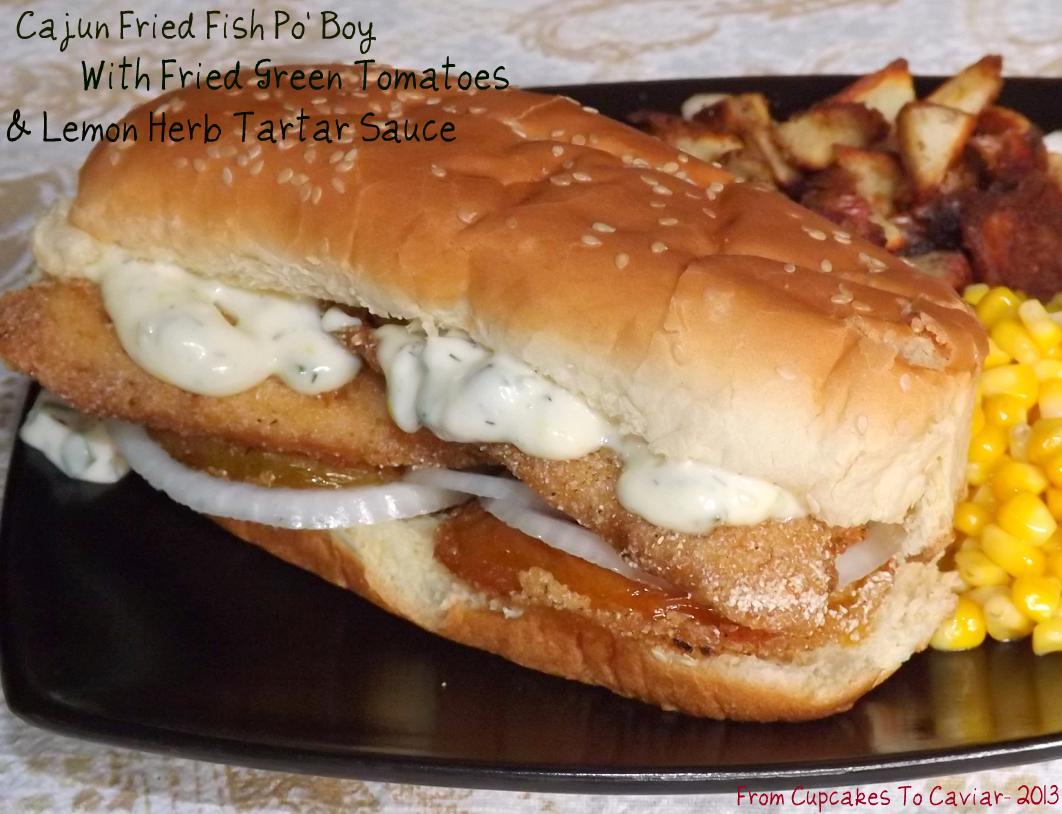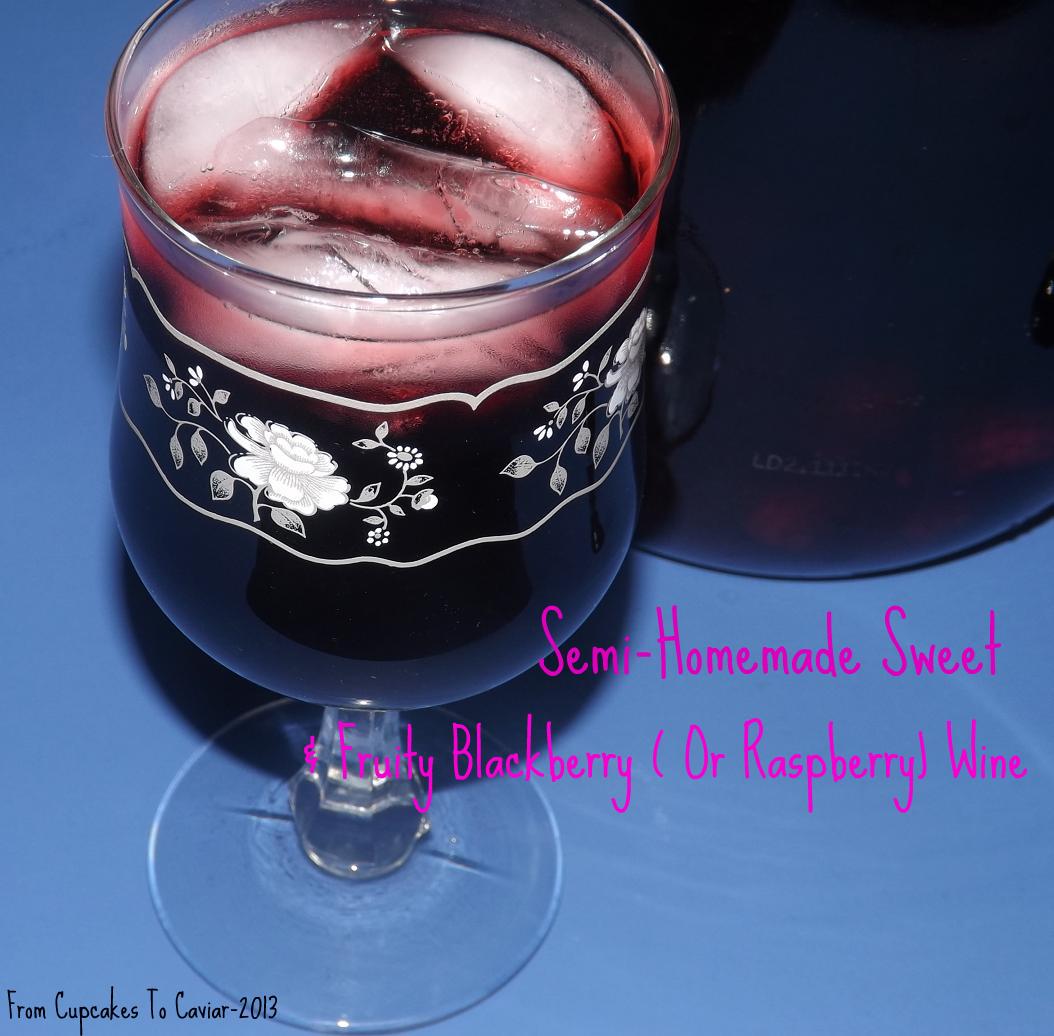
Semi Homemade Sweet & Fruity Blackberry Wine
I’ve mentioned before that I’m not a big drinker. I like wine sometimes, Baileys in the Winter as well as hot chocolate with peppermint schnapps in it. And I admit to a liking for any of the vodkas made by Pinnacle Vodka. I have simple tastes there too though- toss some of the whipped cream flavor into Orange Crush and I’m happy hehe. Problem is, even with booze, though I don’t drink it, I get caught up in ideas surrounding it, especially nowadays with so many cool sounding things out on the market. I have a bunch of stuff gathering dust because it sounded interesting but if I drink hard liquor, I’m likely to be snoring within ten minutes.
So, since I like to play with my booze :-P, a few years ago I decided to see what I could do to make inexpensive wine a bit better.
I’m so far from a wine snob it’s kind of laughable. I have been known to happily drink Mogen David. I draw the line at Boones Farm though… had enough of that back when I was too young to know any better. Point being, I like sweet wines. Dry wines are too..well… dry for me. I love to use them in cooking and love the flavor they impart there but other than an occasional glass of Cabernet, I prefer my wines sweet. Not being able to afford a wine making kit complete with five gallon jug, locks, etc etc, I make my own with bottled wine. And EVERYONE who has ever tried it has loved it. it’s sweet, fruity, full flavored, NOT DRY, inexpensive for what you end up with and has a bit more of a kick than “normal” wines because of the brandy I add to fortify it.
This is more of a technique than a recipe but I will post it in recipe format. make this this week and by the time Labor Day hits, you can strain it out and have a nice sweet glass of wine over ice while you grill out.
You know the drill. Erhmmm, get to bottling??
Semi Homemade Sweet & Fruity Wine
- 1 gallon jug (just writing jug for wine tells you how NOT seriously I take wine since jug wine is so maligned lol) of decent but inexpensive red wine (I use either Gallo Burgundy or “Sweet Red Wine” which isn’t really sweet, so I’m not sure from where the name comes. Burgundy makes a heavier wine, the sweet red a lighter one)
- An empty 750 liter bottle (because once you add the additional ingredients, you have too much for the gallon bottle and need another bottle. You could of course just drink about 3 glasses then you’d have enough room 😀 )
- 1 1/2 lbs frozen blackberries or raspberries (I have done both; the blackberry is what is in this photo)- make sure they are frozen, not thawed
- 2 cups sugar
- 1 1/2 ounces brandy (an airline bottle is the right size)
- Pour about 1/4 of the gallon of wine into another container. Or drink it. I won’t judge… though it could make continuing this process rather interesting hehe
- Use a funnel and pour the sugar into the gallon wine bottle. Now take your frozen berries and shove them down into the bottle. This is boring and makes your hands purple but short of pureeing the berries which makes it difficult to strain later (trust me; I tried), it’s the only way to get them in there. but this is why you leave them frozen. Can you imagine shoving mushy thawed ones in there? Lol.
- Now pour the brandy in there.
- Cap the bottle back up tightly, shake it well and store it in a cool dark place.
- Go back once a day for the first week to shake it to keep the sugar mixed.
- Let this sit for about 3 to 4 weeks. Strain through a coffee filter set into a fine mesh strainer over a bowl (this takes a while so be patient) then taste it. if it’s not sweet enough for you, add about another half a cup of sugar then cap it and set it back in a cool place for another week. After that, pour some over ice and enjoy.
- This makes a great spritzer also. Just mix 1:1 with some club soda or 7-up.
- This can also be made with white wine and something like peaches, nectarines or pears. But I personally didn’t care for it as much. You may however.
Copyright Notice: From Cupcakes To Caviar images and original content are copyright protected. Please do not publish these materials anywhere without prior permission.