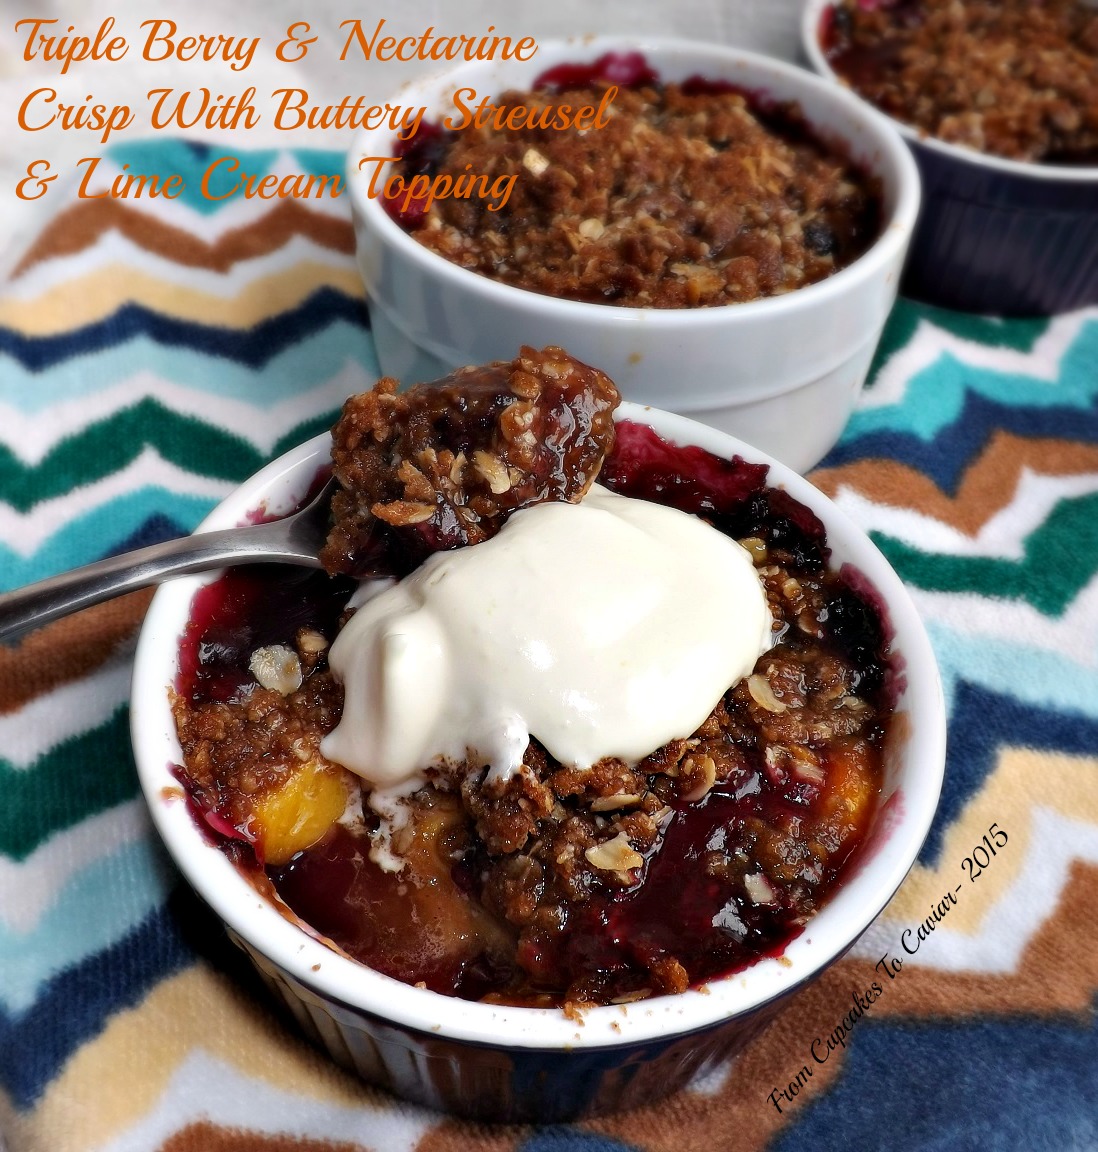
Triple Berry & Nectarine Crisp With Buttery Streusel & Lime Cream Topping

I can see some of you (yes, even you, my dear brother) scratching your heads and saying, “Who is this blogger? I don’t remember this blog at all. Ohhhh, wait, this is that crazy woman who hasn’t blogged in weeks, isn’t it? NOW I remember”. I also then envision you running into the night, screaming in terror. Please tell me I’m wrong on that last part? But… yes, I was gone for a couple of weeks. Reasons don’t matter; it’s just time now for you to rejoice, throw confetti and be glad I’m back. Or something like that.
Did I ever mention that my husband does NOT like peaches or nectarines? He doesn’t care for stone fruits in general, actually. Why I stay with this man with these fatal flaws he has is beyond me. he also doesn’t like sushi, mushrooms, the skin on fried chicken or any sort of fat on meat. Pray for me.
But I like nectarines, so he has to deal with it; that or just not eat any of this deliciousness. I had a bag of nectarines that I needed to use in some way other than my normal sliced in a bowl with a little bit of sugar and cream. Plus, I had berries in the fridge that were getting long in the tooth. Not that that takes very long with berries, mind you. I wish there was a fool proof way to keep them fresh for longer than three days or so.
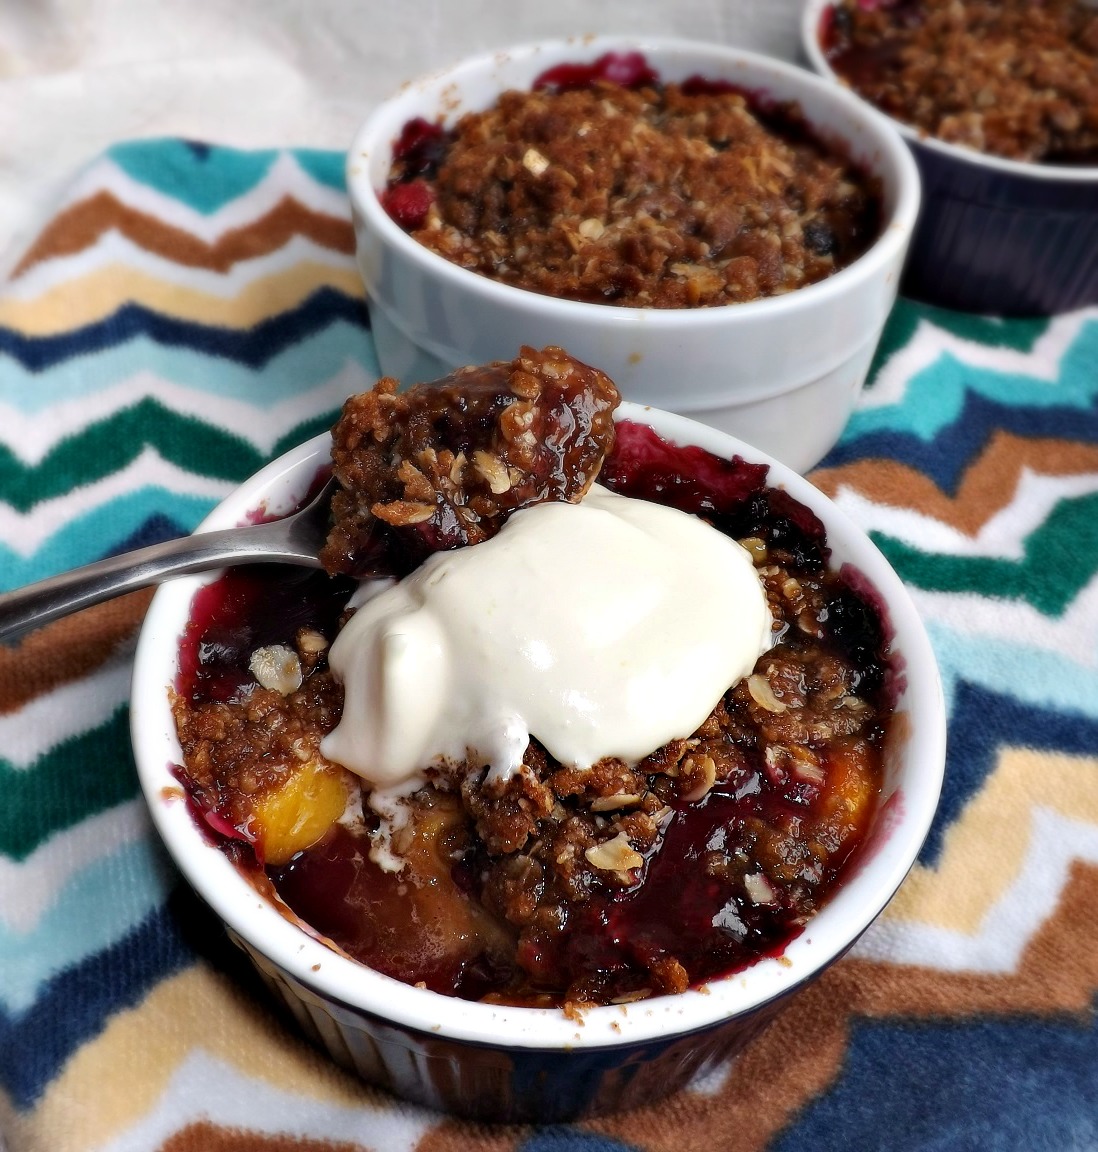
So I decided I wanted a crisp. I think my love for streusel is well known at this point considering I have about 9,452 recipes in here that use streusel. Fine, not quite that many. But I do love streusel. Add in some of my favorite fruits and I’m in heaven. With this one though, I went a bit further. The other night, I was having my usual bowl of berries and cream, but on a whim, I mixed some homemade lime curd into the cream. It was wonderful, so I decided to make it for this crisp. It adds a nice creamy yet tart finish to this. All in all, this was quite good (if I do say so myself). Buttery crispy streusel, sweet juicy fruit, all topped with a creamy topping. What else do you need? Other than ten million dollars. I can’t help you there.
You know the drill…
Triple Berry & Nectarine Crisp With Buttery Streusel & Lime Cream Topping
- Streusel-
- 3/4 cup oats, not instant
- 3/4 cup dark brown sugar
- 1/2 cup flour
- 7 tablespoons unsalted butter, cold and sliced thin
- 1/2 teaspoon cinnamon
- 1/4 teaspoon salt
- Fruit filling-
- 2 pounds (about 7 to 9, depending on size) ripe nectarines (could sub peaches), peeled and chopped
- 6 ounces (one small container) fresh raspberries
- 6 ounces (one small container) fresh blackberries
- 1 pint fresh blueberries
- 1/3 to 1/2 cup sugar
- 3 tablespoons cornstarch
- 1 1/2 teaspoons vanilla extract
- 1 teaspoon almond extract
- Lime Cream Topping-
- 1 cup heavy whipping cream
- 1/2 store bought or homemade lime (or lemon) curd
- Make your topping and refrigerate it. In a small bowl, combine the cream and curd. Use a whisk and beat until soft peaks form. Cover and chill until ready to use.
- Preheat oven to 400; butter 6 8 ounce ramekins or a 13×9 inch baking dish (preferably glass, as metal dishes tend to discolor fruits) In a large bowl, combine all the filling ingredients. Stir well, then set aside.
- For the streusel, in a medium bowl, combine the oats, brown sugar, flour, cinnamon and salt. Stir well to break up any large lumps in the sugar.
- Using a pastry blender or your fingers (I usually start with the pastry blender, then go to my fingers to finish it up), cut in the cold butter until the mixture resembles coarse crumbs
- Divide the fruit mixture evenly among the buttered ramekins. Top with the streusel. If, by chance, you don’t use all the streusel, it freezes wonderfully.
- Bake at 400 until golden brown and bubbly, about 20 minutes. Serve at desired temp, topped with the lime cream.
Triple Berry & Nectarine Crisp With Buttery Streusel & Lime Cream Topping
Copyright Notice: From Cupcakes To Caviar images and original content are copyright protected. Please do not publish these materials anywhere without prior permission.