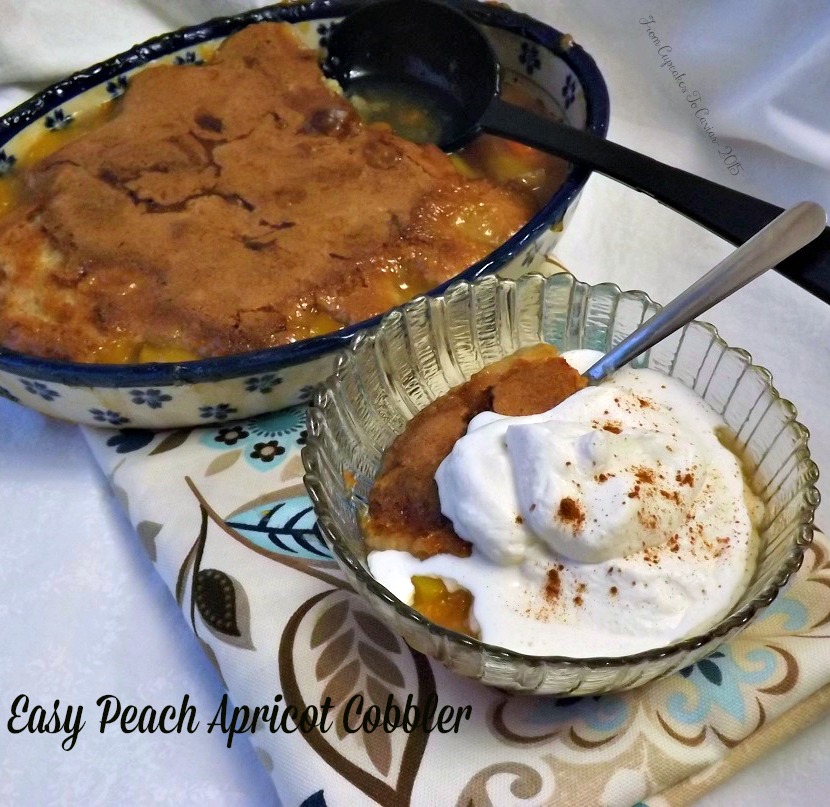
Easy Peach Apricot Cobbler

Years back, before the internet became the place to go to get every recipe known to man, as well as some known only to The Mirthful Mermaids of the Planet Playtex (quick! Where’s that from?!), there were lots of options to get recipes via snail mail. Although it wasn’t called snail mail back then… just mail. 😛 One of the options came from various companies hawking recipe cards. They would come in a cute little hard see through plastic case or binders. I was subscribed for a while to one called The Great American Baking Company. It was like Christmas every month as I opened up the new cards and got to look through them to find ones I wanted to make.
The fly in the ointment? Out of a year of doing this, at what I realize now was a ridiculous price (I believe it was like $9.99 a month for about 12 recipe cards), I have now about 5 of those cards that, through various moves, I felt were worth saving. The rest either got thrown out over time, colored on by children over the years or peed on by cats because cats are Satans Spawn.
One that I will always keep is this one. I’ve changed it up a little bit through the years (the vanilla and almond in the fruit are my own idea and I use extra cinnamon in the fruit plus add vanilla to the whipped cream), but not much really in the way of changes at all. This is another one of those recipes that I’ve seen in various places on the web with this person or that claiming credit, but nope… came from a mail order company 😀 I love this one because, in the middle of Winter (or the tail end, like now) I can still have a yummy fruit dessert. This uses canned fruit and couldn’t really be any easier. Plus, I absolutely adore the whipped cream topping. It uses honey and cinnamon instead of the typical sugar and that adds such a unique twist to it. So if you have like 15 minutes to throw this together and an available oven….
You know the drill… 🙂
Easy Peach And Apricot Cobbler
- 1/2 cup sugar
- 2 tablespoons cornstarch
- 1 28 ounce can sliced peaches in syrup, drained, juice reserved
- 1 15 ounce can apricot halves in syrup, juice drained and combined with the peach juice
- 1 teaspoon vanilla extract
- 1/2 teaspoon almond extract
- 1 tablespoon butter
- 1 teaspoon cinnamon
- 1/2 teaspoon nutmeg
- Topping-
- 1/2 cup flour
- 1/2 cup sugar
- 3/4 teaspoon baking powder
- 1/4 teaspoon salt
- 2 tablespoon unsalted butter, room temp
- 1 egg
- Whipped cream topping-
- 1 cup heavy cream
- 2 to 4 tablespoons honey (depends on how sweet you like it. Start with the lower amount.)
- 1/4 teaspoon cinnamon
- 1/2 teaspoon vanilla extract
- Preheat the oven to 400 degrees.
- In a medium pot, combine the sugar and the cornstarch. Stir in one cup of the combined juices from the fruit, along with the vanilla and almond extracts. Cook over medium heat until mixture boils, about 3 to 4 minutes.
- Stir in the butter, cinnamon and nutmeg, then add in the fruits. Pour this all into a 1 1/2 to 2 quart baking dish or casserole dish.
- For the topping, mix together the flour, sugar, baking powder, salt butter and egg. Spoon this over the fruit. It’s a thick mixture, but it will spread as it cooks.
- Bake at 400 until the topping is golden brown and the fruit is bubbly, about 30 minutes. You may want to either place foil on the rack below or put the baking dish into a larger pan to catch drips. When done, let cool slightly.
- For the topping, simply beat together the cream, honey, cinnamon and vanilla and top each serving with a nice big dollop.
Copyright Notice: From Cupcakes To Caviar images and original content are copyright protected. Please do not publish these materials anywhere without prior permission.