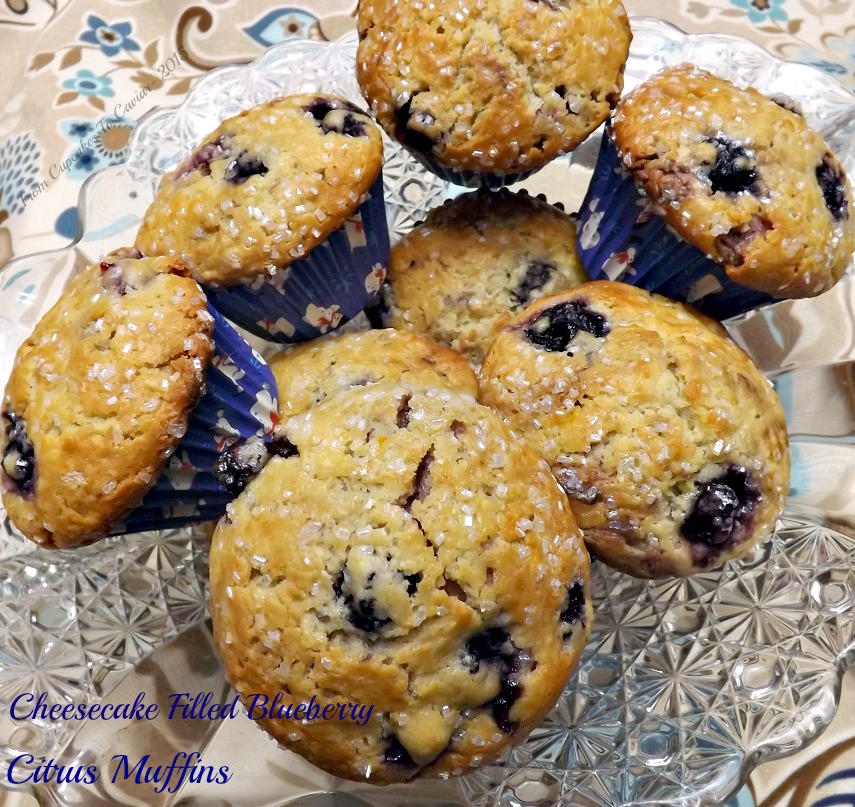
Cheesecake Filled Blueberry Citrus Muffins

I realized a few days ago that I haven’t done a muffin post in a while. GASP! Forgive me!? I mean, my blog IS called From Cupcakes To Caviar and what are muffins (in my world anyway) other than cupcakes without the frosting? Because Lord above knows that they aren’t healthy when made by me. I’m the only person alive who can take what should be a wholesome breakfast style food and make it into a caloric mine field, sure to clog your arteries and send you into a sugar coma. I like to think of this ability as one of my finer, more endearing qualities, along with my innate ability to make stuffed animals talk, charm old people with my politeness and toss and turn in bed so much that my husband can’t sleep. Ok, so maybe that last one isn’t so endearing.
I have been craving fresh fruit lately and am knee deep into a huge orange phase. I can’t get enough of them. This usually hits me about this time of the Winter. Unfortunately though, about the only fresh fruit WORTH eating are the orange varieties. The rest are all shipped in from places like Mars or Venus, not to mention who in their right mind pays 5 bucks for like 25 blueberries in a carton so small an ant couldn’t make a home in it?
So, since I was craving blueberries (in January. Don’t use me as a food role model) and citrus, and knew I needed to make some nice healthy muffins *coughcough*, I combined the ideas, just using frozen berries. But then I totally blew the calorie budget (and I have a really really really really high budget. Call me the Donald Trump of calories.) on a cheesecake filling. But it’s so worth it. These are moist, tender blueberry muffins, with a lovely citrus edge, then you break one open and there lies a creamy cheesecake-ish filling. You can thank me later. For now, go make muffins. And don’t get involved in playing Monster Busters on facebook and forget your muffins and slightly overcook them. I…ummm… heard of someone who did this once. Yeah, that’s it. Heard of someone.
You know the drill…. 😀
This makes 24 muffins so feel free to cut it in half. I make a lot so that we have some to give away but if that’s not your thing, just make half. Or make them all and freeze half for another time.
Cheesecake Filled Blueberry Citrus Muffins
- 4 cups flour
- 1 1/2 cups sugar
- 1 tablespoon +1 teaspoon baking powder
- 1/2 teaspoon salt
- 1 tablespoon orange zest
- 1 tablespoon lemon zest
- 4 eggs, room temp
- 1 3/4 cups milk
- 3/4 cup (1 1/2 sticks) unsalted butter, melted
- 1 tablespoon vanilla extract
- 1 teaspoon almond extract
- 1 12 ounce bag frozen blueberries
- 1 8 ounce package cream cheese, softened
- 1/2 cup blueberry or other berry preserves
- 1 teaspoon orange zest
- 1 teaspoon lemon zest
- 1 tablespoon flour
- Line 24 muffin cups with paper or foil liners. Preheat oven to 375 degrees.
- In a small bowl, combine the cream cheese, blueberry preserves, teaspoon each of orange and lemon zest and flour. Stir well to combine and then set aside.
- In a large bowl, combine the flour, sugar, baking powder, salt and orange and lemon zests. Whisk to combine.
- In a large measuring cup, combine the eggs, milk, melted butter and extracts. Stir just until combined; it will still have lumps.
- Carefully fold in the frozen blueberries.
- Fill the prepared muffin cups half full. Add a dollop (about 2 teaspoons or so) of the cream cheese mixture on top of the muffin batter. Use the rest of the batter to finish filling the muffin cups to the tops of the cups. Sprinkle with coarse sugar if desired.
- Bake at 375 degrees for about 25 to 30 minutes, until the tops are a nice golden brown and a toothpick inserted in the center comes out clean.
- Let cool in the tin for about a minute, then turn out onto a rack to finish cooling.
Copyright Notice: From Cupcakes To Caviar images and original content are copyright protected. Please do not publish these materials anywhere without prior permission.