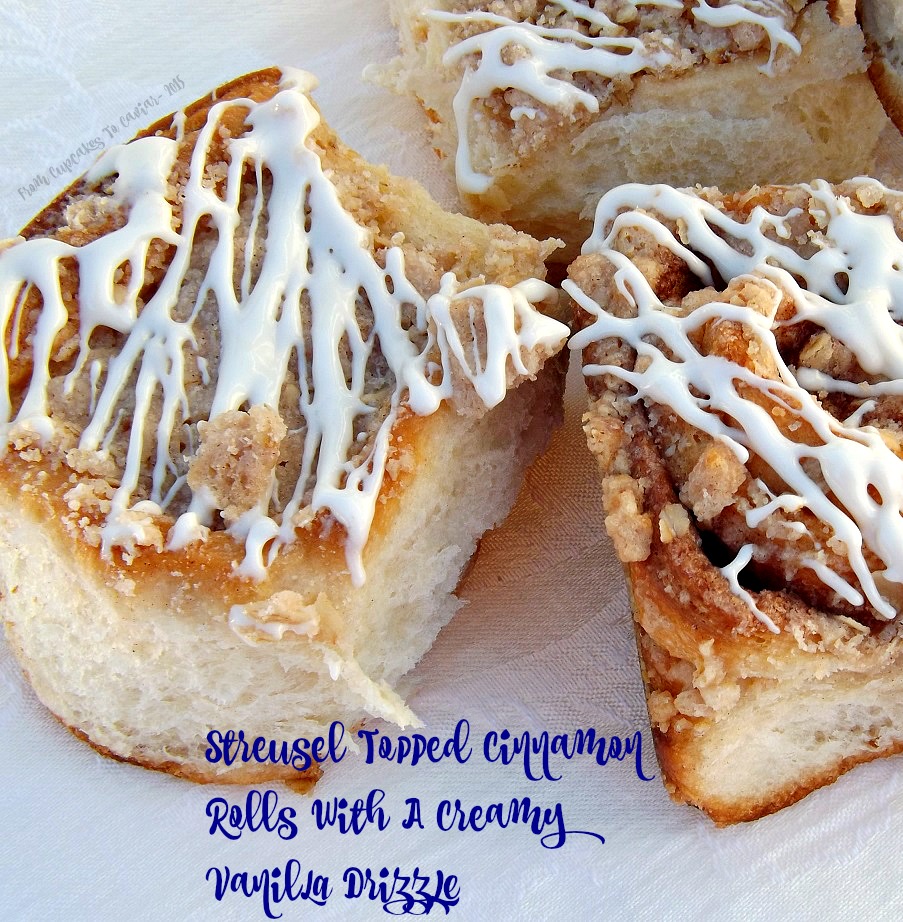
Streusel Topped Cinnamon Rolls With A Creamy Vanilla Drizzle

You ladies and gentleman know I love you to pieces (preferably small, easy to vacuum pieces. Just sayin’. I hate messes.), but no long post today. It’s one of those rare days where my silly factor is taking a nap. Now if I could just get my body to follow suit. 🙂
I wanted to play around with the ubiquitous cinnamon roll. Why? Because I can and because have you ever known me to make ANYTHING the “normal” way? So I added streusel. …………….
Why is it that I don’t see surprise on even one face? Here I thought that my usage of streusel would come as a shock!
I also added a bit more richness (cause cinnamon rolls just AREN’T rich enough typically, right?) by adding a layer of butter into the dough. It’s nothing to be fearful of doing; it’s not quite as if you’re making croissant dough or any other type of touchy dough. This is simply one layer of butter, two folds of the dough and rolling and voila; JUST enough to add a touch more layer to the rolls, similar to, but not as layered as those flaky layer biscuits from a can that every single human alive loves to peel into as many layers as possible.
This is an easy yeast dough; not temperamental at all. Since it is butter and egg rich, it takes a while to rise so don’t stress it when it hasn’t risen in 45 minutes or so as many doughs do.
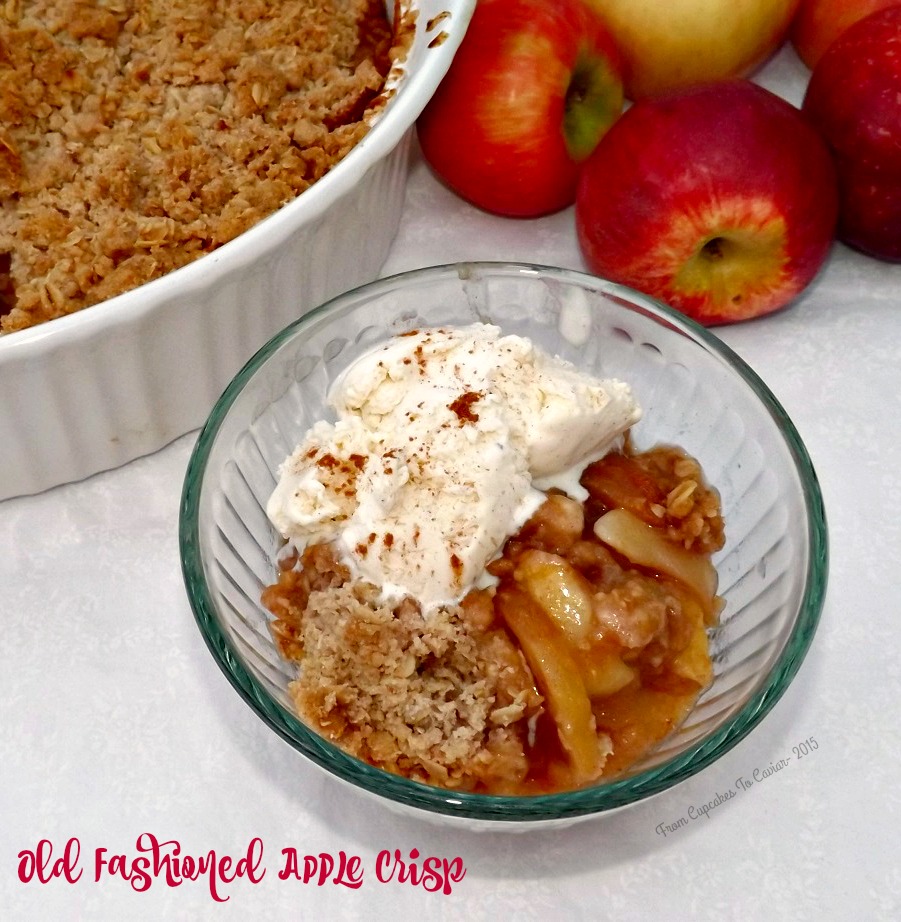
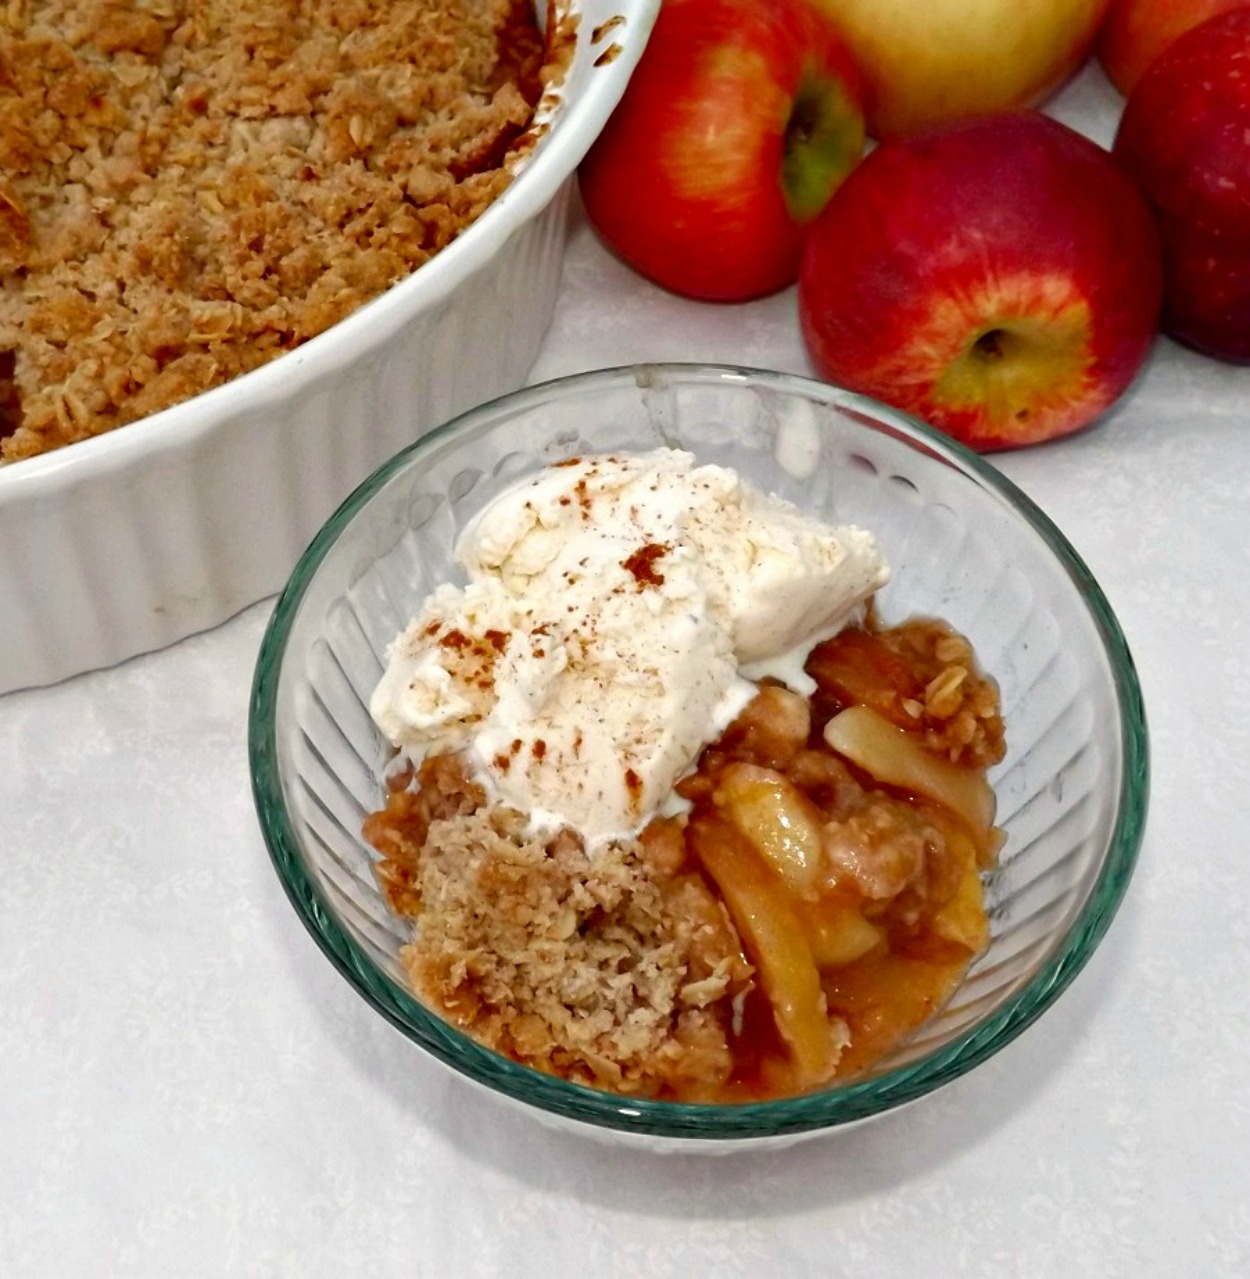
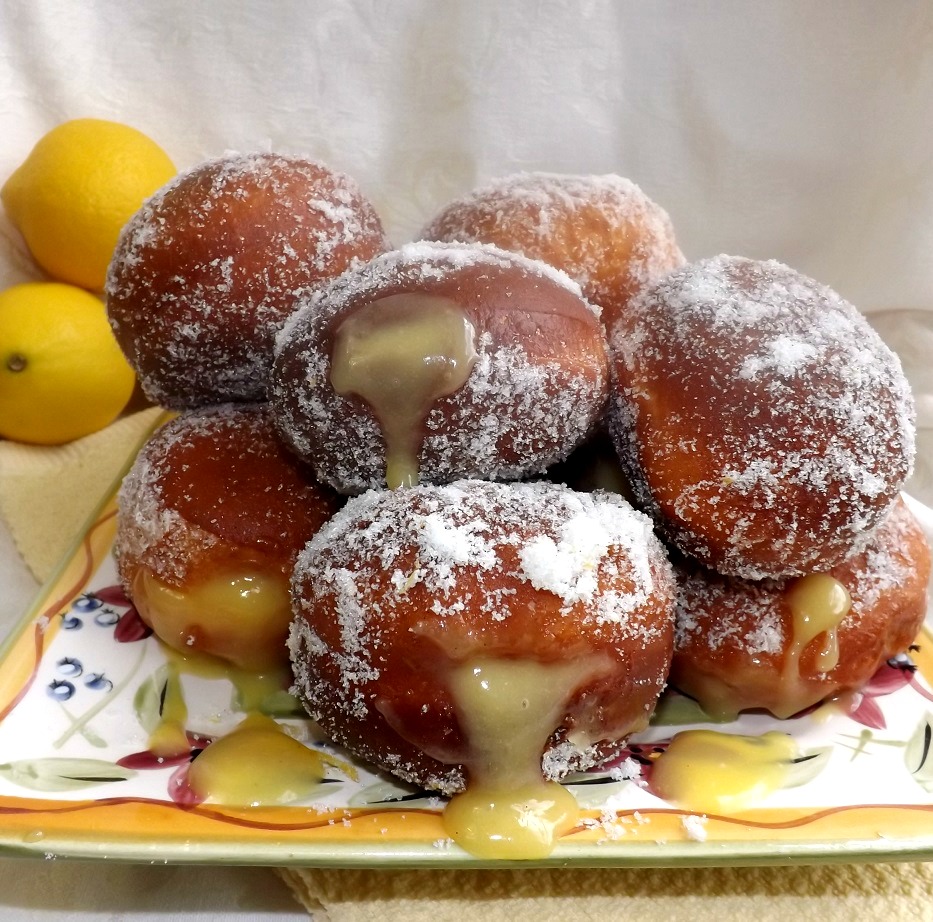
The finished rolls are rich and tender, but surprisingly not too sweet. If you like a sweeter roll, either add more cinnamon sugar as the filling or maybe sprinkle some on top of the rolls before putting on the streusel. Personally though, I think they are fine as is. You have the soft fluffy roll, the sweet cinnamon sugar filling, all topped with crunchy streusel and then finished with a creamy glaze.
You know the drill…
Streusel Topped Cinnamon Rolls With A Creamy Vanilla Drizzle
- Cinnamon Roll Dough-
- 2 packets dry yeast
- 1/4 cup warm water (about 110 to 115 degrees. No hotter or you’ll kill your yeast.)
- 1 cup milk, warmed to 115 degrees (it’s ok if it is a COUPLE of degrees more or less, but again, no more that that)
- 1/2 cup sugar
- 2 teaspoons salt (please don’t omit. I have people write me and ask why I put salt in baked goods. Beyond boosting flavor, it also tends to act as a stabilizer to the yeast)
- 1/2 cup unsalted butter, room temp
- 3 eggs, room temp
- 5 to 5 1/2 cups flour
- 1/2 cup unsalted butter, cool, but not refrigerator cold; let sit out for about 30 minutes (no, this isn’t a typo. This is for the added layer. Feel free to omit it if you just want regular cinnamon rolls.)
- Filling-
- 1/2 to 3/4 cup sugar
- 2 1/2 tablespoons cinnamon
- 6 tablespoons unsalted butter, melted
- Streusel-
- 3/4 cup flour
- 1/2 cup sugar
- 1/8 cup brown sugar, packed
- 1/4 teaspoon salt
- 1/2 cup oatmeal
- 1 teaspoon cinnamon
- 1/2 teaspoon nutmeg
- 1/2 cup (1 stick) unsalted butter, cold and sliced thin
- Glaze
- 3 ounces cream cheese, room temp
- 1 cup powdered sugar
- 1 teaspoon vanilla extract
- 1/4 teaspoon almond extract
- 1 to 3 tablespoons milk (will vary depending on how thin you want your glaze)
- Sprinkle the yeast over the warm water. Let sit for about five minutes. The yeast will begin to foam and get bubbly. In the bowl of a stand mixer (you can do this all by hand or with a strong hand mixer, but both will take more arm strength. I love my stand mixer, lol), combine the milk, sugar, salt, room temp butter and the eggs. Use the paddle hook to blend well.
- Put the dough hook on now. Stir in the dissolved yeast and 2 1/2 cups of the flour. Beat until it is a ragged looking mass. Add in the flour, one cup at a time, and let the machine knead each cup in before adding another. Continue letting the mixer knead it until it is a smooth, silky cohesive dough that still has a very slight tackiness to it. It took me 5 1/4 cups but it may take you a bit more or less.
- Lightly oil a large bowl. Dump the dough into the bowl. Turn it to coat both sides with the oil, then cover with a clean cloth and set in a warm place to rise. I usually turn my oven on for about 45 seconds, then turn it right back off and place the bowl on a cookie sheet in there. Let the dough rise until it is roughly doubled in size. This will take anywhere from an hour to two hours.
- While the dough rises, make the butter layer. Cut the butter into three equal pieces. Lay them on a sheet of wax paper, then cover with another sheet. Use a rolling pin to gently beat them down into a flatter piece. You may have to scoosh them back together a couple of times. Once they are mushed somewhat (I know; such technical terms I’m using today), use the rolling pin to roll them into a flat layer of butter. Take this and place it flat in the freezer while the dough rises.
- Now go ahead and make your filling and streusel. For the filling, simply combine the sugar and cinnamon. Voila; filling.
- For the streusel, combine all the dry ingredients. Use a pastry cutter to cut the butter into the flour.sugar mixture. When it has large clumps, put down the pastry cutter and get your clean hands in there. It’s the best way to make a streusel. Just rub your fingers together in the mix, picking up, rubbing, rinse, repeat, until you have a nice crumbly streusel with some large pieces and some small. Set it in the fridge for now.
- When the dough is ready, lightly flour a large board or clean counter. Punch down the risen dough. Dump it out onto the floured board and knead it a handful of times, just to smooth it out. Roll the dough out into a 18 by 12 rectangle (this does NOT have to be exact.). Get the butter out of the freezer and peel off one sheet of the waxed paper. Place it butter side down onto the dough. Peel off the other sheet. Now fold the dough into thirds, as if you were folding a letter to fit into an envelope.
- Let the dough rest for five minutes. Now, reroll it (it’s going to be harder to roll now. You just added frozen butter into it, lowering the dough temp considerably) into an 18 by 12 rectangle again. Fold it into thirds one more time. Let it rest five minutes. Now roll it into a 26 by 12 rectangle.
- Brush the melted butter evenly over the dough. Sprinkle the sugar/cinnamon mix evenly over the top of the butter.
- Going from one of the long sides, slowly and carefully roll the dough into a log. Try to keep it as tight as possible so that you don’t end up with cinnamon rolls with big gaping holes through them.
- Cut the ragged end of of each end of the roll.
- Use a sharp knife ( or thread, which is how I do it) to cut the remainder of the log into 19 pieces. I know; strange amount, but that’s how it ended up 😛
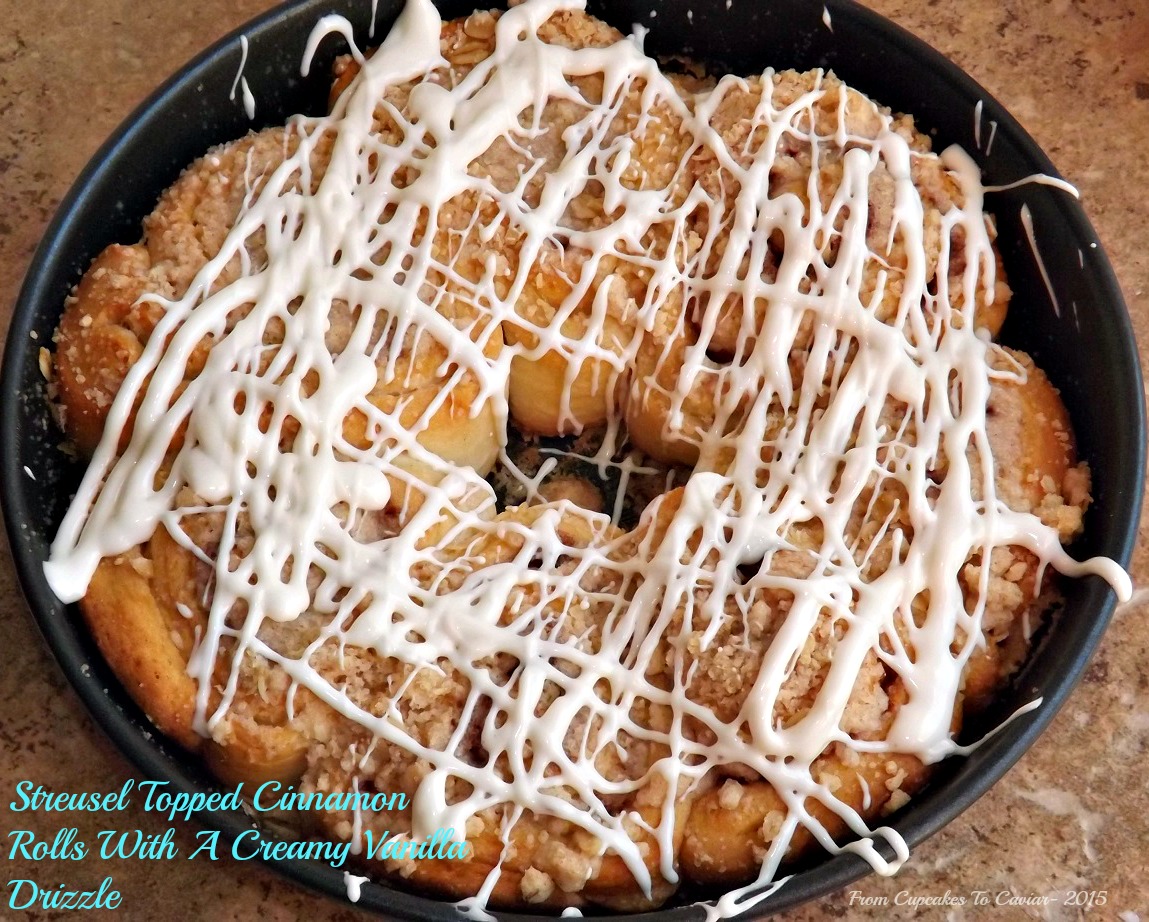
- Butter a 13×9 inch pan and a 9 inch round cake pan. Place 12 of the rolls, about an inch apart in rows of three, in the 13×9 inch pan. Place the other 7 around the edges of the cake pan, not touching. Sprinkle evenly with the streusel, patting it down gently to help it adhere. Places the pans in a warm place (not the oven this time) to rise. Let rise until they are roughly double in size, about 45 minutes to an hour.
- Meanwhile, preheat the oven to 350 degrees.
- When the rolls have risen. Place them on a middle rack in the 350 degree oven. Bake until they are puffy and golden brown and the streusel is also browned, about 25 to 35 minutes. Remove form the oven and let cool in the pans, set on a rack.
- When they are totally cool, make your glaze. Simply whisk together all the glaze ingredients until creamy. Drizzle over the tops of the cooled rolls.
Copyright Notice: From Cupcakes To Caviar images and original content are copyright protected. Please do not publish these materials anywhere without prior permission.