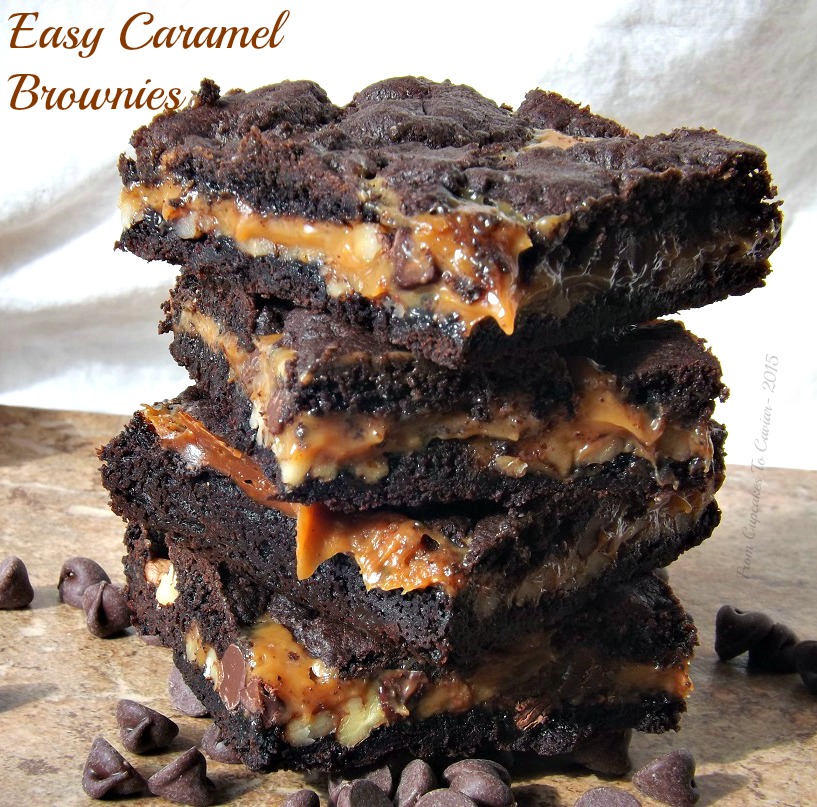
Easy Caramel Brownies

I first saw this recipe back in like 1984 or 1985 or so, just after I got married to my ex. I was deep into the newlywed “cut out recipes and save them” phase. I got it from, of all places, TV Guide. This was back when TV guide was interesting. It was about the size of a Readers Digest magazine, had a fair amount of articles in it and a nice synopsis of practically every show that came on. They also had a piece at times highlighting celebrity recipes. This one came from John Davidson (yes, I realize fully half of you have no idea who he is, lol while the rest of you are googling his name as you think, “Wow. Is he even still alive? He’s like 200 years old, right?”)) and was aptly titled “John Davidsons Brownies”. The TV Guide people were somewhat lacking in imagination. I guess they used all their creativity describing episodes of M*A*S*H or The Waltons and had none left for recipe titles.
Since then, it has, as most recipes do anymore, swept the web under many different guises with some people (who obviously forget that the rest of us can google) going so far as to say they made these up. You can find it under “Turtle Brownies”, “Cake Mix Brownies” and 900 other names. But it’s still always the same basic recipe. This is one of those times when you don’t want to try to be fancy. No homemade caramel sauce here… no from scratch cake. Normally, I would balk at wrapped cheap caramels, but know what? They totally work here. I hadn’t made these in forever and I had forgotten how good they are. They are intensely chocolatey (in part because I use a chocolate fudge cake mix, not the German chocolate one originally called for), gooey from the caramel and they have a nice crunch from the nuts. I’m not usually a nut person (just nutty personally) but they also help cut the sweetness in the brownies. That way you can eat more of them! 😀
About all I do differently from the original is the cake mix flavor, plus I use half and half rather than the evaporated milk it used and I add about a teaspoon of vanilla extract to the batter.
So what do we have here? Intensely chocolatey brownies, gooey caramel and crunchy nuts. And they’re so easy you can let the kids make them and you can sit and watch old M*A*S*H reruns. Yeah, you want these.
You know the drill…
Easy Caramel Brownies
- 1 box dark chocolate fudge cake mix (or whatever chocolate flavor trips your trigger)
- 1/4 cup half and half
- 1/2 cup unsalted butter, melted
- 1 teaspoon vanilla extract
- 1 14 ounce bag caramels (I use Kraft)
- 1/2 cup half and half
- 1 cup chocolate chips
- 1 cup chopped pecans, lightly toasted in a 350 oven (the toasting is optional, but it’s a really good idea)
- Preheat oven to 350 degrees. Line a 13×9 inch pan with foil and spray it lightly with cooking spray.
- In a medium bowl, using a wooden spoon (or whatever, just do this by hand) combine the cake mix, 1/4 cup half and half, vanilla extract and the melted butter.. It will be a fairly stiff batter; you didn’t do anything incorrectly. Press about half of this (may take a touch more) into the bottom of the prepared pan. It will be a thin layer.
- Bake at 350 for about 5 minutes while you prepare the caramels.
- Unwrap the caramels and put them, along with the 1/2 cup of half and half, in a small microwave safe bowl. Microwave for one minute, stir, then microwave in 30 second increments, stirring after each one, until they are melted and smooth. Mine take about two and a half minutes.
- Take the brownies out, sprinkle the pecans on top of them, then the chocolate chips. Pour the caramel sauce in an even layer over this. Then, use your hands to break up small pieces of the remaining brownie batter and place it all over the caramel. It will NOT cover the whole thing. You’ll end up with a rather cobblestone look.
- Place the pan back in the oven and continue baking until the top is firm and set and the caramel is bubbly, about 15 to 20 minutes.
- Let cool for at least an hour, then pull them out using the foil and cut into pieces. They are fairly rich, so it doesn’t take much to satisfy anyone but the most addicted chocoholic. In other words, me. Heck, just cut big squares. Who am I kidding?
Copyright Notice: From Cupcakes To Caviar images and original content are copyright protected. Please do not publish these materials anywhere without prior permission.