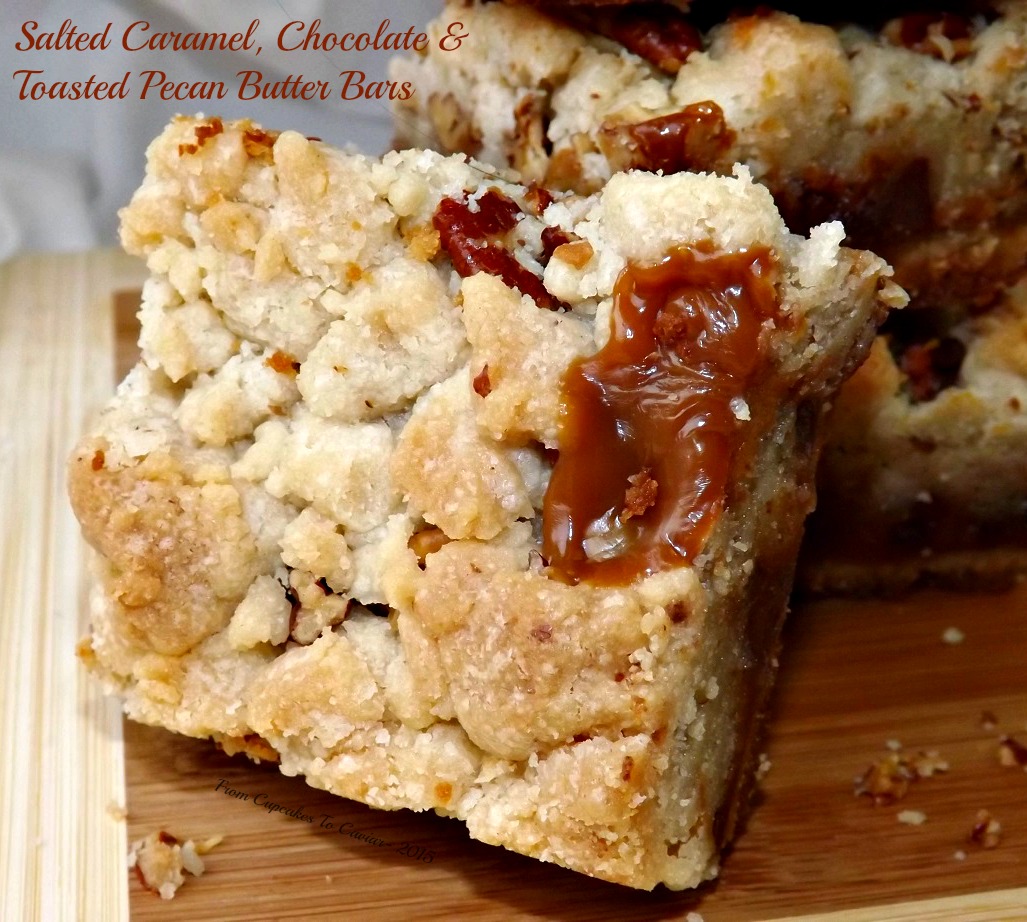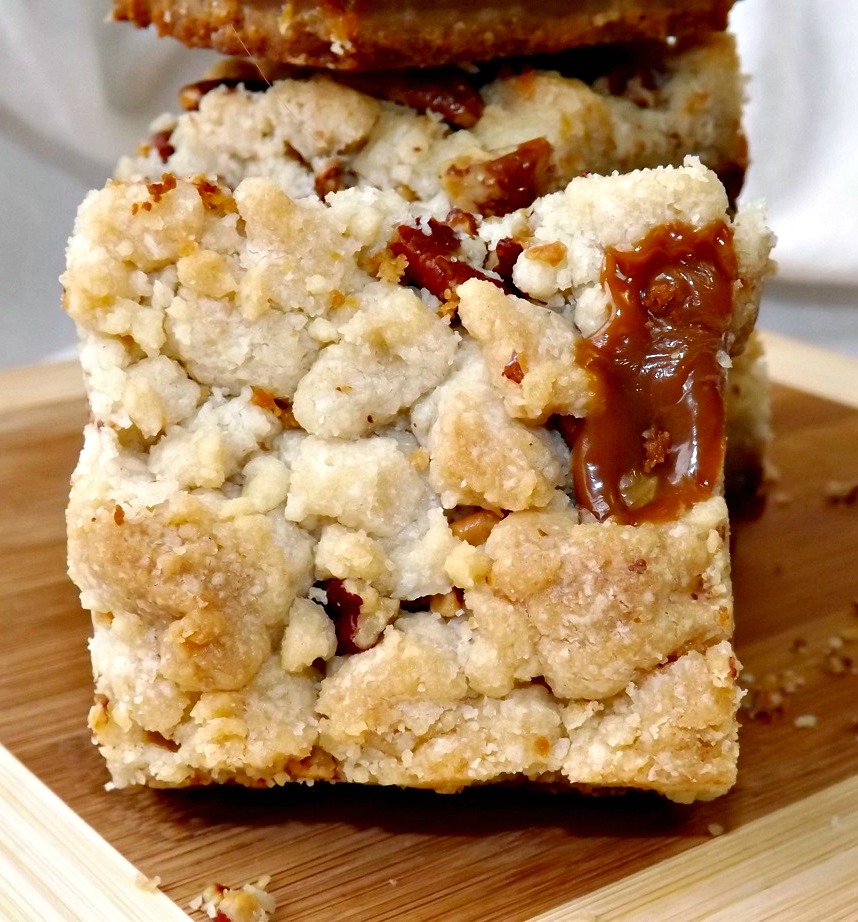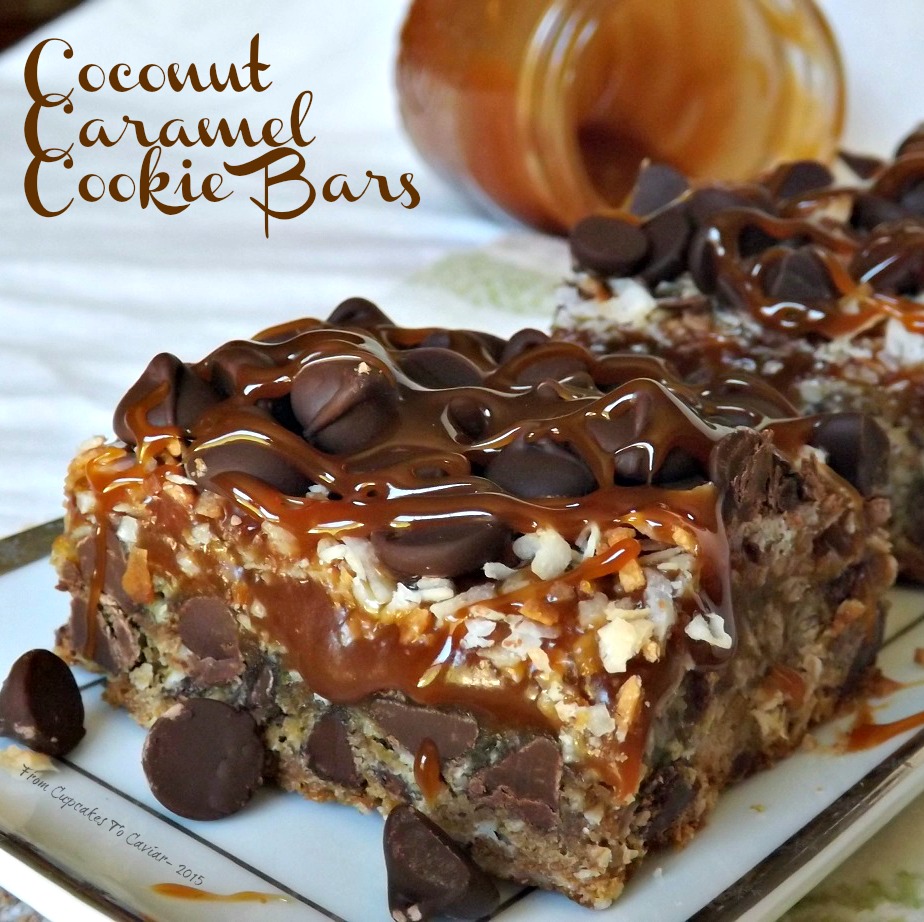
Coconut Caramel Cookie Bars

You want this cookie. Quit looking at me that way! Would I lie to you? I know, I know, there was that time with the Emu & Brussel Sprouts Casserole…. but we’ve moved on since then, you and I. Now I am your one stop shop for delicious recipes *coughcough* and wonderful cooking advice, as well as life advice, beauty tips and home renovation ideas.
You’re falling for this, right? We understand each other. I’m here to make bad one liners and create yummy recipes and in return, you pretend to laugh at my jokes and drool over my cooking.
I first made these back in 2012. While I may not be an amazing photographer even now, I like to delude myself into thinking that I have progressed quite a bit from back then. The photos from the old post looked like nothing so much as a mass of goo and didn’t do these delicious bars justice. These are some of my husbands favorite cookie bars. He is a huge fan of the Samoa (or whatever they are called now) cookies the Girl Scouts sell. But who the heck wants to pay $3.50 for a 10 ounce box of cookies when you can do a little bit of work and end up with a full pan of delicious, not round but thick and chewy Samoa-ish cookie bars?
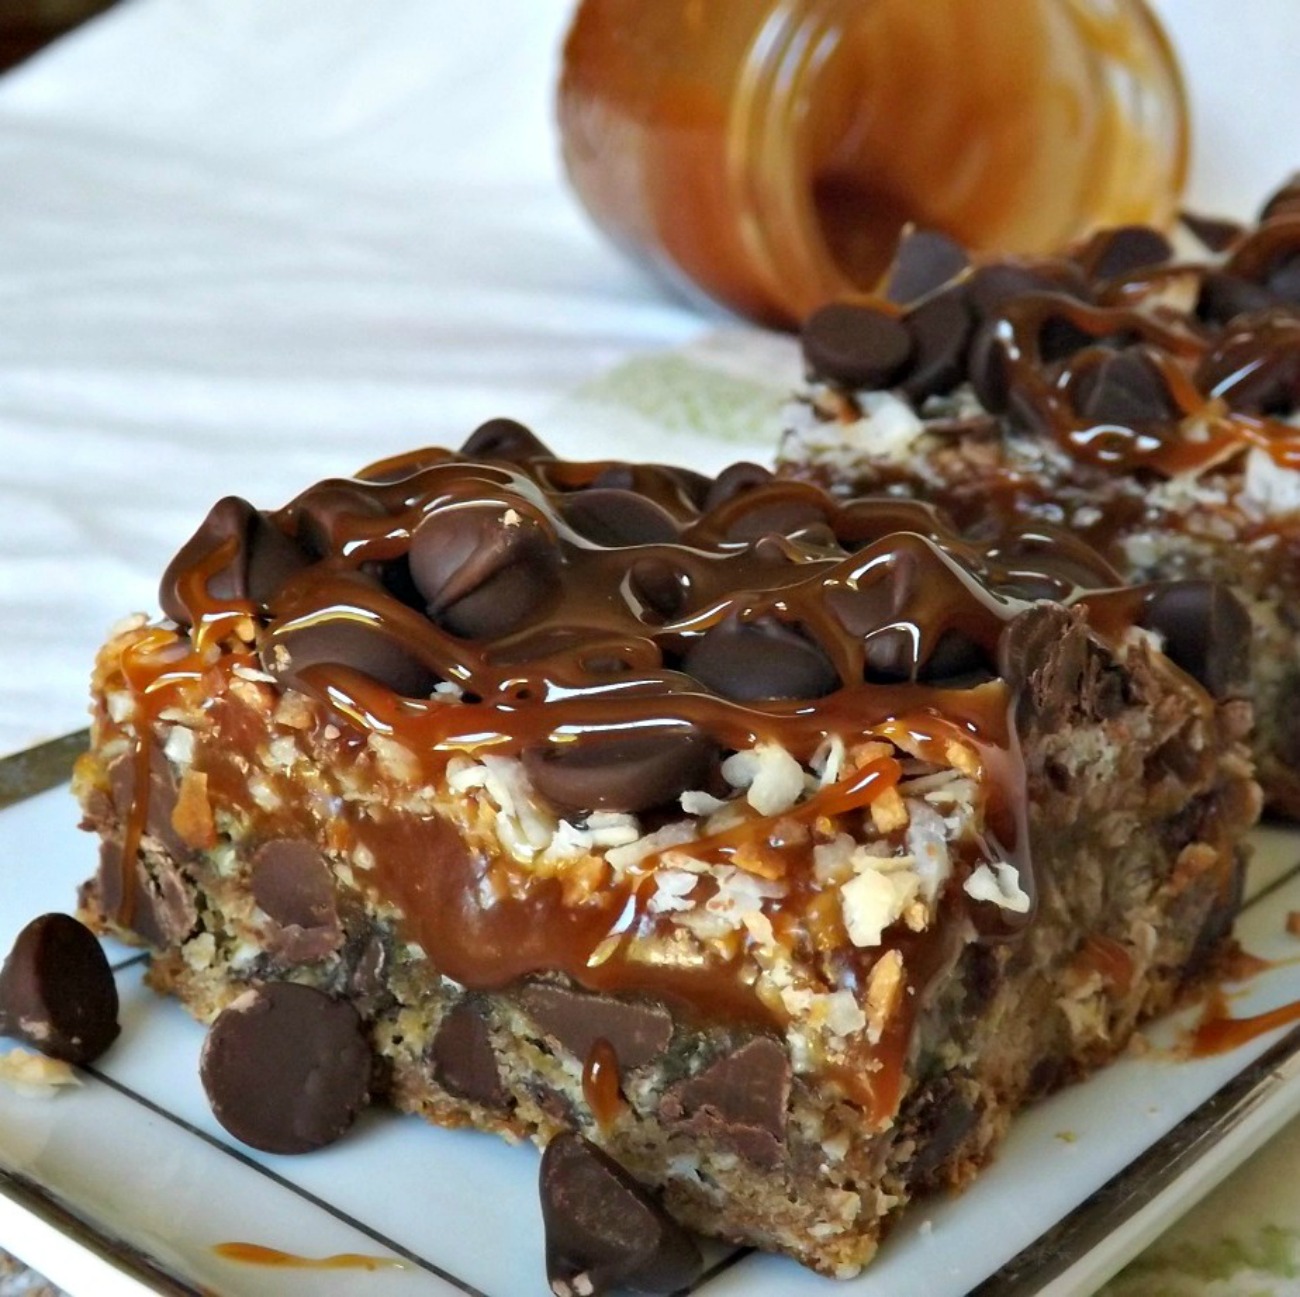
These aren’t difficult at all. Can you use a mixer and measure? Yes? Then you’ve got this! These are chewy, with an oatmeal chocolate chip cookie base, covered with ooey gooey caramel, toasted coconut and rich creamy chocolate and…and…and.. *fans face* I really need a cookie now. Please excuse me for some private time.
You know the drill…. 🙂
- 1 cup unsalted butter, room temp
- 1 1/2 cups dark brown sugar
- 1 egg
- 1 teaspoon baking soda
- 1/2 teaspoon salt
- 1 tablespoon vanilla extract
- 1 teaspoon coconut flavoring (in the same aisle as the vanilla extract)
- 2 cups flour
- 2 cups quick cooking oats (not instant)
- 2 cups chocolate chips plus another 1/2 cup for the top of the bars
- 1 1/2 cups shredded sweetened coconut
- Â 1 cup caramel sauce (preferably home made)
- Preheat oven to 350 degrees. Line a 13×9 inch pan with foil and butter well or spray with cooking spray.
- Spread the coconut on a cookie sheet and toast until lightly browned, stirring every few minutes. Watch carefully; coconut can go from pale to burnt very quickly. When it’s done, set aside.
- Place the softened butter and the brown sugar in a large bowl and beat well, until relatively light and fluffy. Add in the vanilla, coconut flavoring and egg. beat well.
- In a small bowl, combine the flour, oats, 2 cups chocolate chips, baking soda and salt. Stir to combine then add into the wet ingredients. Stir well to combine.
- Press the mixture into the bottom of the foil lined pan. Top with the extreme abundance of caramel sauce, then the shredded coconut. Top this with the extra 1/2 cup of chocolate chips.
- Bake at 350 until the bars are just barely set, about 30 to 40 minutes. The middle shouldn’t wiggle but should just feel barely firm when pressed. Don’t press too hard because molten caramel on your fingertip hurts. Don’t ask how I know this please.
- Let cool for about an hour in the pan, then use the foil to lift the bars out of the pan to finish cooling on a rack. If they start to collapse onto themselves when you lift, let cool for a while longer.
Copyright Notice: From Cupcakes To Caviar images and original content are copyright protected. Please do not publish these materials anywhere without prior permission.
Coconut Caramel Cookie Bars