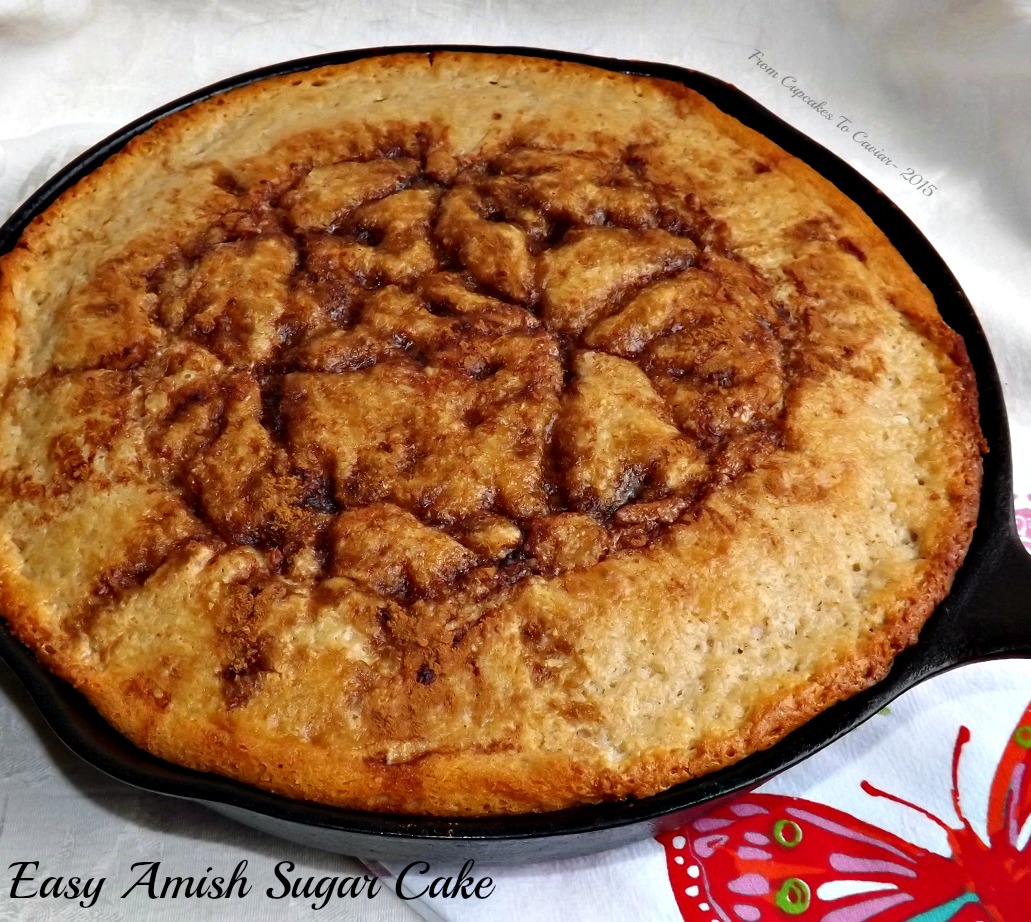
Easy Amish Sugar Cake

I’ve always wondered what makes some recipes winners and others total flops. I’ll post something that tastes wonderful and even has a decent photo and it will get two shares on facebook and not a lot of notice. Then, another time, I’ll post something that, while good (not like I’m going to post crap), is fairly simple and nothing exciting, just homey food. And suddenly it will get 90 bazillion shares on facebook and a ton of people will come here to the blog to see it. Have I ever mentioned that all of you confuse me sometimes? 😛
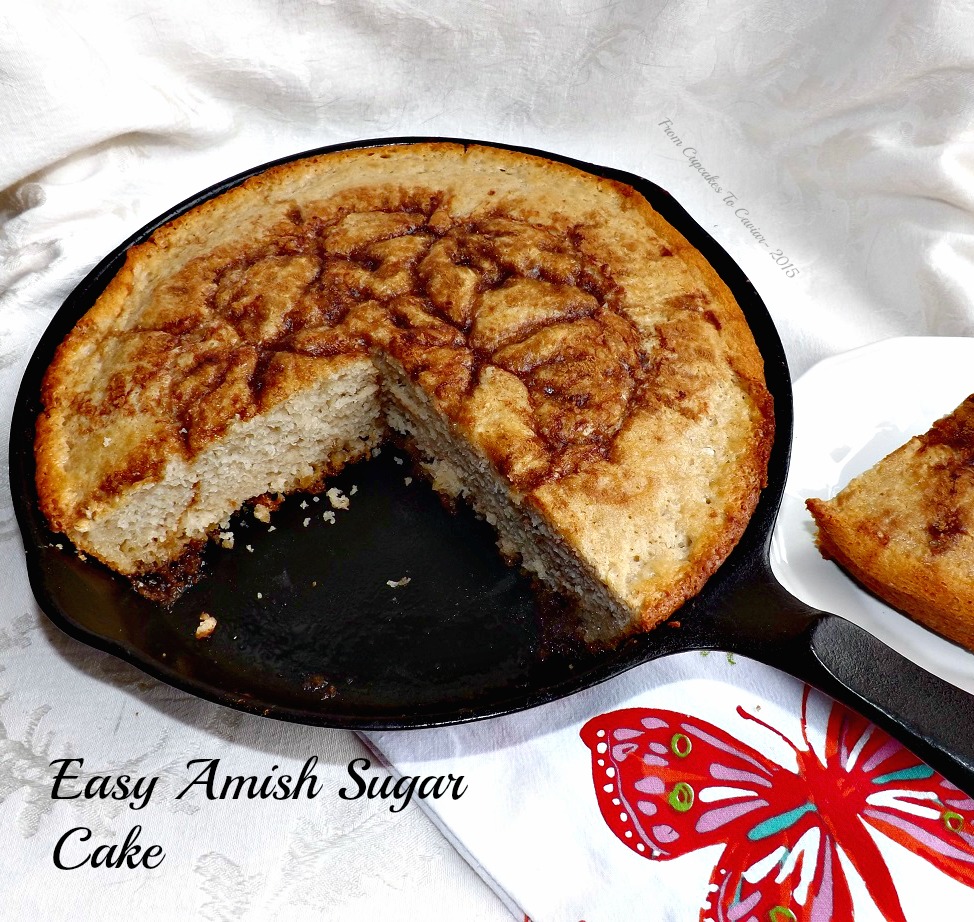
This recipe falls under the second category. It is simple, tasty, homey and as easy as can be. But is certainly isn’t exciting or some earth shaking cuisine and I have come to realize that many of you prefer the recipes like this one. This is by far my most pinned recipe on Pinterest and always get a lot of shares on facebook when I repost it there. All this with sub par photos, lol. I originally made this one for the blog in early 2012. Like I said, it is tasty and simple. You get a slightly crispy top and edges and a tender inside. part of the topping sinks to the bottom and you can a wonderfully buttery, yet crisp and sweet bottom crust, too. It’s a wonderful breakfast cake as well as a great treat for the family and an after school snack. it takes ten minutes tops to get this into the oven and about 3 minutes for your family to have it devoured 😀 It also is one of those simple cakes that most of you will already have all the ingredients for. So what are you waiting for? Go… make your house smell amazing and make the kids and spouse love you even more than they already do. Cause you’re just that good!
You know the drill…. git to cookin’
Mrs. Cupcake…. who is going to have another slice of this cake
Easy Amish Sugar Cake
- 2 cups flour
- 1 cup sugar
- 1 1/3 cups milk
- 2 teaspoons vanilla extract
- 1 tablespoon baking powder
- 1/2 teaspoon cinnamon
- 1 egg
- 3 tablespoons melted butter
- 1/2 to 3/4 cup brown sugar
- 1/3 cup melted butter (more like 1/4 cup if you’re doing this in one larger pan)
- 1 to 2 teaspoons cinnamon (you’re sprinkling it on, so use the amount that makes YOU happy)
- Preheat oven to 350 degrees and lightly grease two 9 inch cake pans. You can also, as I did this time, use a 10 inch cast iron pan. You may end up using a bit less melted butter for drizzling at the end though, plus plan on a longer baking time by about 10 minutes.
- In a large bowl, mix the flour, white sugar, 1/2 teaspoon cinnamon and baking powder.
- Dump in the egg, milk, vanilla extract and 3 tablespoons melted butter.
- Stir just until well combined and smooth. Don’t overbeat.
- Pour into the prepared cake pan or pans. Sprinkle with desired amount of brown sugar, then the cinnamon. Drizzle the remaining melted butter over the tops of the cakes.
- Bake at 350 for about 20 minutes or until the top is firm and crackly looking and the cake is a nice golden brown color.
- This is best served warm but it’s still good cold and reheats nicely.
Copyright Notice: From Cupcakes To Caviar images and original content are copyright protected. Please do not publish these materials anywhere without prior permission.
Easy Amish Sugar Cake