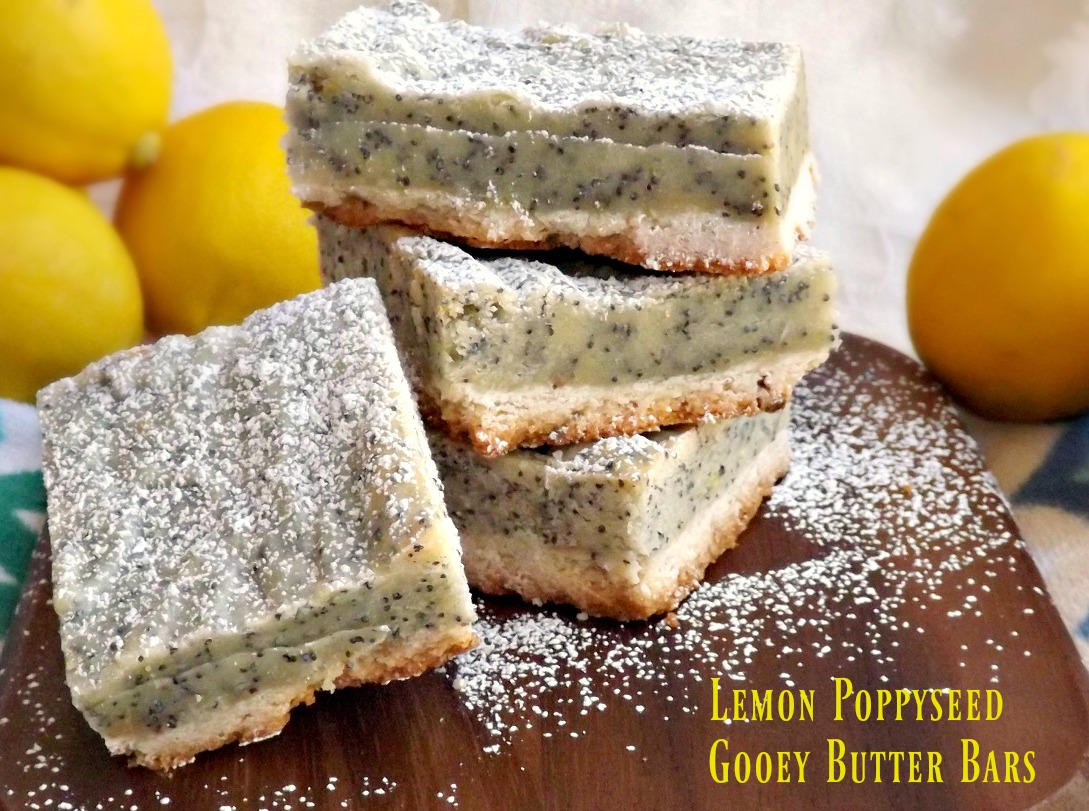
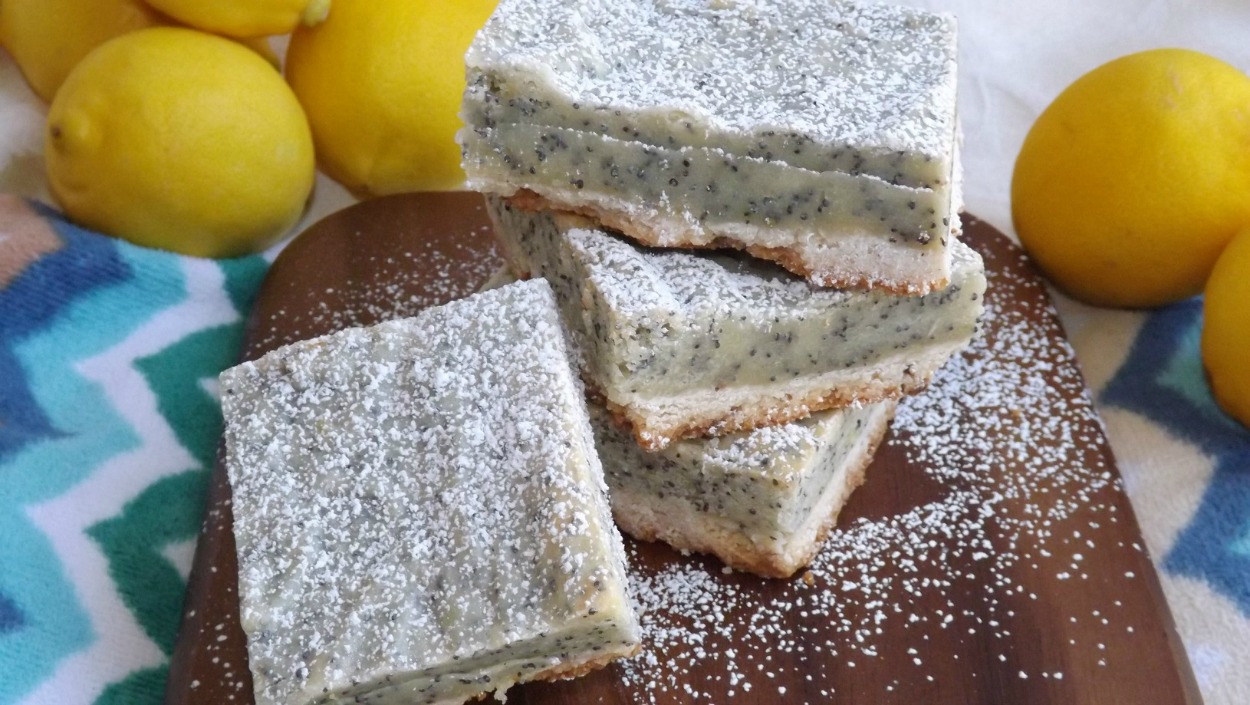
Lemon Poppy Seed Gooey Butter Bars
It was 80 some degrees out yesterday. I turned the oven on ANYWAY. I need to be committed. During the time that these bars baked, the temp in the house went up to approximately 426 degrees. No, really. Would I lie? Next week, it is supposed to get down to the high 70’s during the day and the low 60’s at night. I can’t EVEN begin to explain my excitement over possibly being able to open the windows and sleep at night with real air, not recycled. Think prepubescent girl going to see her favorite boy band type of excited. Then double it.
These bars made the melting of all my skin layers worth it though. I have a major love for shortbread crusts on cookies ANYWAY (for whatever odd reason, they make me think of Christmas. Don’t ask. I dunno.), and the crust on these bars is sooo buttery, so crispy/crumbly, just the way a good shortbread should be. Add on a gooey, creamy topping filled with the flavors of lemon and butter, with the crunch of poppyseeds and I was in Heaven. Warning though; you notice the slightly grayish cast my bars have? I think I let my poppyseed love go a bit too far. These still taste fantastic which is why I’m posting them anyway, rather than remake them to have a better color for a photo, but yeah… a bit gray. So, in the directions, I am cutting them down a tablespoon. Feel free to add back in another tablespoon if you don’t mind the color.
You know the drill…
Lemon Poppyseed Gooey Butter Bars
- Crust-
- 1 cup flour
- 1/2 cup unsalted butter, room temp
- 1/3 cup powdered sugar
- Topping-
- 1 1/2 tablespoon lemon juice
- 2 tablespoons light corn syrup
- 2 tablespoons lemon zest
- 1 1/2 teaspoons vanilla extract
- 1/2 teaspoon lemon oil
- 6 tablespoons unsalted butter, room temp
- 3/4 cup sugar
- 1/4 teaspoon salt
- 1 egg
- 1 cup plus 2 tablespoons flour
- 3 tablespoons flour
- 3 tablespoons poppy seeds
- Preheat oven to 350 degrees. Line an 8 inch square baking pan with foil, then butter the foil or spray with cooking spray.
- In a medium bowl, combine the crust ingredients. Beat on low speed with a hand mixer until it holds together and resembles coarse crumbs. Dump this into the prepared pan and press all over the bottom of the pan.
- Bake crust at 350 for about 10 to 12 minutes, until it is a light golden brown.
- For the topping, in a small bowl, stir together the lemon juice, corn syrup, lemon zest, vanilla and lemon oil.
- In another small bowl, whisk together the flour and the poppy seeds.
- In a larger bowl, beat together the butter and sugar until well blended and creamy. Add in the egg and again beat until well combined.
- Add the flour mixture to the butter/sugar mix, alternating with the lemon juice/corn syrup mixture. Beat until well mixed after each addition.
- Spread the mixture over the crust, smoothing the top. Bake at 350 degrees for 25 to 30 minutes. The top will be a light brown and the center will still have a very VERY slight jiggle. It will all firm up as it cools. You don’t want to overbake these as you’ll lose the whole gooey texture. They’ll still taste great, but they will be much firmer.
- When done, let cool in the pan until completely cool, then sprinkle with powdered sugar and cut into small squares. You can store these at room temp if you know they will be gone within a day or two. Any longer than that, and I’d suggest the fridge for storage.
Copyright Notice: From Cupcakes To Caviar images and original content are copyright protected. Please do not publish these materials anywhere without prior permission.
Lemon Poppyseed Gooey Butter Bars


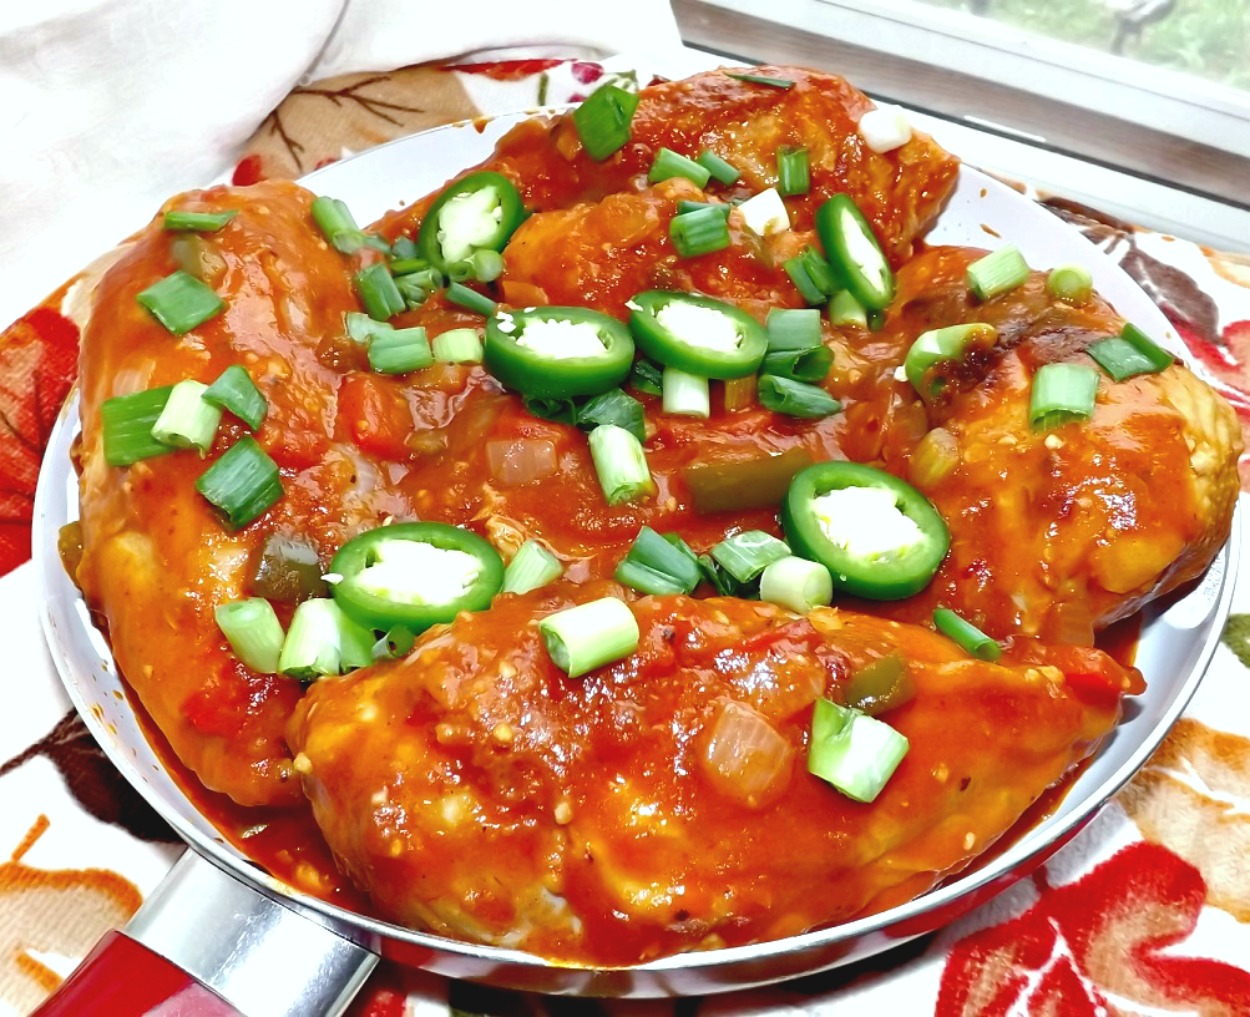
%20Cajun%20Chicken)