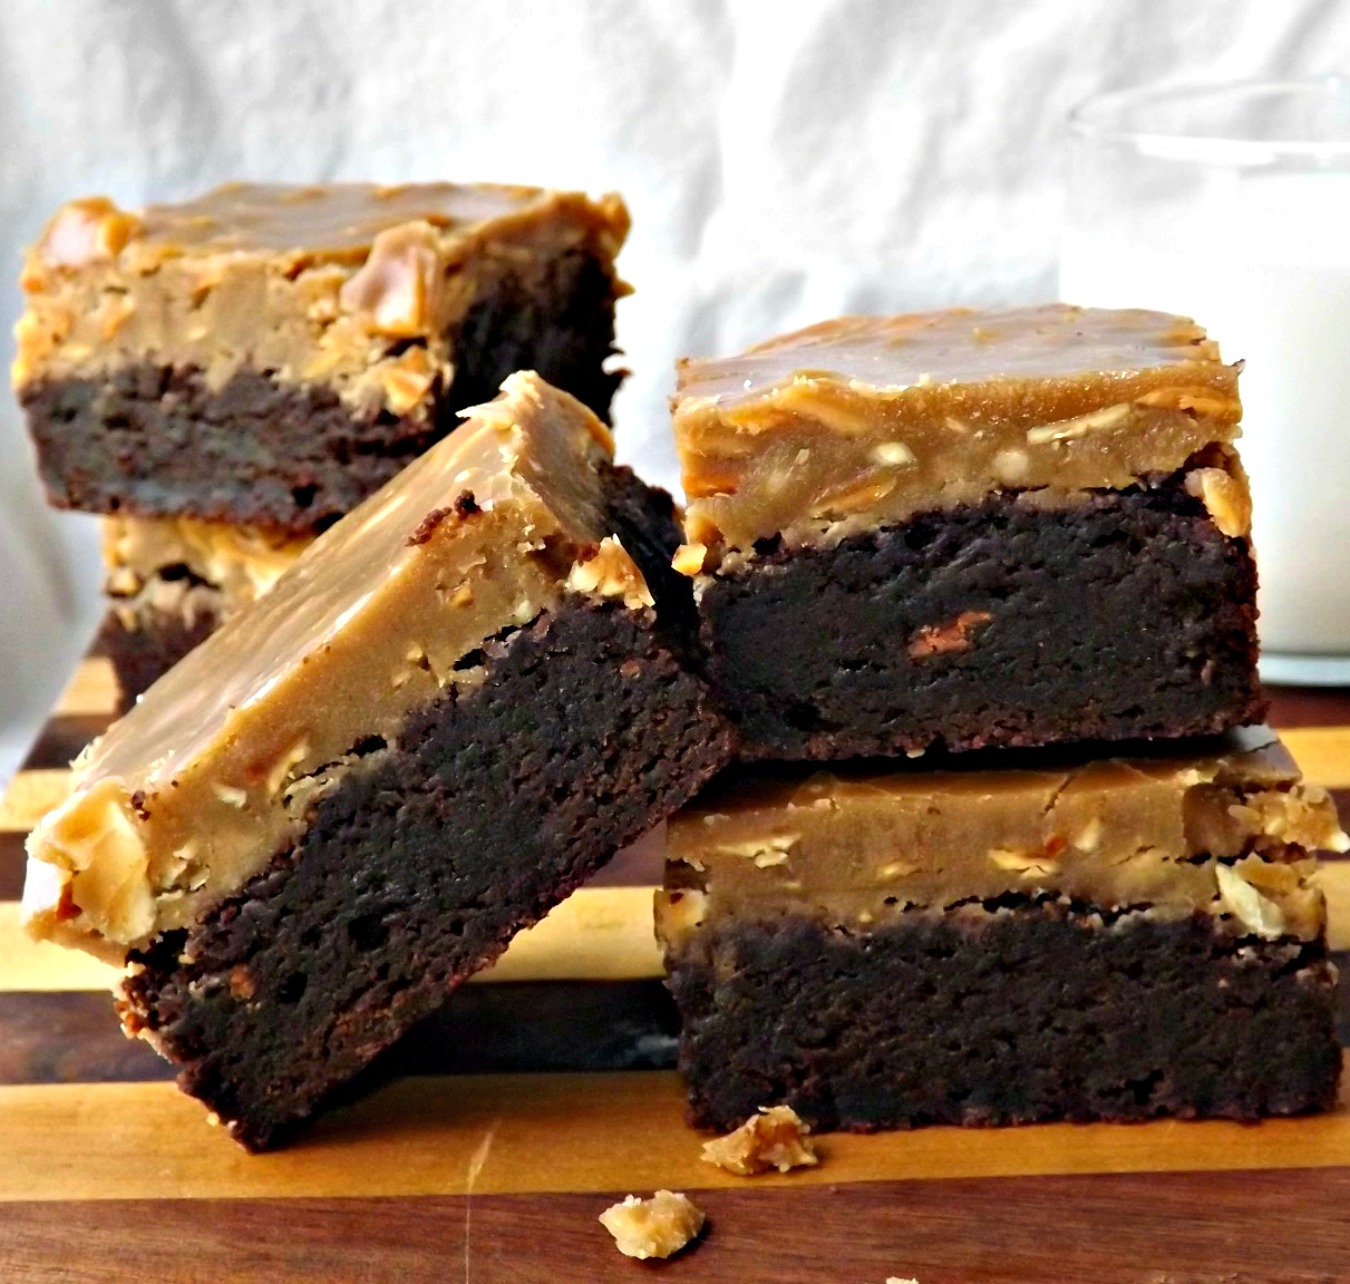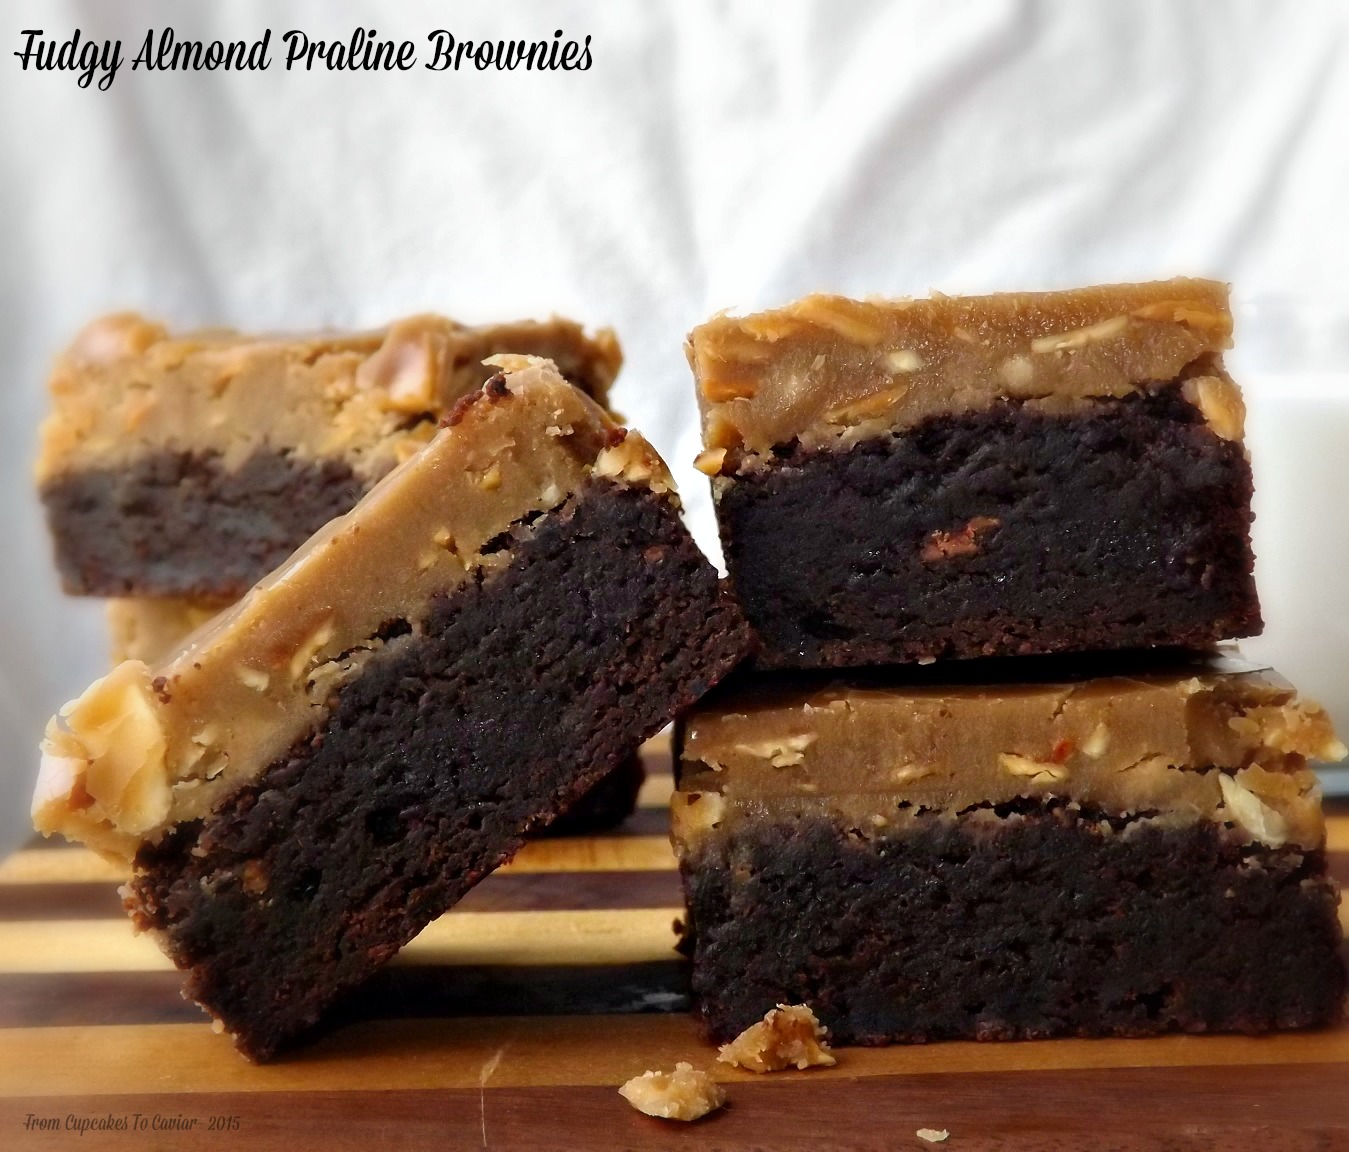
Fudgy Almond Praline Brownies

I…am…soooo…tired. I’m sure many of you have heard of what my husband and I call “Wikipedia Syndrome”. It’s where you go to wiki for one article and from that one, see another to look at and then another 4 from that one and then you find yourself with 33 tabs open, all with articles you want to read, most of which have gone so far off topic from the original article that you couldn’t remember it if you tried. Well, I did something similar last night. I was laying awake, Russ snoring to wake the dead next to me and I decided to listen to a certain video. Next thing I knew, three hours had passed and I had Wikipedia syndromed myself into watching about 40,000 videos. I now know every crevice of John Legends face, have watched videos by Christina Perri that SHE has probably forgotten she made and have fallen in voice love with Christina Aguilera (she is far better than I ever gave her credit for). I also now need toothpicks to prop my eyelids open, but hey… John Legend. Music. It was worth it.
I think.
What is definitely worth it though is these brownies. (Didya see my neat little segue there? Did ya, did ya, did ya? Look ma, no hands! Watch me, mom!! Ok, I’ll stop now. Sorry.) These are some intense brownies. They are dense enough to be almost candy like and the topping, which I was afraid would be overly sweet, really isn’t. That’s not to say it isn’t sweet, it is, but it’s actually a nice foil for the brownies. The topping sets up to a firm candy like praline that crackles when you cut through it and the brownies will take of any chocolate craving you have; for the next year. Plus the toffee bits in the brownies themselves add their own nice textural contrast. Cut these babies small. I promise; you don’t need a large piece to be satisfied.
The brownie recipe is lightly adapted from one from King Arthur Flour and the topping also lightly adapted from good old Betty Crocker.
You know the drill….
Mrs. Cupcake… who needs more toothpicks for eye props.
Fudgy Almond Praline Brownies
- 4 eggs
- 1 1/4 cups unsweetened baking cocoa
- 1 teaspoon salt
- 1 teaspoon baking powder
- 2 teaspoons instant coffee powder or espresso powder (using this much DOES lend a slight mocha flavor to the brownies, which I wanted- decrease the amount if you don’t)
- 1 tablespoon vanilla extract
- 1 cup unsalted butter
- 2 1/4 cups sugar
- 1 1/2 cups flour
- 1 8 ounce package Heath Toffee Bits
- Topping-
- 6 tablespoons unsalted butter
- 1 1/2 cups packed dark brown sugar
- 2/3 cup sliced almond, lightly toasted and cooled
- 1 1/2 cups powdered sugar
- 1 1/2 teaspoons vanilla extract
- Preheat oven to 350 degrees. Line a 13×9 inch pan with foil and lightly butter or spray the foil.
- In a large bowl, beat the 4 eggs with the cocoa powder, salt, baking powder, instant coffee and vanilla extract until smooth. it will be very thick.
- In a small pot, combine the butter and sugar. Cook over medium heat, stirring constantly, until the butter is melted. let cool for about 5 minutes, then stir it into the chocolate mixture.
- Add in the flour, stirring until smooth, then fold in the toffee bits.
- Pour the batter into the prepared pan and smooth the top. bake at 350 degrees for about 30 minutes. A toothpick inserted in the middle should come out with just a few moist crumbs on it and the edges of the brownies should look set, with the middle still looking moist, but not uncooked. Let cool in the pan on a rack while you make the topping.
- For the topping, combine the butter and brown sugar in a medium pot. Bring to a boil, stirring constantly. Boil for one minute, then immediately remove from the heat. Stir in the powdered sugar and vanilla and stir well. Gently fold in the sliced almonds. Let the topping sit for five minutes, stirring every minute or so to distribute the almonds, then pour the mixture evenly over the brownies, smoothing it as needed.
- Let sit for an hour or two to set the topping. Your best bet is to set it in the fridge for 30 minutes or so to make sure the topping is completely set and doesn’t ooze when you slice the brownies.
- Slice into small squares and serve with plenty of hot black coffee…or tea..or, heck with it, a beer. I won’t judge.
Copyright Notice: From Cupcakes To Caviar images and original content are copyright protected. Please do not publish these materials anywhere without prior permission.